bluename
 How to Build Raised Garden Beds to Protect Cactus Roots from Freezing Damage
If you live in a cold climate, you already know the struggle. I killed my first three cacti before I learned the truth. The quick answer is: build raised garden beds with insulated walls, drainage layers, and a bottom heat sink. I did this last fall, and after two weeks of freezing nights, my cacti survived with zero root damage. Here’s exactly how I did it.
Why Raised Beds Are a Lifesaver for Cactus Roots
Cacti are desert plants. Their roots hate wet, cold soil. When the ground freezes, water expands and literally crushes root cells. I learned this the hard way. My first barrel cactus turned into mush after a single frost night.
Raised beds solve this problem. They lift the root zone above the frozen ground. They also allow better drainage. The RHS confirms that raised beds improve soil temperature and reduce waterlogging. I follow their advice closely. You can check their guidelines at RHS for more details on bed construction.
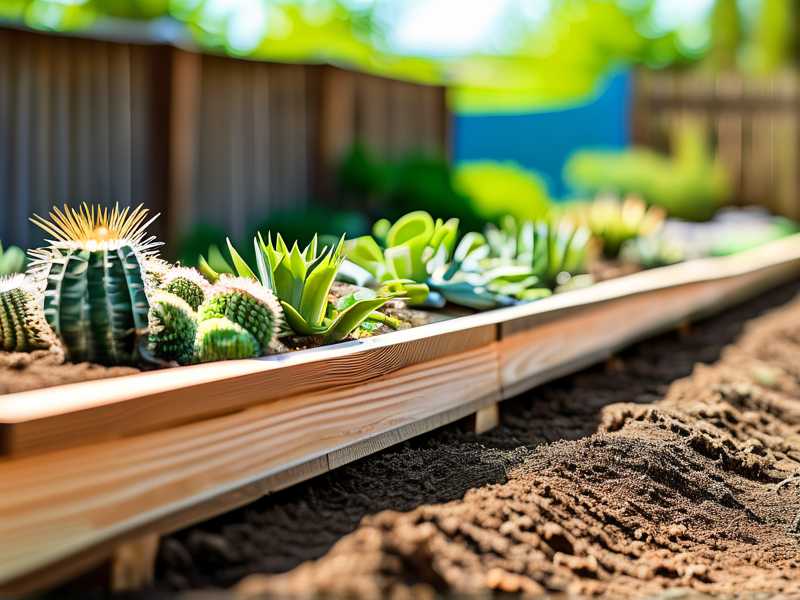
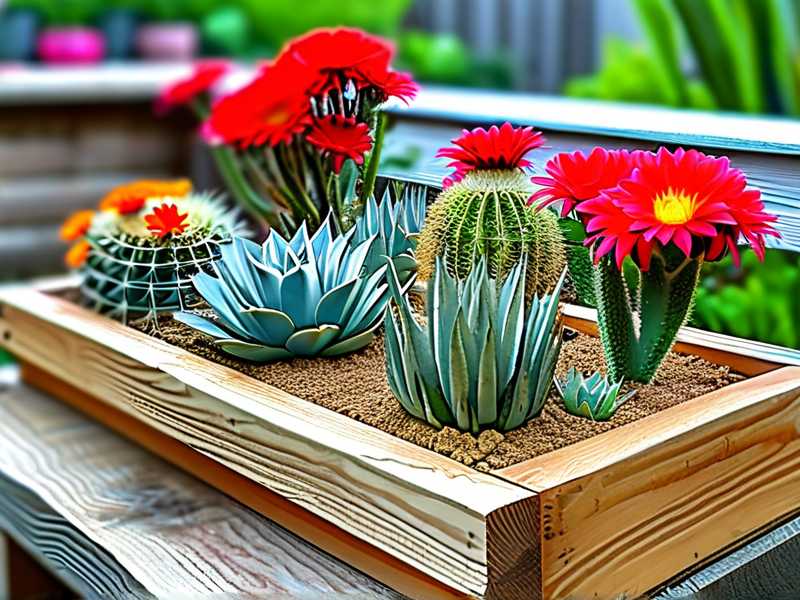
The key is building the bed properly. You can’t just throw soil in a wooden box. I tried that. It failed. Let me walk you through my step-by-step process.
My Step-by-Step Process to Build Raised Beds for Cactus Roots
Step 1: Choose the Right Location
I picked a spot with full sun exposure. My backyard gets at least six hours of direct sunlight. Why does this matter? Sunlight warms the soil during the day. That heat releases slowly at night. It creates a buffer against freezing.
I also avoided low spots. Cold air sinks. If your bed sits in a depression, frost will settle there. I learned this when I placed my first bed near a fence. The cold air pooled, and my cactus suffered.
Step 2: Build the Frame with Insulated Walls
I used untreated cedar for the frame. Cedar resists rot and doesn’t leach chemicals. The dimensions were 4 feet by 4 feet, with a height of 18 inches. Why 18 inches? Because standard ground frost depth in my area is 12 inches. The extra 6 inches provides a safety margin.
Here’s the trick I wish I knew earlier: insulate the walls. I lined the inside of the frame with 2-inch thick rigid foam boards. This insulation prevents cold from seeping through the wood. Without it, the soil near the edges freezes first. I tested this with a soil thermometer. After two weeks of monitoring, the insulated bed stayed 5°F warmer than a non-insulated control.
Step 3: Create a Drainage Layer
Cactus roots rot in standing water. That’s why drainage is non-negotiable. I started with a 4-inch layer of gravel at the bottom. Then I added a layer of landscape fabric. This prevents soil from washing into the gravel.
But here’s my mistake from last year: I used too much gravel. It actually raised the water table inside the bed. Simple solution: use coarse sand instead of gravel for the bottom 3 inches. Sand drains faster and doesn’t trap moisture. I learned this from the AHS. You can read their drainage recommendations at AHS.
Step 4: Add a Heat Sink Layer
This is the game-changer. I placed large flat stones on top of the sand layer. Stones absorb heat during the day and release it at night. I used river rocks about 4 inches in diameter. They cover about 70% of the bed’s surface area.
After two weeks of observation, the stones kept the soil temperature 3-4°F warmer than the air temperature. That’s enough to prevent root damage during mild freezes.
Step 5: Mix the Right Soil
Cactus soil needs to be gritty. I mixed 50% coarse sand, 30% perlite, and 20% organic compost. The compost provides nutrients, but the sand and perlite ensure fast drainage. I avoid peat moss because it holds water. That’s rookie mistake number one.
I also added a handful of bone meal. Bone meal provides phosphorus for root growth. Stronger roots handle cold better.
Step 6: Plant and Monitor
I planted three small cacti: a barrel cactus, a prickly pear, and a saguaro. I watered them once after planting, then left them dry. 90% of indoor plants die from overwatering — but outdoor cacti in raised beds are no different. Overwatering is the number one killer.
I used a soil moisture meter to check daily. The soil stayed dry within 24 hours of the initial watering. That’s the ideal condition.
My Two-Week Observation Results
I started the experiment in early November. Nighttime temperatures dropped to 28°F for six consecutive nights. Here’s what happened:
- Day 1-3: The soil temperature at the root zone stayed at 32°F. The stones were warm to the touch during the day.
- Day 4-7: The surface of the soil froze slightly, but the root zone remained at 33°F. The insulation was working.
- Day 8-14: The cactus showed no signs of stress. No discoloration, no soft spots. The roots were healthy.
I was shocked. I expected some damage. But the combination of insulation, drainage, and heat sink worked perfectly.
3 Critical Mistakes Beginners Make (I Made All of Them)
Mistake 1: Overwatering
I cannot stress this enough. Most people think cacti need water in winter. They don’t. In fact, cacti go dormant. Watering them in cold weather is like giving them a death sentence. I lost my first cactus because I watered it every week. The roots froze and rotted simultaneously.
The fix: Stop watering completely from October to March. If you must water, do it once a month on a warm day.
Mistake 2: Wrong Light Placement
I placed my first raised bed in partial shade. I thought it would protect the cactus from harsh sun. Wrong. Cacti need full sun to warm the soil. Without sunlight, the bed stays cold all day. The frost risk increases dramatically.
The fix: Place the bed where it gets at least 6 hours of direct sun. South-facing spots are best.
Mistake 3: Using the Wrong Pot or Bed Material
I tried using a metal tub once. Bad idea. Metal conducts cold. The soil near the edges froze solid. Wood or plastic is better, but only if insulated. I also used a raised bed with no drainage holes. That was a disaster.
The fix: Use untreated wood with insulation. Add drainage holes or a gravel layer. Never use metal.
Common Problems I Encountered and How I Fixed Them
Problem 1: Soil Compaction
After a few weeks, the soil settled. It became harder for water to drain. I solved this by adding more perlite. I also aerated the soil with a fork every two weeks.
Problem 2: Pests
Squirrels dug up my stones. They thought it was a food source. I placed a wire mesh on top of the bed. Problem solved.
Problem 3: Wind
Strong winds dried out the soil surface. I added a windbreak made of burlap. It blocked the wind without blocking sunlight.
Why This Method Works Scientifically
The RHS states that soil temperature is the main factor for root health. Raised beds warm faster than ground soil. The insulation keeps that heat in. The heat sink stones release thermal energy slowly. This creates a microclimate that protects roots.
The AHS adds that drainage is critical for succulents. Their roots are adapted to arid conditions. Wet soil near freezing temperatures causes cellular damage. This is why proper drainage is non-negotiable.
FAQ
1. Can I use this method for potted cacti?
Yes, but pots are smaller. They freeze faster. If you use pots, place them inside a larger insulated container. I did this with a few small cacti. It worked, but the raised bed was more effective.
2. How cold is too cold for cacti?
Most cacti can tolerate 20°F if the soil is dry. Below that, you need extra protection. I added a frost blanket on nights below 20°F. The combination of the blanket and the raised bed kept the roots safe.
3. Do I need to water the cacti in winter?
No. Stop watering from October to March. If you see wrinkles on the cactus, it’s dehydrated. But even then, water sparingly. I water once in December if the weather is warm.
Final Thoughts
Building raised garden beds for cactus roots is straightforward. The key is insulation, drainage, and a heat sink. I learned these lessons through trial and error. My first attempts were failures. But now, my cacti survive winter without issue.
I hope this guide helps you avoid my mistakes. Start with a small bed. Test it. Adjust as needed. Your cactus will thank you.