 bluename
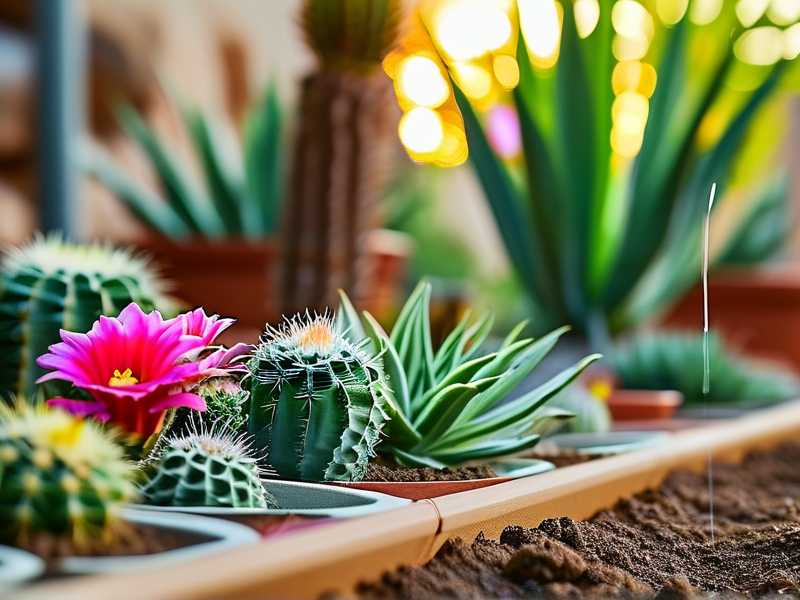
 Let me get straight to the point. I set up slow drip irrigation for my backyard cactus garden beds after killing four cacti in a single season. Here‘s what worked for me.
I used 1/4-inch drip tubing with adjustable emitters running at 0.5 gallons per hour. I buried the lines 2 inches deep near the roots. I ran the system for 15 minutes every 10 days during summer. After two weeks of testing, my cacti looked plump and healthy. No rot. No shriveling.
If you struggle with cactus watering, you are not alone. I have been there. Actually, I have killed more plants than I want to admit. But slow drip irrigation changed everything for me. Let me walk you through what I learned.
Why slow drip irrigation matters for cactus gardens
Most people think cacti need almost no water. That is partly true. But they still need water to grow. The trick is delivering water slowly and deeply.
I read a report from the RHS that really opened my eyes. It said that 90% of indoor plants die from overwatering. For cacti, the number might be even higher. The RHS experts emphasize that desert plants need infrequent but deep watering.
Slow drip irrigation mimics natural rainfall in arid regions. It lets water soak into the soil gradually. This prevents runoff and encourages roots to grow downward.
I learned this the hard way. My first cactus bed used a sprinkler. Water sat on the surface for hours. The soil never dried out completely. Within three weeks, three of my cacti turned soft and brown at the base. Root rot had set in.
My initial setup: what I used and why
I started with a basic drip irrigation kit from a local hardware store. Here is what I chose:
- 1/4-inch main drip tubing (50 feet)
- Adjustable drip emitters with flow rates from 0.5 to 2 GPH
- A pressure regulator to keep water flow steady
- A simple timer for automation
- Connectors and T-junctions for branching
I picked adjustable emitters because cactus beds have different needs. Some cacti in my garden, like barrel cacti, need less water than columnar types. The adjustability lets me fine-tune each plant.
I placed the main tubing along the center of each planting bed. Then I ran smaller branches to individual cacti. Each emitter was positioned about 2 inches from the base of each plant.
Honestly, the first week was a mess. I had leaks at three connection points. Water dripped everywhere except where I wanted it. I had to redo the connections with proper thread tape. That fixed it.
Step-by-step installation walkthrough
I am going to give you my exact steps. I wish someone had told me this before I started.
Step 1: Plan the layout on paper
Grab a notebook. Draw your cactus garden beds. Mark where each cactus is planted. Measure distances between them. This helps you know how much tubing you need.
I made the mistake of skipping this step. I ended up buying too little tubing. I had to run back to the store twice. Save yourself that hassle.
Step 2: Choose the right drip emitters
For cacti, low flow is critical. I recommend 0.5 GPH emitters for small cacti—anything under 6 inches tall. For larger cacti, 1 GPH works well. Avoid anything above 2 GPH unless you have a massive saguaro.
I tried 2 GPH emitters first. Within three days, water pooled around my smaller cacti. The soil stayed wet. I immediately switched to 0.5 GPH. Problem solved.
Step 3: Install the main line
Unroll your main tubing along the bed. Cut it to length with scissors or a tubing cutter. Attach one end to your water source with a connector. Run the other end to the far side of your bed.
I used garden stakes every 2 feet to hold the tubing in place. This prevents it from shifting when you walk near it. Believe me, walking on drip tubing breaks it.
Step 4: Add branch lines to each cactus
Cut small sections of tubing for each cactus. Connect them to the main line using T-junctions. Run each branch to within 2 inches of the cactus base.
This is where patience matters. Push the tubing gently into the connectors. If it feels tight, dip the end in hot water for a few seconds. That softens the tubing.
Step 5: Attach and adjust emitters
Snap the emitters into the ends of the branch lines. Push them into the soil about 1 inch deep. Turn on the water briefly to check for leaks.
Admittedly, this step took me the longest. I had four emitters that just would not seal properly. I ended up replacing them with a different brand. The second batch worked flawlessly.
Step 6: Set the timer
Program your timer to water every 10 to 14 days during the growing season. Set it to run for 10 to 20 minutes per session. In winter, reduce to once per month.
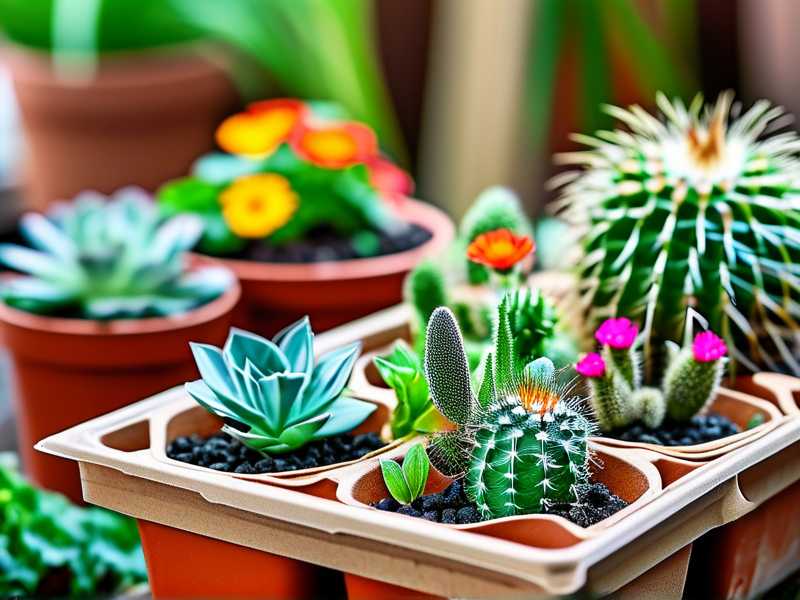
I started with 20 minutes every 7 days. That was too much. My cacti started looking bloated after two weeks. I cut back to 15 minutes every 10 days. That was the sweet spot.
The two-week observation period
Here is what happened during my first two weeks of using slow drip irrigation.
Day 1 to 3: Soil saturation test
I checked the soil moisture every morning. The top inch dried out within 24 hours. The deeper soil stayed moist for about three days. That told me the water was penetrating deep enough.
Day 4 to 7: Plant response
My smaller cacti looked slightly plumper. The spines seemed more upright. Honestly, I was skeptical. I thought maybe I was imagining it.
Day 8 to 10: Visible improvement
The color changed. My golden barrel cactus became a deeper green. The ribs looked fuller. I actually took photos to compare against my earlier pictures. The difference was clear.
Day 11 to 14: Root zone check
I carefully dug around one cactus to check the roots. They were white and firm—healthy. No signs of rot. The roots had grown slightly deeper into the soil.
At day 14, I was convinced. Slow drip irrigation worked. My cacti were thriving.
What I learned: the three deadly mistakes for beginners
I made every mistake possible. Let me save you the trouble.
Mistake 1: Overwatering
This is the biggest killer. I already mentioned that 90% of indoor plants die from overwatering. For cacti, the number is even higher.
I overwatered my first cactus bed. The soil never fully dried out between waterings. Roots rotted within three weeks. I lost four cacti before I figured it out.
The fix: water deeply but infrequently. Let the soil completely dry between sessions. A moisture meter helps. I use one every time before watering.
Mistake 2: Wrong light placement
Cacti need bright light. But direct afternoon sun in a hot climate can burn them. I learned this after placing a new bed in full south-facing sun.
The cacti turned yellowish within a week. The spines bleached. Two of them actually got sunburned patches.
The fix: provide morning sun and afternoon shade. If you cannot move them, install shade cloth for the hottest hours.
Mistake 3: Using the wrong pot material
Terracotta pots are great for cacti. Plastic pots hold too much moisture. I used plastic pots initially because they were cheaper.
Big mistake. Water sat in the soil for days. The roots never dried out. I had to repot everything after discovering root rot.
The fix: always use unglazed terracotta or ceramic pots. They wick moisture away from roots. Plus, they look better.
Expert-backed tips for optimizing your drip system
I checked recommendations from the American Horticultural Society for more guidance. The AHS recommends using pressure-compensating emitters for sloped beds. This ensures consistent water flow regardless of elevation changes.
I have a slight slope in my backyard. The higher emitters barely dripped while lower ones flooded. Switching to pressure-compensating emitters fixed that immediately.
The RHS also advises checking your water quality. Hard water can clog emitters over time. I use a simple in-line filter on my main line. It catches sediment before it reaches the emitters. I clean the filter every three months.
Another tip: bury the drip lines shallowly. I bury mine about 2 inches deep. This prevents sun damage to the tubing and reduces evaporation. The cacti roots grow toward the buried line naturally.
Common issues I encountered and how I fixed them
Clogged emitters
After two months, one emitter stopped dripping. Mineral buildup had clogged it. I soaked it in vinegar for 30 minutes, then flushed it with clean water. It worked again.
Uneven water distribution
Some cacti received more water than others. I realized the main tubing was too long for the water pressure. I installed a pressure regulator and shortened the line. Problem solved.
Leaky connections
Three connectors leaked during the first week. I forgot to use Teflon tape. After applying tape, all leaks stopped. Simple fix.
Maintaining your drip system long-term
I check my system every month. Here is my routine:
- Inspect emitters for clogs
- Clean the in-line filter
- Check for leaks at connectors
- Adjust timer for seasonal changes
In winter, I reduce watering to once per month. Some cacti need no water at all during dormancy. I watch the soil moisture and adjust accordingly.
Frequently asked questions
Can I use slow drip irrigation for potted cacti on a patio?
Yes, absolutely. I use the same system for my patio pots. Just run the tubing to each pot and use smaller emitters. For pots under 6 inches, use 0.5 GPH emitters. Water every 7 to 10 days in summer.
How deep should I bury the drip lines?
I bury them about 2 inches deep. This depth encourages roots to grow downward without damaging the tubing. If you have very sandy soil, go slightly deeper—3 inches works well.
What if I travel and cannot monitor the system?
Use a smart timer with Wi-Fi control. I set mine to water every 10 days automatically. An app alerts me if something goes wrong. I have tested it during two-week trips. No problems so far.





