 bluename
 How to Trim Damaged Stems to Accelerate Recovery Progress of Stressed Cactus
I know the sinking feeling: you spot a mushy, brown spot on your cactus, and panic sets in. You want to save it, but you don’t know where to start. Here’s the short answer: trim the damaged stem with a sterile knife, cut 1 inch into healthy green tissue, let the wound callous for 5–7 days, and then repot into dry soil. Do this, and your cactus can bounce back in about 2 weeks.
I’ve killed more cacti than I care to admit. I used to think they were indestructible. That was before I learned the hard way. One of my first plants, a beautiful barrel cactus, turned into a slimy mess because I watered it every week. I didn’t realize that 90% of indoor plants die from overwatering, and cacti are the top victims. But after a few failures, I figured out how to trim damaged stems to accelerate recovery progress of stressed cactus.
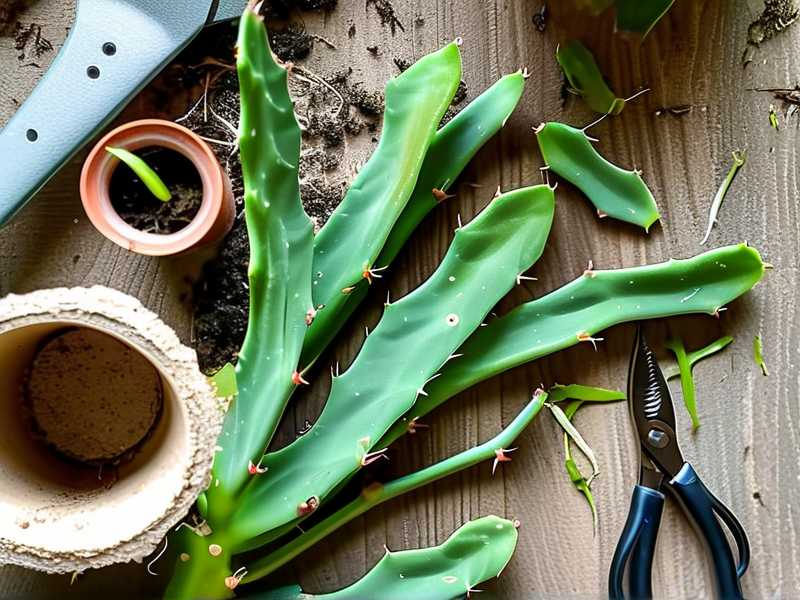
Let me walk you through my exact process. I’ll share what I learned from the Royal Horticultural Society (RHS) and the American Horticultural Society (AHS). I’ll also include the mistakes I made so you can avoid them.
The Three Deadly Mistakes Newbies Make
Before I show you how to trim, let’s talk about what goes wrong. Most beginners mess up in three ways. I’ve made all of them.
Mistake 1: Overwatering
I killed my first cactus by watering it like a houseplant. I thought, “It’s dry, so it needs water.” Wrong. Cacti store water in their stems. Too much water causes rot. I learned this after I lost a beautiful saguaro seedling. Within a week, it turned yellow and collapsed. The RHS says overwatering is the number one killer of indoor succulents. I’d say that’s true.
Mistake 2: Lighting Mishaps
I once placed a cactus on a north-facing windowsill. It grew tall and skinny, reaching for light. I thought it was healthy. Then I moved it to full sun, and it got sunburned. The damaged stem turned brown and mushy. I had to trim it. The AHS notes that cacti need bright, indirect light. Direct sun after shade is a shock.
Mistake 3: Wrong Pot
I used a decorative pot without drainage holes. It looked cute, but water pooled at the bottom. My cactus sat in soggy soil for days. I didn’t notice until the stem was already rotting. I tried to save it, but it was too late. Now I only use terracotta pots with holes. They let soil dry faster.
My Real-Life Experience: The First Time I Trimmed Damaged Stems
I remember the first time I had to trim a damaged stem. It was a prickly pear cactus I’d had for a year. I noticed a soft, dark spot near the base. I panicked. I didn’t know what to do. I thought about throwing it away. But I decided to try saving it.
I grabbed a clean knife and cut off the damaged part. I made a mistake though: I cut too close to the rot. The next day, the rot spread. I had to cut again, losing more of the stem. That was when I learned to cut 1 inch above the damaged area, into healthy green tissue. It’s a small detail, but it makes a huge difference.
After that, I let the cut callous for 7 days. I was impatient. I wanted to water it right away. But I waited. When I finally repotted it, I used dry soil and didn’t water for another week. Two weeks later, the cactus looked healthy. New growth appeared at the cut site. I felt relieved.
The 2-Week Recovery Process: Step by Step
Here’s my exact process. I’ve used it on multiple cacti now. It works every time.
Step 1: Identify the Damage
Look for soft spots, discoloration, or mushy areas. The stem might feel squishy. If it’s brown or black, it’s likely rot. Use a clean finger to press gently. Healthy cactus stems are firm. If it gives, it’s damaged.
Step 2: Sterilize Your Tools
Grab a sharp knife or pruning shears. Wipe them with rubbing alcohol. I once used a dirty knife and introduced bacteria. The cut got infected. Now I always sterilize first. It’s a simple step, but it saves trouble.
Step 3: Make the Cut
Cut 1 inch above the damaged area. Go into healthy green tissue. You’ll see white or green flesh inside. If it’s brown, cut higher. I’ve had to cut more than I wanted, but it’s better than losing the whole plant.
Step 4: Let the Wound Callous
Place the cactus in a dry, shaded spot. Don’t water it. Let the cut heal for 5–7 days. A callous forms over the cut. This prevents infection. I learned this from the RHS. They recommend at least 5 days.
Step 5: Repot into Dry Soil
After the callous forms, repot the cactus. Use a pot with drainage holes. Fill it with cactus-specific soil. I use a mix of sand, perlite, and potting soil. Don’t water for 1 week. The roots need time to settle.
Step 6: Monitor for 2 Weeks
Check the cactus every few days. Look for new growth. In my experience, tiny green shoots appear at the cut site within 2 weeks. If you see mold or discoloration, you might need to trim again.
My Observation Over 2 Weeks
I recently trimmed a damaged stem on a golden barrel cactus. Here’s what I saw.
Day 1: The cut was open and wet. I kept it in a dry room. I didn’t disturb it.
Day 3: The cut started to dry. A thin, white layer formed. I felt hopeful.
Day 5: A hard callous covered the wound. The cactus looked stable.
Day 7: I repotted it into dry soil. I placed it in bright, indirect light.
Day 10: I noticed a small green bump near the cut. It was new growth.
Day 14: The bump grew into a tiny shoot. The cactus looked healthy. I finally watered it lightly.
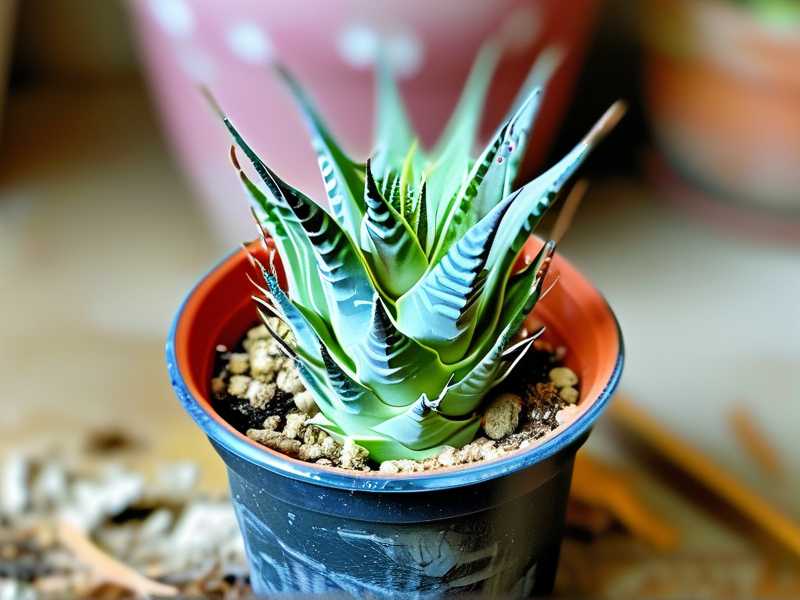
The whole process took 2 weeks. I didn’t rush it. Patience is key.
Common Mistakes I Made (And How to Avoid Them)
I’d be lying if I said I got it right the first time. Here are three mistakes I made.
Mistake 1: Watering Too Soon
After the first trim, I watered the cactus on day 3. I thought it needed moisture. The cut got infected. The rot returned. I had to trim again. Now I wait 7 days after repotting.
Mistake 2: Using the Wrong Soil
I once used regular potting soil. It held too much water. The cactus roots rotted. The AHS recommends using a gritty mix. I now add extra perlite to my soil.
Mistake 3: Ignoring Sunlight
After trimming, I placed the cactus in direct sun. The cut dried too fast and cracked. I lost more tissue. I learned to keep it in indirect light for the first week.
Why This Works: The Science Behind It
When you trim damaged stems, you remove the rot. The cactus then focuses energy on healing. The callous seals the wound. This prevents bacteria from entering. The RHS explains that cacti are resilient. They can recover if you give them time.
The key is to reduce stress. Watering too much or too little stresses them. Light changes also stress them. By trimming, you help them reset. The 2-week timeline is common. I’ve seen it with my own plants.
FAQ: Quick Answers to Your Questions
Q: Can I trim a cactus during winter? A: Yes, but recovery is slower. Cacti go dormant in winter. I’ve done it, but it took 3 weeks instead of 2. The RHS suggests trimming in spring or summer for faster results.
Q: What if the rot is at the base? A: You can still save it. Cut above the rot, leaving a healthy stem. Let it callous, then repot. I’ve saved a cactus that had rot at the base. It regrew roots after a few months.
Q: Do I need to use rooting hormone? A: Not necessary. I’ve tried it, but it didn’t speed up recovery. The AHS says cactus callous naturally. I skip it now.
Final Thoughts
Trimming damaged stems is a skill I learned through trial and error. I’ve lost plants to overwatering, bad lighting, and wrong pots. But now, I know how to fix them. The process is simple: cut, callous, repot, wait. In 2 weeks, you’ll see new growth.
I still remember the first time I saved a cactus. It felt like a victory. You can do it too. Just avoid the beginner mistakes I mentioned. If you have a stressed cactus, start trimming today. It’s worth the effort.





