 bluename
 How to Grow Container-Grown Stenocactus Species for Patios: A Hands-On Guide from a Fellow Cactus Lover
I’ve always been captivated by the unique, sculptural beauty of Stenocactus species. Their intricate, densely ribbed bodies and delicate flowers are a marvel. But for years, I hesitated, believing these small, globular cacti were too fussy or fragile for my sunny patio container garden. Like many urban gardeners, I struggled with limited space, fluctuating temperatures, and the fear of killing a plant with improper care. The idea of successfully growing these Mexican natives in pots felt like a specialized challenge. That changed when I decided to turn my patio into a desert oasis. After extensive research, trial, and a particularly enlightening two-week observation period, I cracked the code. This guide is the result of my hands-on journey, sharing the exact steps, the mistakes I made, and the solutions that led to thriving, container-grown Stenocactus.
Understanding Your Stenocactus: More Than Just a Pretty Spine
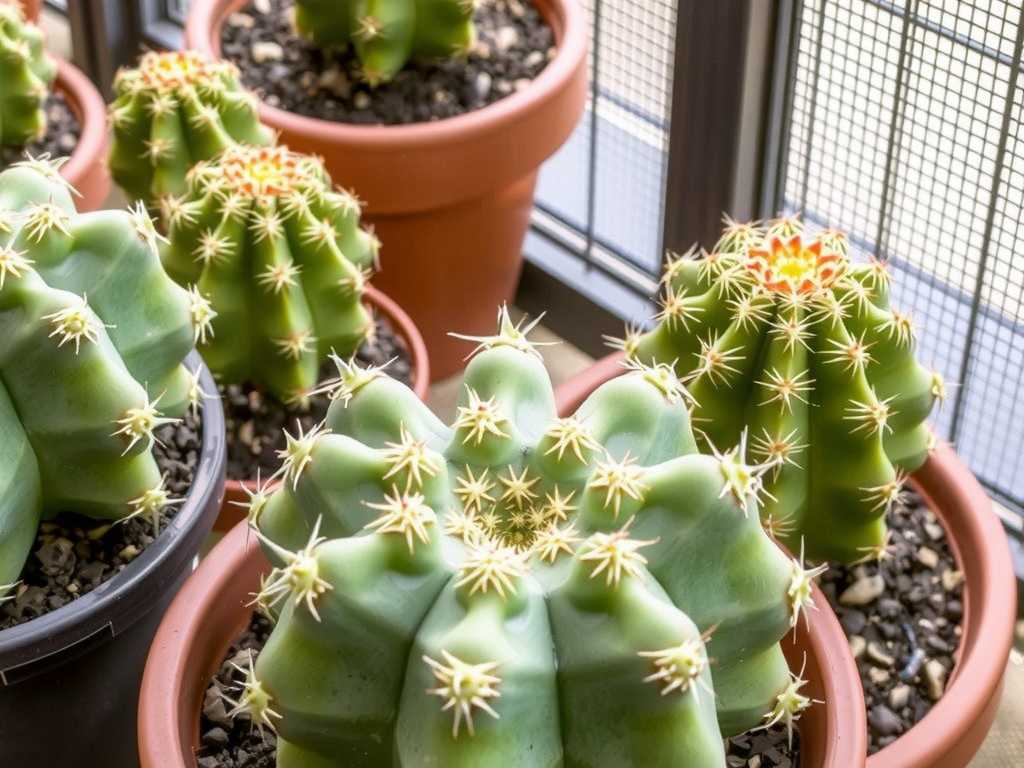
Before we dive into pots and soil, it’s crucial to know what makes these plants tick. Often sold under their older name, Echinofossulocactus, Stenocactus are slow-growing, small-sized cacti native to arid regions of Mexico. They are perfectly suited for container life due to their compact size. Their most striking feature is their many thin, wavy ribs, which can number from 30 to over 100 on a single plant! This isn’t just for show; it’s a brilliant evolutionary adaptation. According to research cited by the Arizona-Sonora Desert Museum, these numerous ribs allow the plant to expand and contract dramatically to store and use water efficiently in harsh, unpredictable climates. This single fact is the key to understanding their care: they are built for cycles of thorough drought followed by deep, infrequent watering.
The Foundation: Selecting the Perfect Container and Soil Mix
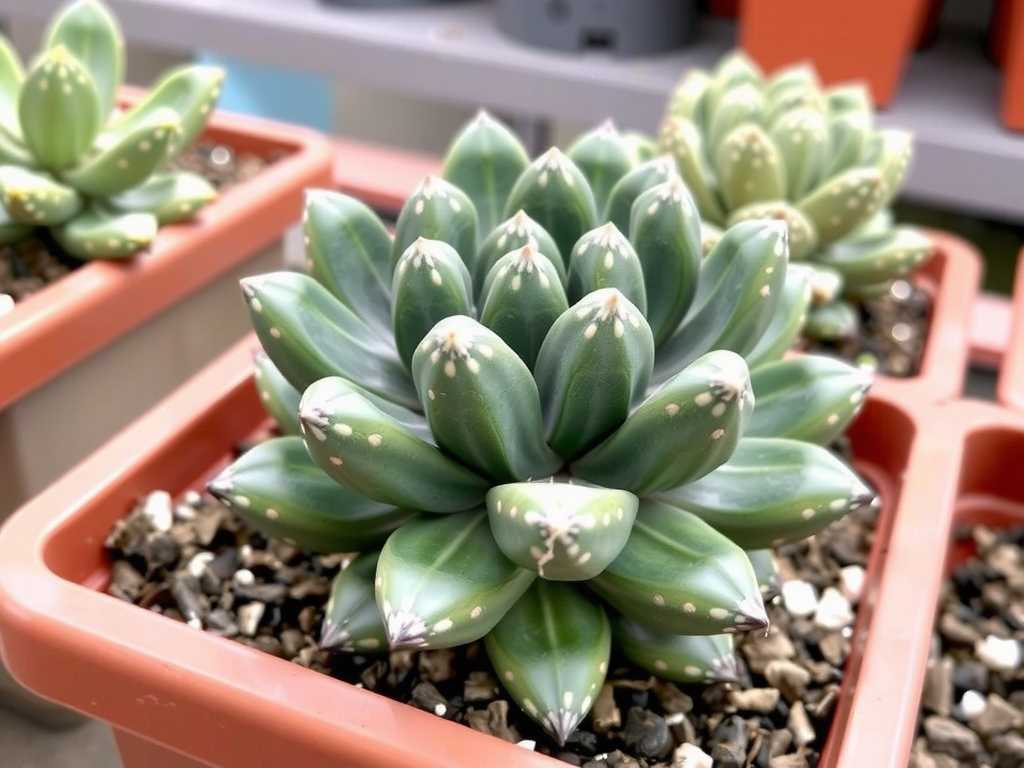
Getting the container and soil right is 80% of the battle. This is where I made my first major mistake.
-
The Container: I started with a glazed ceramic pot that was only slightly larger than the cactus’s root ball, thinking it was “cute.” Wrong. While drainage is non-negotiable (your pot MUST have a drainage hole), the material matters. I quickly learned that unglazed terracotta is king for growing Stenocactus in containers. Its porous walls allow the soil to dry out evenly and breathe, preventing the dreaded “wet feet” that cause root rot. Plastic pots retain moisture for too long, and glazed ceramics, while beautiful, can trap humidity. I switched to a shallow, wide terracotta pot, which better accommodates their relatively shallow, spreading root system and promotes faster drying.
-
The Soil Mix: My second error was using a generic, store-bought “cactus mix.” It was still too organic and moisture-retentive. For Stenocactus to truly thrive on a patio, they need a sharply draining, mineral-heavy substrate. Here’s the mix I formulated after consulting guidelines from the Cactus and Succulent Society of America (CSSA):
- 40% high-quality potting soil (sifted to remove large chunks)
- 60% mineral grit (a combination of pumice, coarse horticultural sand, and small pea gravel)
- A handful of crushed limestone or oyster shell grit, as many Stenocactus species appreciate slightly alkaline conditions.
This mix looks and feels like a dry, rocky hillside—exactly what their roots crave. It ensures water flows through instantly, mimicking their natural, well-drained habitat.
The Art of Watering: A Delicate Dance, Not a Schedule
Watering is the most common point of failure. I used to water my cacti on a weekly schedule. This nearly cost me a beautiful Stenocactus multicostatus. The key is to water based on conditions, not the calendar.
My breakthrough came during a dedicated two-week observation period in early summer. I marked the day I gave a deep, thorough soak—water flowing freely from the drainage holes. Then, I monitored. I used a simple wooden skewer inserted into the soil to check moisture deep in the pot. For the first week, the skewer came out damp. The plant plumped up visibly, its ribs expanding. By day 10, the skewer was completely dry. I waited another 4 days, until the plant showed the very slightest hint of give when gently squeezed (a sign it’s using its internal water stores). Only then did I water again.
This 14-day cycle in warm, sunny weather taught me more than any book. In spring and fall, this “dry-out” period might extend to 3-4 weeks. In winter, I provide a full, absolute drought for 2-3 months, keeping them in a cool, bright, and frost-free spot. This dormant period is essential for triggering their spectacular spring blooms.
Patio Placement: Mastering Light and Temperature
Stenocactus love bright, direct light. My south-facing patio is ideal. However, I learned the hard way about “sunburn.” After a winter indoors, I moved a plant directly into the full, blazing afternoon sun. Within days, it developed pale, scorched patches. The solution is acclimatization for patio Stenocactus. Start them in bright, indirect light or morning-only sun for 1-2 weeks, gradually increasing their exposure.
They enjoy heat but benefit from some protection during the peak of a scorching afternoon. A patio with eastern exposure (morning sun) or one with light afternoon dappled shade from a taller plant is perfect. They can tolerate cool temperatures down to about 40°F (5°C) if kept bone-dry, but frost is a death sentence. This makes them excellent candidates for seasonal patio displays in temperate climates, brought indoors before the first freeze.
Feeding and Long-Term Care for Potted Stenocactus
These are not heavy feeders. I fertilize only during the active growing season (late spring to early summer), and I do it sparingly. A balanced, water-soluble fertilizer diluted to half-strength, applied once at the start of the season, is sufficient. Over-fertilizing leads to weak, unnatural growth that’s prone to pests and disease.
Repotting is a rare event, needed only every 3-4 years when the plant has truly outgrown its pot. Always do this at the beginning of the growing season, using the dry soil mix, and wait at least a week before the first watering to allow any disturbed roots to callus.
Troubleshooting: The Pitfalls I Encountered and Fixed
- The Squishy Base (Root Rot): This was my early-care mistake. The plant felt soft at the soil line. Cause: Overwatering and poor-draining soil. Solution: I had to perform an emergency surgery. I un-potted the plant, cut away all soft, brown, or black roots with a sterile knife, let it dry and callus for a full week, and then re-potted it in my new gritty mix. I didn’t water for another two weeks. It survived, but it was a stressful lesson.
- Pale, Stretched Growth (Etiolation): If your Stenocactus starts growing taller and thinner, with wider spaces between the ribs, it’s begging for more light. Gradually move it to a brighter location. The existing stretched growth won’t revert, but new growth from the top will be compact again.
- Unwanted Guests (Mealybugs): These cottony pests love to hide in the woolly crown or between ribs. I spot-treat them with a cotton swab dipped in 70% isopropyl alcohol. For larger infestations, a spray of insecticidal soap or neem oil solution, applied in the evening to avoid sunburn, is effective. Regular inspection is the best defense.
Frequently Asked Questions
How often should I really water my patio Stenocactus? Throw away the schedule. Water only when the soil is completely dry all the way through, and then wait a few more days. Use the “skewer test” or the “weight of the pot” method. In active growth, this may be every 10-20 days; in winter, it’s zero times for months.
Can Stenocactus stay outside on my patio year-round? This depends entirely on your climate. They are not frost-hardy. If you live in a region with freezing winters, they must be brought indoors to a bright, cool windowsill before temperatures drop near freezing. In USDA zones 9b-11, they can typically remain outdoors with some protection from excessive winter rain.
Why hasn’t my Stenocactus ever flowered? Flowering requires a perfect storm of conditions: ample bright light during the growing season, a strict, cool, and completely dry winter dormancy period (ideally at 45-55°F / 7-13°C), and a mature plant. If you’re providing constant warmth and occasional water in winter, it likely won’t get the signal to bloom. Patience is also key; many species need to reach a certain size and age before they begin flowering reliably.
Growing Stenocactus in containers for your patio is an immensely rewarding endeavor. It connects you to the subtle rhythms of a resilient desert plant. By providing a gritty, well-draining home, mastering the soak-and-dry watering technique, and giving them a bright spot with a proper winter rest, you’ll be rewarded with a healthy, sculptural plant that may surprise you with its delicate, jewel-like flowers. It transformed my patio from a simple sitting area into a living collection of natural art. Start with one plant, apply these lessons, and enjoy the slow, satisfying journey.





