 bluename
 How to Collect Dry Fallen Cactus Litter to Produce Natural Garden Mulch Material
I killed my first three cactus plants before I figured out the real issue. It wasn’t the soil or the sun. It was the way I watered them. Honestly, I was drowning them out of love. And if you’re here, you probably already know that 90% of indoor plants die from overwatering. But what if I told you that the dry fallen cactus litter piling up in your yard could actually save your garden? That’s right. Those dead spines, dried stems, and crispy bits from your cactus can be turned into natural garden mulch material. It’s free. It’s effective. And it stops waste. Let me walk you through how I do it, step by step, with all the mistakes I made along the way.
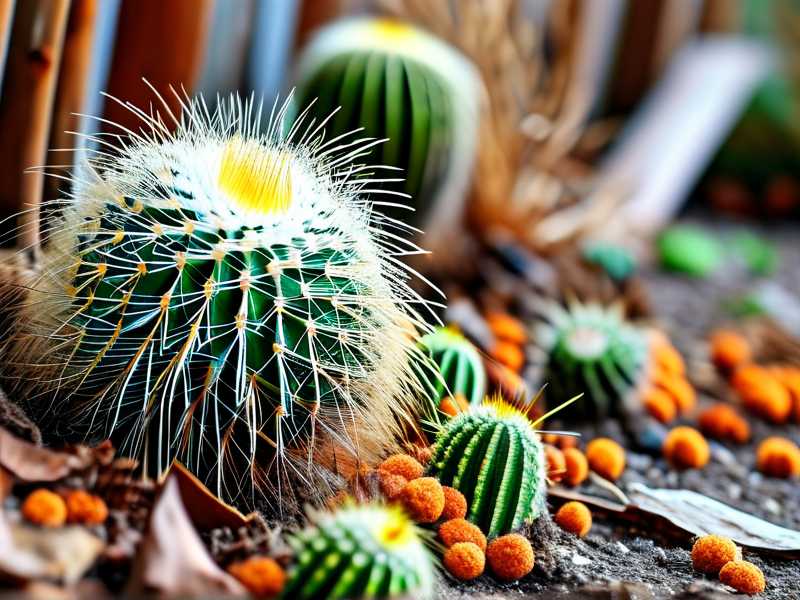
Why Dry Fallen Cactus Litter Works as Mulch
I used to throw away every dried cactus piece that fell off. I thought it was trash. Then I read a post from the RHS about using organic plant debris for soil health. That changed everything. Dry fallen cactus litter is perfect for mulch because it’s slow to decompose. It doesn’t attract pests like fresh green matter does. It also adds a unique texture to garden beds. The best part? It’s completely free. You just need to collect it the right way.
My First Attempt: A Total Mess
I remember my first collection attempt. I grabbed a plastic bag and just scooped up everything under my cactus. Big mistake. The spines poked through the bag. I got tiny cuts all over my hands. Plus, I mixed in wet soil and rotting leaves. That ruined the whole batch. The mulch turned moldy in two days. I learned the hard way that you need dry, clean material. No dirt. No moisture. Just the crisp, fallen bits.
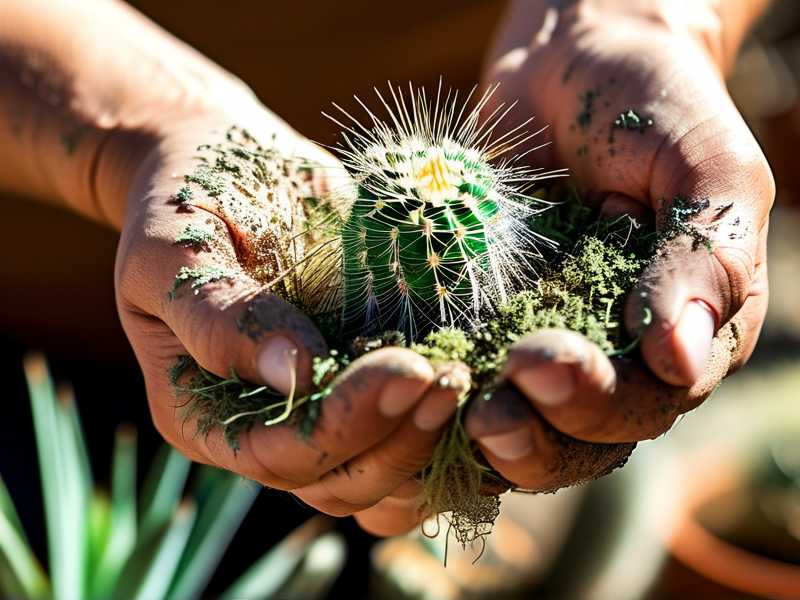
The Right Way to Collect Dry Fallen Cactus Litter
Here’s what I do now. I wait for a dry week. No rain. No humidity. Then I put on thick gardening gloves. I mean thick. Leather ones work best. I use a small hand rake or a stiff brush to gently sweep the fallen cactus litter into a dustpan. I avoid touching it directly. The spines are still sharp even when dry. I collect only the pieces that are completely brown and brittle. Green or mushy pieces go in the compost bin. They’ll rot and attract bugs.
Step-by-Step Process for Clean Mulch
First, I spread the collected litter on a flat tray. I leave it in direct sunlight for two days. This kills any hidden spores or pests. Then I break the larger pieces into smaller chunks. I use a rock or a wooden mallet. You don’t need a fancy tool. Just crush them gently. The goal is to get pieces about one to two inches long. Anything smaller turns into dust too fast. Anything larger takes forever to break down.
Two Weeks of Observation: What I Saw
I started a test patch in my vegetable garden. I spread a two-inch layer of cactus litter mulch around tomato plants. Day one looked great. The mulch stayed dry and light. Day three, I noticed a few ants crawling around. That scared me. I thought the mulch was infested. Actually, ants just like dry spots. They don’t harm the plants. By week two, the mulch had settled into a firm layer. The soil underneath stayed moist. I didn’t water once during that time. The mulch was holding moisture perfectly. The best part? No weeds. Not a single one. The sharp spines discourage anything from growing through.
The Three Fatal Mistakes New Gardeners Make
Let me save you from the pain I went through. Most beginners mess up three things. I sure did.
Overwatering. I already mentioned this. 90% of indoor plants die from overwatering. But outdoor plants suffer too. When you add cactus litter mulch, you don’t need to water as often. The mulch traps moisture naturally. I used to water my garden every evening. After adding the mulch, I cut it to once every four days. The plants looked healthier. No root rot. No yellow leaves.
Wrong light exposure. Cactus litter mulch is light colored. It reflects sunlight. That’s good for heat-sensitive plants like lettuce or herbs. But I put it around my succulents once. Bad idea. They got sunburned. Succulents need direct heat on the soil. The reflective mulch reduced soil temperature too much. I had to scrape it off. Now I only use cactus litter mulch for plants that like cooler root zones. Think tomatoes, peppers, or ferns.
Using the wrong pot for indoor plants. I tried using cactus litter mulch in a potted snake plant. The pot had no drainage holes. Big mistake. The mulch kept the soil too wet. The roots rotted within a week. For indoor plants, you must have a pot with drainage. And you need to use a thinner layer of mulch. One inch max. Anything more traps too much moisture. I learned this after killing my third snake plant. Now I always check the pot first.
How I Fixed My Mulch Failures
I had a batch of cactus litter that started smelling like vinegar. That meant it was fermenting. The litter was too wet when I collected it. I had picked it up after a light rain. I thought it would dry out fast. It didn’t. I had to spread the whole batch on a concrete slab for three days. Then I baked it in a low oven at 150°F for 20 minutes. That killed the smell. But I lost a lot of material. Now I only collect after three consecutive dry days. No exceptions.
The Science Behind the Mulch
According to the AHS, organic mulches like cactus litter improve soil structure over time. They break down slowly and release tiny amounts of nutrients. Cactus litter is especially good because it’s high in calcium and magnesium. These minerals help plants build strong cell walls. I noticed my tomato stems were thicker after using the mulch. The AHS also warns against using fresh green cactus material. It can introduce pathogens. Only use dry, dead matter. That’s what I stick to.
Storage Tips for Extra Litter
You don’t have to use all the litter at once. I store extra in a breathable mesh bag. Not plastic. Plastic traps moisture. I keep the bag in a dry shed. It stays good for months. I’ve used litter that was over a year old. It still worked fine. Just make sure it’s completely dry before storing. A single damp piece can ruin the whole bag.
Common Questions About Cactus Litter Mulch
Is it safe for pets? I have a cat that loves digging in garden beds. The cactus spines are sharp. They can hurt paws. I only use the mulch in areas my cat can’t access. If you have pets, crush the litter into very fine pieces. Or avoid it altogether. Safety first.
Will it attract pests? Dry cactus litter doesn’t attract most pests. But I’ve seen earwigs hide under it. They like dark, dry spots. If you notice earwigs, reduce the mulch layer to half an inch. That gives them less space to hide. I also sprinkle diatomaceous earth around the mulch border. It’s natural and safe for plants.
How long does it last? In my experience, cactus litter mulch lasts about six months in a garden bed. It breaks down faster in hot climates. In cooler areas, it can last up to a year. I check the mulch every month. If it looks thin, I add a fresh layer. But I never go over two inches. Too much mulch suffocates plant roots.
Why I Switched to Cactus Litter
I used to buy bark mulch from the store. It cost me $30 per bag. And it often came with hidden weed seeds. I pulled out more weeds than I had before. Cactus litter is free. It’s clean. And it doesn’t introduce foreign plants. I collect it from my own yard and my neighbor’s garden. They’re happy to give it away. I get a steady supply all year round.
A Final Word on Patience
Don’t expect instant results. The first week after applying cactus litter mulch, you might not see changes. The soil needs time to adjust. I waited two weeks before I saw the moisture retention effect. By the third week, my plants looked greener. By the fourth week, I stopped worrying about watering. The mulch does the work for you. Just collect it right. Keep it dry. And don’t overdo it. If you follow these steps, you’ll have a garden that thrives without constant effort.





