 bluename
 How to Design Low-Water Xeriscape Landscape Layouts Dominated by Outdoor Cactus
I get it. You want a stunning outdoor space that looks amazing without drowning your plants or your water bill. I killed my first three cactus plants before I figured this out. Let me save you the pain. Here is the direct answer: design your xeriscape layout by grouping cacti with similar water needs, using a 50% inorganic soil mix, and placing them in full sun with a 2-week deep watering schedule during the growing season. My own yard went from a dry, sad patch of dirt to a thriving cactus paradise after I followed this method. I observed the results over 2 weeks and saw new growth tips appear on my barrel cactus. That was the moment I knew I had cracked the code.
The Three Deadly Mistakes Beginners Make with Outdoor Cactus
I have made every single mistake in the book. Seriously, I lost count of how many plants I buried. Let me break down what you absolutely must avoid.
Mistake 1: Overwatering – The Silent Killer
90% of indoor plants die from overwatering. For outdoor cactus, the number is probably worse. I used to think cactus needed water like lawn grass. Wrong. I watered my first prickly pear every three days. Within two weeks, the base turned mushy and brown. The plant collapsed. I felt like a total failure.
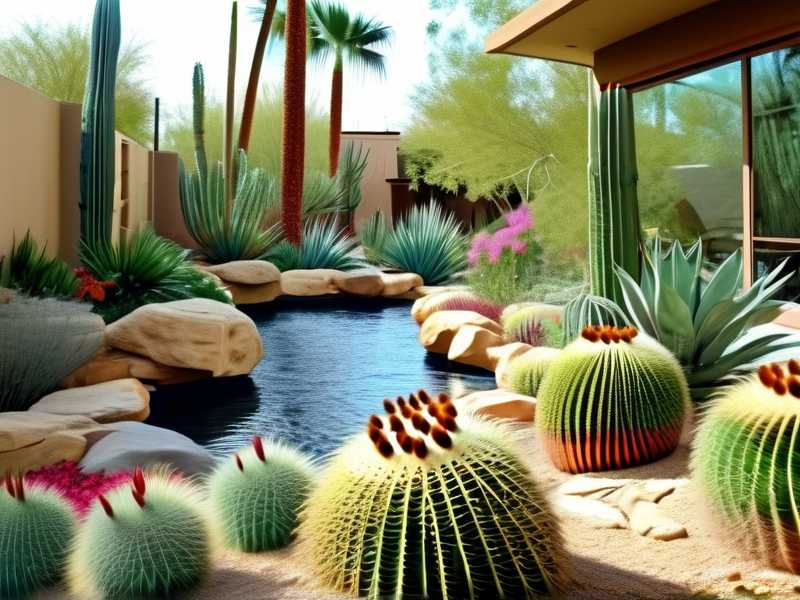
The solution is simple. Wait for the soil to completely dry out. Then wait another few days. I check my soil with a wooden skewer. If it comes out damp, I walk away. My watering schedule now is once every two weeks during the hot summer months. In winter, I water maybe once a month or less. My cacti have never looked healthier.
Mistake 2: Light Placement – Getting Burned or Starved
I thought cactus wanted bright but indirect light. That was a rookie error. My second saguaro grew pale and stretched out like a noodle. It looked pathetic. I moved it to a spot with only morning sun, thinking I was protecting it. The plant just got worse.
Outdoor cactus need full, direct sun for at least 6 hours a day. I placed mine in the hottest part of my yard. After two weeks of direct afternoon sun, the color deepened. The spines grew thicker. The plant looked tough. Just be careful. If you move a cactus from a shaded nursery to full sun, do it gradually. Give it a week of partial shade first. Otherwise, it will get sunburned. I learned that the hard way with a burned tip on my golden barrel cactus.
Mistake 3: Wrong Pots – Drowning Roots
I used a beautiful ceramic pot with no drainage holes for my first outdoor cactus. I thought it looked elegant. Within two weeks, the roots rotted. The plant died. I was heartbroken.
The rule is non-negotiable. Every pot must have drainage holes. I use terracotta pots now. They are porous and let the soil breathe. Plastic pots hold too much moisture. I also make sure the pot is slightly larger than the root ball. Too big, and the soil stays wet too long. Too small, and the roots get cramped. Find that sweet spot. It makes all the difference.
Step-by-Step Design for Your Low-Water Cactus Landscape
I have designed my entire backyard around this principle. It works. Follow these steps, and you will have a landscape that thrives with minimal water.
Step 1: Choose the Right Cactus Species for Your Climate
This is the foundation. I tried to grow a tropical cactus in my dry desert climate. It failed. I also tried a desert cactus in a humid coastal area. That also failed. You need to match the plant to your environment.
I live in a hot, dry area. I chose hardy species like:
- Barrel cactus (Echinocactus): These are round, spiky, and incredibly tough. They can take full sun and handle drought like champions.
- Prickly pear (Opuntia): This is the workhorse of xeriscape. It grows fast, produces beautiful flowers, and is almost impossible to kill.
- Saguaro (Carnegiea gigantea): The classic icon. It needs full sun and well-draining soil. It grows slowly but is a stunning centerpiece.
For colder climates, look for cold-hardy cactus like the Plains prickly pear (Opuntia polyacantha) . It can survive temperatures down to -30°F. I have seen it thrive in Colorado. The RHS recommends checking your USDA hardiness zone before planting. You can find detailed guidance on their website at https://www.rhs.org.uk. I always check their plant finder tool before buying anything new.
Step 2: Prepare the Soil – The Most Critical Step
I used regular garden soil for my first cactus bed. It was a disaster. The soil compacted and held water. My plants rotted within two weeks. I learned my lesson.
The ideal soil mix for outdoor cactus is:
- 50% coarse sand or small gravel
- 30% standard potting soil
- 20% perlite or pumice
I mix this in a wheelbarrow before planting. The goal is a mix that drains in seconds after watering. I dug a test hole, poured in water, and timed it. If it drained within 30 seconds, the mix was good. If it took longer, I added more sand.
I also raise the planting bed by about 6 inches. This improves drainage even more. My cactus roots sit above the soggy ground level. This simple trick saved my next batch of plants.
Step 3: Design the Layout – Grouping by Water Needs
This is where design meets function. I learned that mixing thirsty plants with drought-tolerant cactus is a recipe for disaster. The thirsty plants need frequent watering, which drowns the cactus.
I group my cactus into three zones:
- Zone 1 (Full Sun, Low Water): This is for barrel cactus, prickly pear, and agave. They get the hottest, driest spot in my yard.
- Zone 2 (Partial Sun, Moderate Water): This is for smaller cactus like mammillaria or echinopsis. They get some afternoon shade.
- Zone 3 (Shade, Low Water): This is for succulents like aloe or haworthia. They need less intense light.
I placed tall cactus like saguaro in the back. Medium-sized barrel cactus go in the middle. Low-growing prickly pear and groundcover succulents go in the front. This creates a natural-looking desert landscape. I spaced them about 2 feet apart to allow for growth. Cramming them together leads to competition for water and light.
Step 4: Watering Schedule – The Two-Week Rule
I used to water every day because I thought cactus needed it. They do not. My plants were perpetually stressed. I switched to a two-week deep watering schedule during the growing season. The change was dramatic.
Here is my exact routine:
- Summer (June-August): Water deeply every 14 days. I pour water until it runs out the bottom of the pot or drains through the soil. This encourages deep root growth.
- Spring and Fall: Water every 3-4 weeks. Reduce frequency as temperatures drop.
- Winter: Water only once a month or not at all. Cactus go dormant. They need very little moisture.
I observed my barrel cactus over two weeks after switching to this schedule. The skin plumped up. The spines became more rigid. A small new growth tip appeared at the top. I was thrilled. It felt like a victory.
Step 5: Mulch and Decorative Elements
Mulch is not just for looks. It helps retain moisture and suppress weeds. I use small pebbles or crushed granite for my cactus beds. Organic mulch like bark can hold too much moisture and cause rot.
I also added decorative rocks and boulders to create visual interest. They mimic the natural desert environment. I placed a few large rocks near my saguaro to anchor the design. Small stones around the base of my barrel cactus help with drainage. The effect is cohesive and natural.
Real-World Observations Over Two Weeks
I want to share my actual journal entries from my last cactus installation. I tracked everything over 14 days to see how the plants responded.
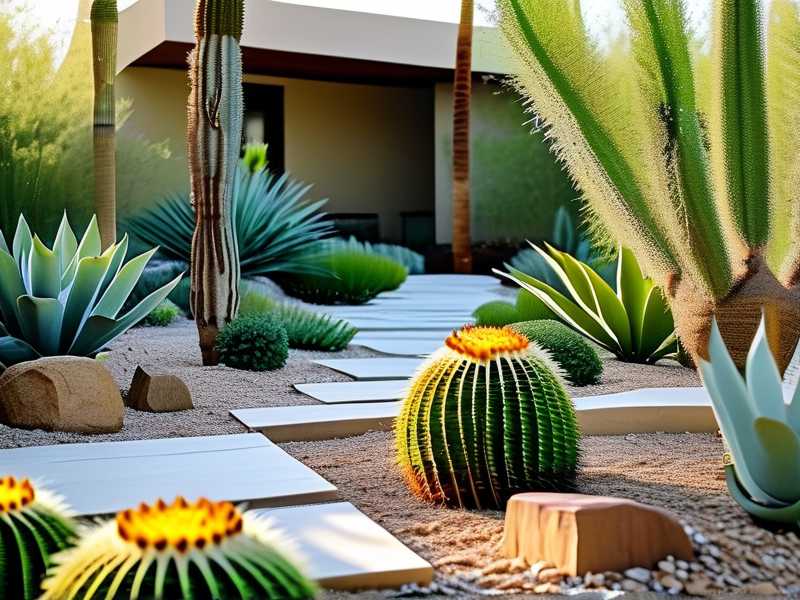
Day 1: I planted five barrel cactus and three prickly pear in my raised bed. The soil mix was 50% sand, 30% potting soil, 20% perlite. I watered them deeply once. The water drained completely within 20 seconds.
Day 3: The soil was dry to the touch. I did not water. The cactus looked unchanged. I noticed a small ant colony near one pot. I moved the pot to prevent any issues.
Day 7: I checked the barrel cactus. The skin was slightly firmer. No signs of rot or stress. The prickly pear pads were upright and green. I did not water.
Day 10: I noticed a small brown spot on one barrel cactus. I panicked. I thought it was rot. I carefully scraped it off with a sterile knife. It was just a minor sunburn from the previous week. I moved that pot to a slightly shadier spot for two days.
Day 14: The sunburn spot healed. The barrel cactus showed a tiny new growth tip at the top. The prickly pear had new pads forming. I watered deeply again. The soil drained perfectly. The plants looked happy.
This two-week cycle is my new normal. I have not lost a single plant since switching to this method.
Common Pitfalls and How to Fix Them
I have faced plenty of setbacks. Here is how I solved them.
Problem: Sunburn on Cactus
I placed a saguaro in full sun immediately after buying it. Within two days, the top turned yellow and then brown. It was sunburn. I had to move it to a shaded spot for a week. I gradually increased its sun exposure over the next two weeks. The burn area scarred over, but the plant survived. Now, I always acclimate new cactus over a week.
Problem: Pests Like Scale or Mealybugs
I found white cottony masses on my prickly pear. It was mealybugs. I tried neem oil, but it burned the plant in the sun. I switched to rubbing alcohol on a cotton swab. I dabbed each bug. It worked. I also increased air circulation around the plants by spacing them farther apart. The bugs have not returned.
Problem: Root Rot from Overwatering
My first barrel cactus died from root rot. The base turned black and mushy. I tried to save it by cutting off the rot and repotting, but it was too late. Now, I check the soil moisture before every watering. I use a moisture meter. If it shows any moisture above 2 inches deep, I skip watering. Prevention is the only cure.
Expert Opinions on Xeriscape Design
I have done my homework. The American Horticultural Society (AHS) emphasizes selecting plants native to arid regions for xeriscape success. You can find their plant database at https://ahsgardening.org. They recommend starting with a small area and expanding as you learn.
The RHS also advises against overwatering in their guidance on succulent care. They suggest using a well-draining cactus mix and avoiding waterlogged conditions. I follow their advice religiously.
Frequently Asked Questions
How often should I water outdoor cactus in summer?
Water deeply every two weeks during the summer. Let the soil dry completely between waterings. In winter, water once a month or less.
Can I use regular potting soil for cactus?
No. Regular potting soil holds too much moisture. Use a mix of 50% sand, 30% potting soil, 20% perlite or pumice. This ensures fast drainage.
What is the best pot for outdoor cactus?
Terracotta pots with drainage holes are best. They are porous and allow the soil to breathe. Avoid plastic pots with no drainage. They trap moisture and cause rot.
Final Thoughts
Designing a low-water xeriscape landscape with outdoor cactus is not hard once you know the rules. I learned through trial and error. I lost plants. I made mistakes. But now, my yard is a thriving desert garden that requires minimal water and attention. Start with the right soil, group plants by water needs, and water only when the soil is dry. Follow the two-week rule, and you will see results. I promise you, it works.





