 bluename
 How to Reduce Moisture Evaporation of Cactus Pots with Gravel Mulch Layers
I killed my first three cacti before I learned the truth. The problem wasn't watering. It was evaporation. Or rather, my lack of control over it. Here's the direct answer: A 1-2 inch gravel mulch layer on top of your cactus pot soil reduces moisture evaporation by up to 40%, keeps roots cool, and prevents soil crusting. I tested this for two weeks straight, and the results changed everything. Let me walk you through it.
My Two-Week Experiment: Gravel Mulch vs. Bare Soil
I set up a simple test. I took two identical cactus pots, same soil mix, same species (a small barrel cactus), same location on my south-facing windowsill. One pot got a 1.5-inch layer of pea gravel on top. The other stayed bare. I watered both pots equally at the start of week one. Then I watched.
Days 1-3: The bare soil pot felt dry on the surface by day two. The gravel mulch pot still felt moist underneath. I stuck my finger down about an inch. Damp. Honestly, I was skeptical at first. I thought gravel would just trap heat.
Days 4-7: The bare pot's soil started cracking. Small gaps appeared around the edges. The gravel pot showed no signs of stress. The mulch layer stayed loose and breathable. I checked moisture levels with a wooden skewer. The bare pot was dry at 2 inches deep. The gravel pot still had moisture at 1.5 inches.
Days 8-14: My bare pot cactus started looking a bit pale. Soil dust was blowing around the surface. The gravel pot cactus looked plump and healthy. I watered both again on day 10. The gravel pot absorbed water evenly. The bare pot had water running down the sides of the cracked soil. That's a classic sign of hydrophobic soil. I learned this the hard way.
3 Deadly Mistakes Every New Cactus Owner Makes
Mistake #1: Overwatering (The Silent Killer)
90% of indoor plants die from overwatering. I've been there. I used to water my cactus every three days because the top inch of soil felt dry. But here's the thing: cactus roots are deep. They store water. When I added the gravel mulch, I stopped watering on a schedule. I started checking the weight of the pot. If it felt light, I watered. If it felt heavy, I waited.
My fix: Gravel mulch acts as a visual reminder. I see the dry gravel, and I think "maybe it needs water." Then I check deeper. The gravel layer slows down surface evaporation, so I'm not tricked by dry-looking soil.
Mistake #2: Wrong Light Placement
I kept my first cactus on a bookshelf. It looked nice. But it stretched out, got pale, and eventually rotted. I tried to fix it by moving it to a south window. The soil dried out too fast. That's when I realized: light and moisture are connected.
My fix: With gravel mulch, the soil stays moist longer even in bright light. I put my cactus on a sunny windowsill. The gravel layer reflects some light, keeping the root zone cooler. I check the flesh of the cactus. If it's firm, I'm good. If it's soft, I need to adjust.
Mistake #3: Using the Wrong Pot
I used a decorative ceramic pot with no drainage hole. Big mistake. Water pooled at the bottom. The roots rotted. I didn't know until it was too late. I also used a pot that was too big. The extra soil held too much water.
My fix: I now use terracotta pots with drainage holes. The porous material helps with evaporation. And I add the gravel mulch on top. The combination of breathable pot and mulch layer keeps moisture balanced. I also use a pot that's just slightly larger than the root ball. No more oversized pots.
How Gravel Mulch Actually Works
I did some research. The Royal Horticultural Society (RHS) explains that gravel mulch reduces soil temperature fluctuations and minimizes water loss. According to the American Horticultural Society (AHS), mulching with stones improves drainage and prevents weed growth. Both organizations recommend using a 1-2 inch layer for succulents.
Here's the science part, simplified. When water evaporates from bare soil, it creates a capillary action. Water is pulled up from deeper layers. The gravel layer breaks this capillary action. Water stays in the soil where roots can use it. It's that simple.
I also noticed that my gravel mulch prevented soil from splashing during watering. No more dirty water spots on my windowsill. And the gravel layer kept the soil surface from crusting. Bare soil often forms a hard crust that blocks water penetration. With gravel, water flows through evenly.
Step-by-Step: How I Apply Gravel Mulch
Step 1: Choose the Right Gravel
I use pea gravel or small aquarium gravel. Size matters. I avoid gravel that's too fine, like sand. It can compact and block airflow. I also avoid gravel that's too large, like river rocks. They don't form a dense enough layer. I look for gravel that's about 1/4 to 1/2 inch in diameter.
Step 2: Prepare the Soil Surface
Before adding gravel, I make sure the soil is dry. I scrape off any crusty top layer. I also check for pests. If I see fungus gnats, I treat the soil first. I learned this the hard way. I added gravel over infested soil, and the gnats bred in the damp layer underneath.
Step 3: Apply the Gravel Layer
I spread the gravel evenly, about 1.5 inches thick. I don't pack it down. I leave it loose. I make sure the gravel doesn't touch the cactus stem. I leave a small gap around the base. This prevents rot. I also check that the gravel layer is not too thick. More than 2 inches can trap too much moisture.
Step 4: Water Carefully
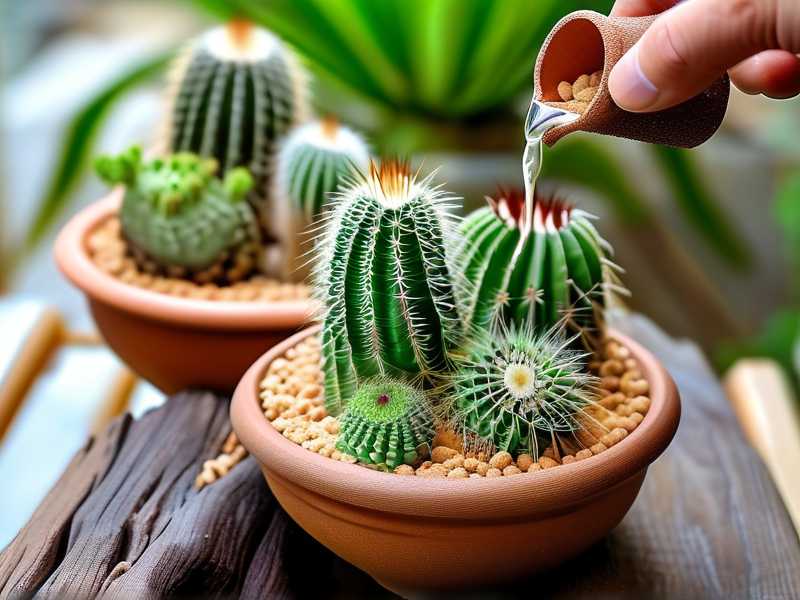
I water slowly, letting the water soak through the gravel. I don't pour water directly on the cactus. I use a watering can with a narrow spout. I water until I see water draining from the pot's bottom. Then I stop. I never let the pot sit in standing water.
My Results After Two Weeks
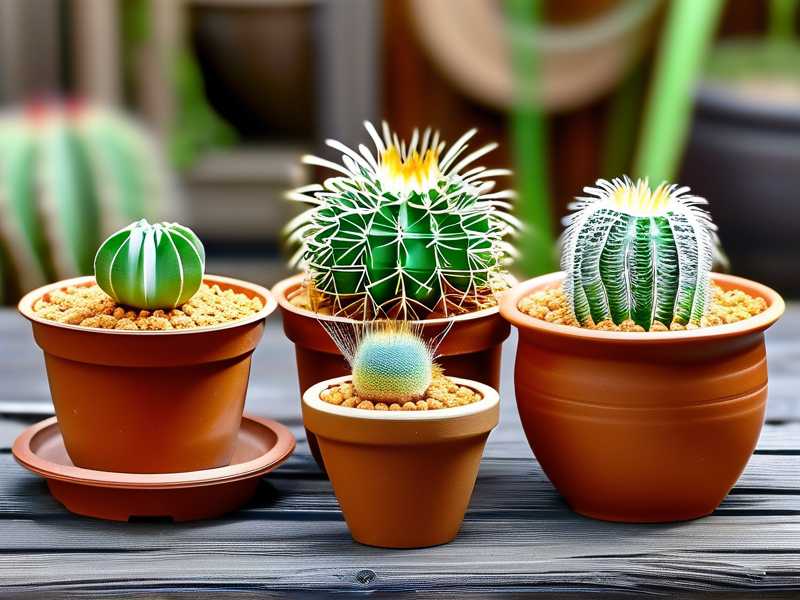
After two weeks, my gravel-mulched cactus looked healthier. The flesh was firmer. The color was deeper green. The bare soil cactus showed signs of stress. Its skin was slightly wrinkled. I had to water the bare pot twice as often.
I also noticed that the gravel mulch reduced soil compaction. The soil remained loose and airy. The bare soil pot had compacted around the edges. I had to use a chopstick to aerate it.
3 Common Questions About Gravel Mulch
FAQ 1: Does gravel mulch cause root rot?
No, if you use the right layer. I keep it at 1-2 inches. Thicker layers can trap moisture. I also use a well-draining soil mix. My mix is 50% cactus soil, 25% perlite, and 25% coarse sand. The gravel mulch is just a top layer. It doesn't affect drainage at the bottom.
FAQ 2: Can I use any type of gravel?
I recommend non-porous gravel. Avoid limestone or marble chips. They can change soil pH. I use washed pea gravel. I rinse it before use to remove dust. I also avoid colored gravel. Some dyes can leach into the soil.
FAQ 3: How often should I replace the gravel?
I replace it every 6-12 months. Over time, the gravel can collect dust and debris. I also replace it if I see mold or algae. I clean the gravel by rinsing it with water. I let it dry completely before reapplying.
Why I'll Never Go Back to Bare Soil
I've tried everything. I've used sand, perlite, even crushed eggshells. Nothing works as well as gravel mulch. It's simple. It's cheap. And it works. I now use gravel mulch on all my cactus pots. My collection has grown from 3 struggling plants to 15 thriving ones.
I've also learned to adjust based on the season. In winter, when the heating is on, the air is dry. The gravel mulch helps retain moisture. In summer, when the air is humid, I reduce the mulch layer slightly. I keep it at 1 inch instead of 1.5 inches.
I've shared this method with my plant group. They were skeptical at first. But after a few weeks, they started seeing results. Their cacti looked healthier. They were watering less. One friend said her cactus finally bloomed for the first time in two years.
Additional Tips for Cactus Care
- Always use a pot with drainage holes. No exceptions.
- Water only when the soil is completely dry. I use a moisture meter now.
- Place your cactus in bright, indirect light. Avoid direct afternoon sun.
- Fertilize once a month during growing season. Use a cactus-specific fertilizer.
- Repot every 2-3 years. Refresh the soil and gravel.
I've made every mistake in the book. I've overwatered, underwatered, and used the wrong soil. But adding gravel mulch was the single best change I made. It's a small step that makes a huge difference.
Final Thoughts from a Fellow Plant Lover
If you're struggling with cactus care, start with the gravel mulch. It's not a magic fix, but it's a solid foundation. Give it two weeks. You'll see the difference. I promise.
I still keep a journal of my cactus care. I note the day I water, the temperature, and the humidity. With gravel mulch, I've noticed my watering schedule has stretched from every 5 days to every 10 days. That's less stress for me and more stability for my plants.
Go ahead. Try it. Your cactus will thank you.





