 bluename
 How to Grow Christmas Cactus Species for Holiday Blooms: A Plant Lover’s Guide
There’s a unique kind of holiday magic that happens when your Christmas cactus bursts into bloom right on schedule. But if you’ve ever been gifted one or tried to grow it yourself, you know the frustration: buds drop before opening, the plant never flowers, or it blooms at the wrong time of year. You water it, give it light, and hope for the best, yet those stunning holiday flowers remain elusive. I’ve been there. After years of trial and error, I’ve cracked the code to reliably coax spectacular blooms from Schlumbergera, the Christmas cactus species. This guide isn’t just theory; it’s a record of my hands-on process, complete with a recent two-week observation period that made all the difference.
Understanding Your Holiday Cactus: It’s All in the Species
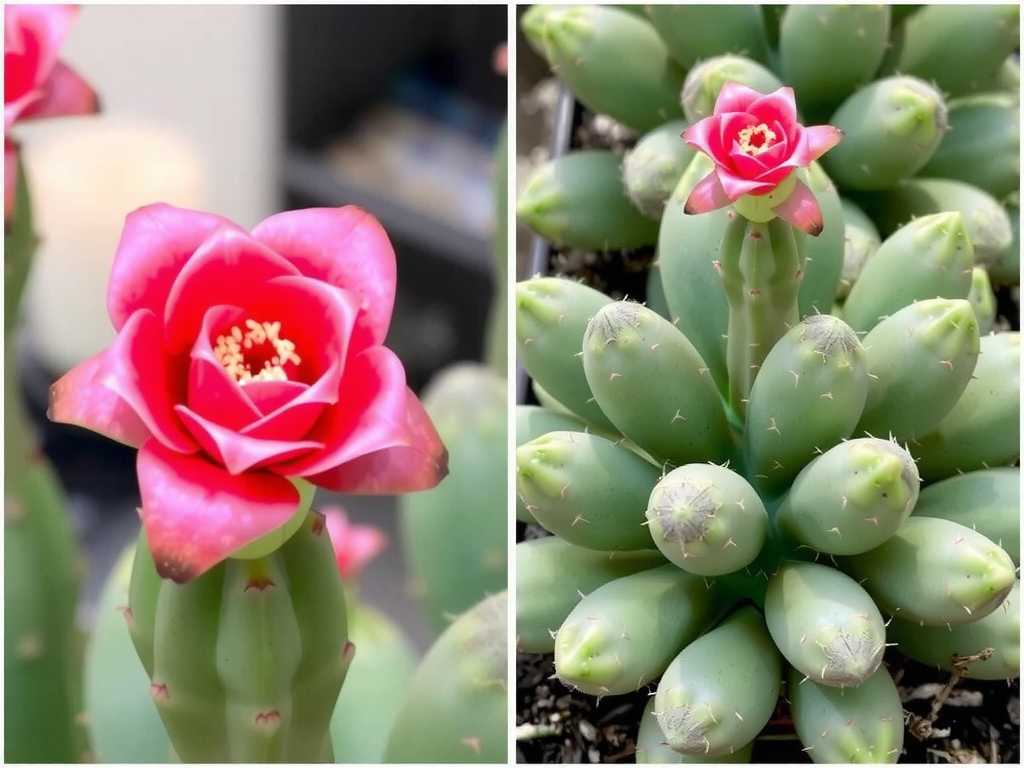
First, let’s clear up a common confusion. What we call “Christmas cactus” often refers to three main Schlumbergera species: the true Christmas cactus (Schlumbergera x buckleyi), the Thanksgiving cactus (Schlumbergera truncata), and the Easter cactus (Hatiora gaertneri). Each has slightly different bloom times and care needs. For this guide, I’m focusing on the species most associated with December blooms—the Christmas cactus and the Thanksgiving cactus, as their care for holiday flowering is similar. Correct identification is your first step; the Thanksgiving cactus has pointed, claw-shaped stem segments, while the Christmas cactus has more rounded, scalloped edges.
My Two-Week Bloom Induction Experiment: A Step-by-Step Diary
The secret to holiday blooms lies in mimicking the plant’s natural habitat: cool temperatures and long nights. Six weeks before my desired bloom date, I started a deliberate process. Here’s exactly what I did, what I saw over a critical two-week period, and the pitfalls I navigated.
Step 1: The Light and Temperature Trigger
Around mid-October, I moved my plants to a room where I could strictly control their environment. The goal: 12-14 hours of uninterrupted darkness and cooler temperatures of 50-55°F (10-13°C) every night for 6-8 weeks. I used a spare bedroom without evening traffic.
- My Setup: I placed the plants on a table away from the window. Each night at 6 PM, I covered them with a light-proof blackout cloth (a simple cardboard box works too). At 8 AM, I removed it. I kept the room’s heater off, allowing the temperature to drop naturally.
- The Two-Week Observation: For the first week, nothing visible happened. The plants just sat there. I worried I was doing it wrong. Then, at the start of the second week, I noticed tiny, nub-like growths at the tips of the terminal segments. These weren’t new leaves; they were bud initials! By day 14, these nubs had elongated slightly, confirming the plant had received the hormonal signal to initiate flowering. This visible change was the reward for my consistency.
- The Pitfall & Solution: One night, I forgot to cover the plants because I turned on the room light for a minute. I was terrified I’d reset the cycle. Experts from the American Horticultural Society (AHS) note that even brief exposure to light can disrupt the photoperiod. I didn’t panic. I simply ensured perfect darkness for the subsequent nights. The buds continued to develop, proving that a single minor slip isn’t catastrophic, but consistency is key.
Step 2: Mastering the Watering Balance During Bud Formation
Watering needs change dramatically during this sensitive period. Overwatering is the fastest way to lose those precious buds.
- My Routine: I let the top inch of the soil dry out completely before watering thoroughly. I stuck my finger in the soil to check—no guesswork. This meant watering roughly every 10-14 days, compared to weekly in the summer.
- The Two-Week Observation: During these critical weeks, the soil stayed moist for much longer due to the cooler temperatures and reduced growth activity. I almost overwatered out of habit. By holding back, I saw the buds continue to swell without any yellowing or dropping.
- The Pitfall & Solution: I once used cold tap water straight from the faucet. The shock caused a few small buds to abort. The Royal Horticultural Society (RHS) advises using tepid water to avoid root shock. I now always let the water sit until it reaches room temperature. Problem solved.
Step 3: The Right Nutrition for Strong Blooms
Feeding is crucial, but timing is everything. You don’t want to push leafy growth when you want flowers.
- My Formula: I stopped all high-nitrogen fertilizer in late summer. At the beginning of my 6-week dark period, I gave one final feeding with a balanced, water-soluble fertilizer diluted to half-strength. After that, I withheld fertilizer entirely until after the plant finished blooming.
- Observation & Result: This low-nutrient approach during bud development seemed to direct all the plant’s energy into the flower buds, not new stems. The buds that formed appeared plump and deeply colored.
Post-Trigger Care: From Buds to Spectacular Display
Once the buds are well-formed (about 1/4 inch long), you can return the plant to its normal bright, indirect light location. Avoid direct sun, which can scorch the plant and cause bud drop. Gradually increase watering as the plant prepares to open its flowers, but remain vigilant against soggy soil. I rotated the plant slightly every few days for even growth, but avoided moving it once the buds began to open to prevent them from falling off.
Year-Round Care for a Healthy Plant
You can’t have amazing blooms without a healthy plant the rest of the year.
- The Perfect Potting Mix: I use a mix specifically for epiphytic cacti—well-draining and airy. My recipe: 2 parts potting soil, 1 part perlite, and 1 part orchid bark. This prevents the dreaded root rot.
- Light & Location: From spring to fall, my Christmas cacti live in a bright east-facing window. They enjoy morning sun but are shielded from harsh afternoon rays.
- Summer Vacation: I give my plants a summer outdoors in a shaded, sheltered spot. The slight stress from varying temperatures and higher humidity seems to strengthen them. I bring them back inside well before nighttime temperatures dip below 50°F (10°C).
Why did all the buds on my Christmas cactus fall off? This is heartbreaking, and it’s usually due to environmental stress after bud formation. The most common causes are a sudden change in location (moving the plant), drastic temperature swings, or inconsistent watering (either too much or too little). Once buds appear, try to keep the plant’s environment as stable as possible.
Can I make my Christmas cactus bloom more than once a year? While the main display is triggered by photoperiod, a happy, mature plant can sometimes produce sporadic blooms throughout the year, especially if it experiences minor, natural light and temperature fluctuations. However, forcing the long-night cycle more than once a year can exhaust the plant. It’s best to allow it a natural growth cycle after its main bloom.
How do I get my Christmas cactus to grow more branches and look fuller? The secret is simple pruning. In late spring or early summer, after blooming is complete, give your plant a “haircut.” Gently twist off one or two segments from the end of each stem. This encourages branching. You can let these cuttings callous for a few days and then plant them to create new plants—a wonderful way to share the holiday joy.
Growing a Christmas cactus species for perfect holiday blooms is a rewarding journey that connects you to the rhythms of nature. It requires patience, observation, and a willingness to learn from small setbacks. By understanding its need for a distinct rest period with cool temperatures and long nights, mastering a careful watering hand, and providing thoughtful year-round care, you transform from a hopeful owner into a confident grower. The sight of those first vibrant buds unfurling against the winter window is a testament to your care—a living, blooming celebration of the season.





