 bluename
 How to Care for Hydroponic Cactus Species in Soilless Systems: A Grower’s Journey from Skeptic to Success
I used to think the idea of growing cacti hydroponically was, frankly, a bit absurd. Aren’t these the ultimate symbols of dry, harsh deserts and gritty soil? The thought of their roots sitting in water seemed like a recipe for instant rot. But as a plant enthusiast constantly pushing boundaries, my curiosity won out. I wanted to solve the common pain points many indoor gardeners face: inconsistent soil moisture leading to overwatering, pest infestations in potting mix, and the general struggle to provide perfect drainage. So, I embarked on a mission to learn how to care for hydroponic cactus species. This is not just theory; it’s my documented, two-week intensive trial, complete with mistakes, adjustments, and ultimately, a thriving soilless cactus collection.
Understanding the Hydroponic Cactus Paradox
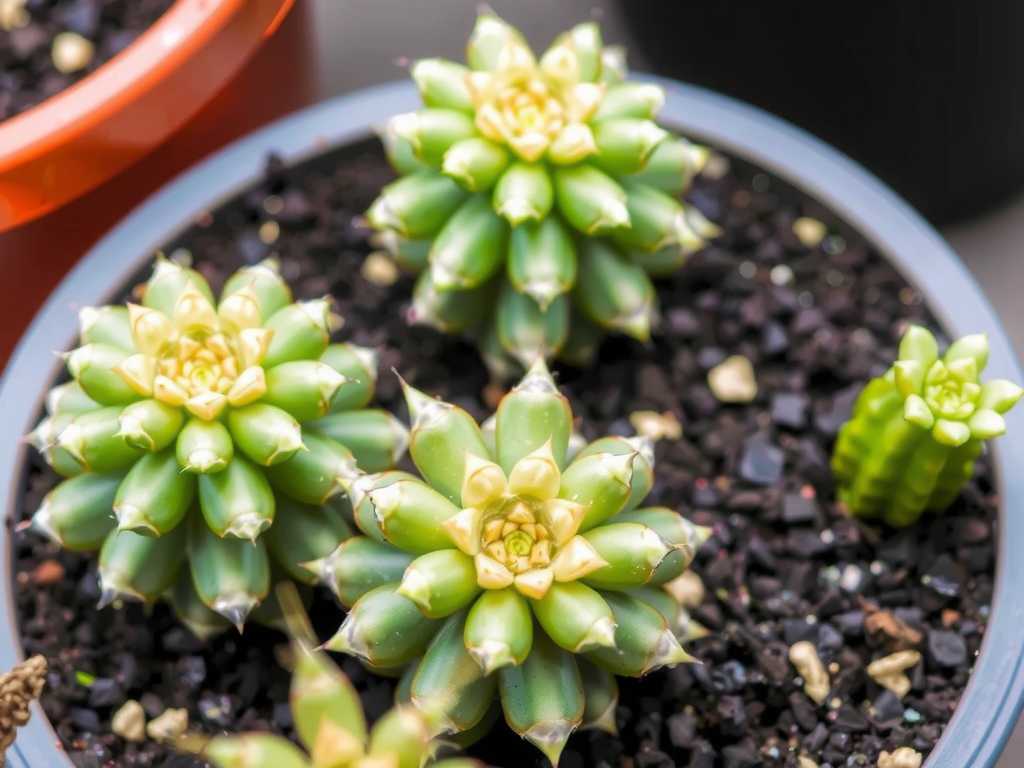
The key lies in separating the concept of “hydration” from “saturation.” In nature, cactus roots often exploit brief, heavy rains before drying out rapidly. A well-designed soilless system for cacti replicates this by providing ample oxygen to the roots between nutrient deliveries. It’s about control—precise control over nutrients, moisture, and pH that soil can rarely offer consistently.
My Setup: Choosing the Right Hydroponic Method
Not all hydroponic systems are created equal for cacti. After research, I selected two for my experiment: a simple Deep Water Culture (DWC) with major modifications and an Ebb and Flow (Flood and Drain) system. The DWC would test aeration limits, while Ebb and Flow naturally provides the wet-dry cycle.
- Plants Selected: I chose two resilient, common species known for some adaptability: Echinopsis subdenudata (Domino Cactus) and a Mammillaria species. Starting with mature, healthy soil-grown plants was crucial.
- The Crucial Transition – Washing Roots: This was my first critical step. I gently removed all soil from the roots under lukewarm water, being meticulously careful not to damage the fine root hairs. Any remaining soil can rot and contaminate the water. I then soaked the roots in a diluted hydrogen peroxide solution (1 part 3% H₂O₂ to 4 parts water) for 20 minutes to disinfect any minor wounds.
- Modified DWC Setup: Instead of letting roots dangle directly into the nutrient solution, I suspended them in the net pot with a highly porous medium—large clay pebbles (LECA) mixed with perlite. The key was setting the water level so only the very bottom tips of the roots would touch it, relying on the capillary action of the LECA and the intense aeration from two air stones to keep the upper root zone humid but not soaked.
- Ebb and Flow Setup: Here, I used a tray filled with coarse horticultural pumice. The pump was set on a timer to flood the tray for just 5 minutes, three times a day, allowing complete drainage back to the reservoir.
The nutrient solution was a standard, balanced hydroponic formula, but I diluted it to half-strength for cacti, as recommended by the American Horticultural Society (AHS), which notes that succulents generally require lower nitrogen levels to maintain compact, healthy growth. The pH was adjusted and maintained between 5.8 and 6.2.
The First 48 Hours: Signs of Stress and Immediate Action
The first two days were nerve-wracking. The Echinopsis showed slight wrinkling, a sign of stress. I panicked—was it already too dry? This was my first major “pitfall.” I nearly flooded the DWC pot, but then checked the roots. They were firm and white. I realized the wrinkling was likely shock from transition, not dehydration. According to the Royal Horticultural Society (RHS), transplant shock in cacti can manifest as temporary softening or wrinkling, and the best action is to maintain stable conditions, not over-correct.
I held firm. I kept the environment stable with strong light (12 hours under a full-spectrum LED grow light) and good airflow. I misted only the LECA in the top of the pot to increase local humidity for potential new root growth, avoiding the plant body.
Week One: Observation and a Critical Adjustment
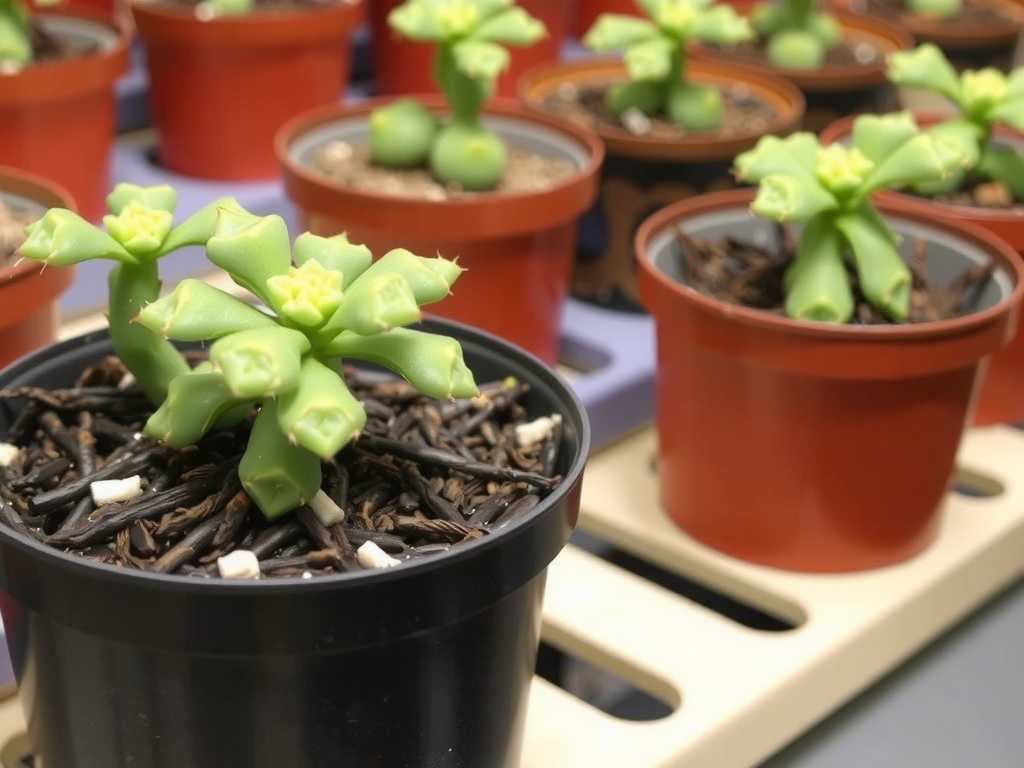
By day 5, the wrinkling stabilized. Then, I noticed a subtle change: the very tip of one root in the DWC looked slightly brown and slimy. Root rot. This was the pitfall I feared. I immediately removed the plant, trimmed the affected tip with sterile scissors, and reapplied the hydrogen peroxide soak. The problem? Despite the air stones, the constant contact of even a few root tips with the nutrient solution was too much for this particular cactus.
My solution was a hybrid approach. For the DWC, I lowered the water level further, creating a larger “air gap” between the net pot bottom and the water surface. Now, only the vigorous bubbles from the air stones burst, splashing moisture onto the roots—a technique sometimes called a “bubble cloner” method. This provided immense aeration with minimal direct contact.
The cactus in the Ebb and Flow system, however, was doing remarkably well. The pumice drained instantly, and the roots were already showing signs of new, bright white growth exploring the porous medium. The clear wet-dry cycle was proving superior for cactus hydroponic care.
Week Two: Breakthrough and New Growth
Entering the second week, the adjustments paid off. The stressed Echinopsis in the modified DWC plumped back up. More importantly, on both plants, I observed small, crystalline-white new root nubs emerging. This was the ultimate sign of success—the cacti had adapted and were growing roots specifically designed for their hydroponic environment.
The Mammillaria even showed a hint of new, bright green growth at its crown. Nutrient uptake was happening. I performed my first reservoir change, refreshing the half-strength solution. I also confirmed that water temperature was vital; keeping it between 68-72°F (20-22°C) prevented pathogen growth and maintained optimal dissolved oxygen levels.
Essential Care Parameters for Thriving Hydroponic Cacti
Based on my trial, here are the non-negotiable pillars for maintaining hydroponic cactus plants:
- Light: They still need abundant light—direct sun or equivalent strong grow lights for 10-14 hours.
- Nutrient Solution: Always use a diluted formula (½ to ¼ strength). Change the reservoir every 2-3 weeks to prevent salt buildup and nutrient imbalance.
- Oxygen is King: Whether through massive aeration in DWC or the drain cycle in Ebb and Flow, oxygen to the roots is more critical than constant nutrient access.
- Support and Medium: Use inert, chunky media like pumice or large LECA. They provide physical support and maximize air pockets. Your cactus should be firmly anchored and never wobble.
Troubleshooting: The Pitfalls I Encountered and Fixed
- Pitfall 1: Overcorrecting for Shock. Symptom: Wrinkling post-transition. My Mistake: Almost overwatering. Fix: Patience. Monitor roots, not just the stem. Ensure stable environment.
- Pitfall 2: Early Signs of Rot. Symptom: Brown, soft root tips. My Mistake: Initial water level too high in DWC. Fix: Immediate surgery (trimming), sterilization, and increasing the air gap or switching to a more suitable system like Ebb and Flow.
- Pitfall 3: Algae Growth. Symptom: Green slime in reservoir or on medium. My Mistake: Using a clear reservoir and net pot. Fix: Use opaque, light-proof materials for all containers. Light in the reservoir promotes algae, which competes for nutrients and oxygen.
Can all cactus species be grown hydroponically? While my experiment focused on adaptable types, not all cacti are ideal candidates. Forest cacti like Christmas Cactus (Schlumbergera) are often easier than dense, slow-growing desert globular types. It’s best to start with commercially common, resilient species as I did.
How often do I add water to the hydroponic system? You don’t “add water” based on a schedule. You monitor the reservoir level and top it off with pH-balanced water as it evaporates or is used by the plant. Then, completely replace the entire nutrient solution every 2-3 weeks to prevent imbalances.
What are the signs my hydroponic cactus is actually thriving? The clearest signs are firm, plump stems (not mushy or severely wrinkled), and—most definitively—the growth of new, white, healthy roots. Any new green growth on the crown is a fantastic bonus indicator of successful establishment.
Growing cacti in soilless systems is a fascinating exercise in precision. It flips the traditional care model on its head, replacing the guesswork of soil moisture with data-driven control. My two-week journey from skeptical transition through root rot scare to the triumph of seeing new root growth was incredibly rewarding. It requires more initial attention to detail than soil, but the payoff is a resilient plant with optimized access to exactly what it needs. If you’re a plant lover looking for a new challenge and a way to virtually eliminate overwatering, hydroponic cactus cultivation is a viable and deeply satisfying frontier.





