 bluename
 Choosing the right pot with adequate drainage holes for outdoor cactus planting is the single most important decision you will make. Skip the fancy ceramics without holes.
Here is the direct answer: Only use pots with at least one large drainage hole (or several small ones) at the bottom. Terracotta is the best material because it wicks away moisture. Plastic is okay if you are a disciplined waterer, but you must drill extra holes. If there are no holes, you will kill the plant. Period.
I have killed more cacti than I care to admit. My first cactus died a slow, mushy death because I thought a pretty glass bowl would look great on my patio. It looked great for two weeks. Then it turned yellow and collapsed. I learned that lesson the hard way.
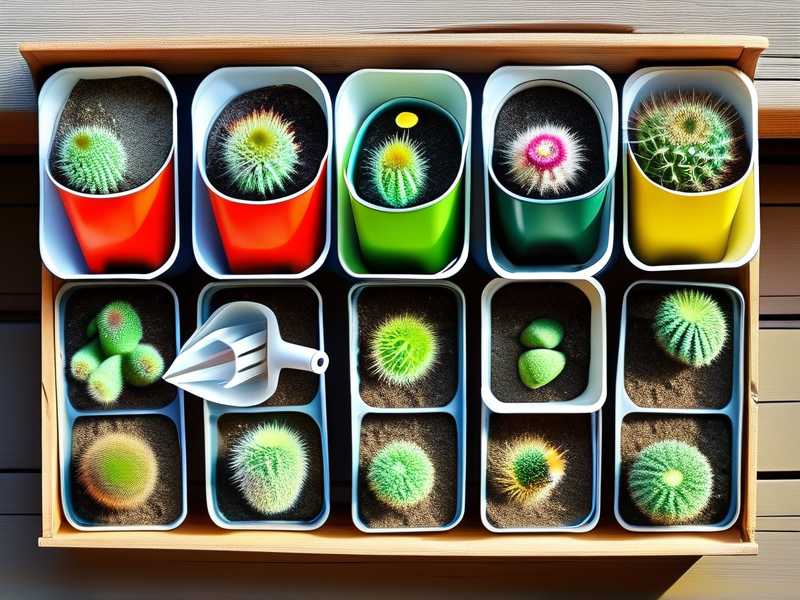
You want to grow outdoors, which is different than indoor growing. Rain, wind, and intense sun all play a role. But honestly, the container is your first line of defense. We need to get this right before we even talk about soil or sunlight.
The Absolute Non-Negotiables for Outdoor Containers
Before we dive into the nitty-gritty, I need you to understand a basic fact: 90% of indoor plants die from overwatering. Outdoors, this statistic is slightly better because the sun dries things out. But if your water cannot escape, your cactus is sitting in a bathtub. It will drown.
Why One Hole is Never Enough
I used to think one drainage hole in the center was sufficient. I was so wrong. I tried a standard pot with a single central hole. After a heavy rainstorm, the water pooled at the edges of the pot. The roots in the center were dry, but the outer roots were rotting. It made no sense to me until I repotted it.
The soil had compacted around the central hole, completely blocking it. Water exits only where there is air to replace it. If the hole is clogged, the water just sits.
Now, I exclusively look for pots with multiple holes spread across the bottom. Or, I drill my own. You want the water to exit from every corner, not just the middle. This ensures that no side of the root ball stays wet longer than the other.
My 2-Week Observation Test with Different Materials
I got tired of guessing which pots worked best. So, I set up a small experiment on my back deck. I took three identical-looking cacti of the same species and size. I placed them in three different containers, all with good drainage holes.
The goal was simple: leave them out for two weeks and monitor how quickly the soil dried out after a deep watering.
1. The Terracotta Pot (The Champion)
This is the one I rely on the most now. Terracotta is porous. It absorbs water through its walls and lets it evaporate into the air.
My observation: I soaked the terracotta pot completely. Within two days, the soil surface was dry to the touch. By day four, the soil at the bottom of the pot was almost dry. The roots never felt clammy.
The downside: It dries out very fast. On a hot 95°F day, I watered it in the morning, and by evening, the pot felt cool and damp, but the soil was already pulling away from the edges. This means I had to water more often. But, for a beginner, this is safety. It forgives your mistakes.
2. The Plastic Nursery Pot (The Trap)
Plastic is what most plants are sold in. It is cheap. It holds moisture forever. I always thought this was a good thing. It spares me from watering every day.
My observation: This was the tricky one. The soil stayed wet for six days straight. By day five, I noticed the base of the cactus starting to feel soft. The moisture was trapped at the bottom. There was no airflow.
My verdict: If you use plastic, you must be extremely disciplined. You cannot water on a schedule. You must stick your finger deep into the soil and only water when it is bone dry at the bottom. For me, this was too much work. I lost my second cactus to this mistake. I assumed because it had holes, it was fine. The holes weren't enough to compensate for the lack of evaporation.
3. The Glazed Ceramic (The Beautiful Killer)
This is what I used for my first cactus. It looks stunning. It has a beautiful glaze on the outside, making it waterproof.
My observation: The soil took eleven days to dry out. The single drainage hole was too small for the pot size. I even put rocks at the bottom (which is a myth we will bust later). The water sat in a layer below the soil, creating a toxic soup.
My verdict: Never, ever use glazed ceramic for outdoor cactus planting unless you are a desert climate expert. The walls hold in moisture and cold. I have decided to reserve these for non-cactus plants that love humidity, like ferns.
The 3 Fatal Mistakes Newbies Make (And How I Survived Them)
Everyone makes mistakes. I have made all of them. Here is what you need to avoid.
① Watering on a Schedule
This is the biggest killer. I used to set an alarm on my phone. "Water the plants every Sunday." It seemed logical.
Then I learned about evaporation. If it rains on Monday, and I water again on Sunday, the soil is already saturated. I was drowning my roots.
The solution: Stop looking at the calendar. Look at the plant. If the pot feels light when lifted, water it. If the soil is dry two inches down, water it. If in doubt, wait another day. I pushed my watering day back by three days last summer, and my cactus rewarded me with new spines. They actually like the stress of drying out.
② Too Much Direct Sun After Repotting
When I repotted my cactus into the new terracotta pot, I placed it straight into the afternoon sun. That was a huge error. The pot rapidly heated up, and the roots, which were disturbed, literally cooked inside the container.
The solution: I always shade a newly potted cactus for two weeks. I place it near the pot but not in direct sun. The roots need time to recover from the shock of transplanting. The pot needs to acclimatize too. A dark plastic pot in full sun will heat the soil to damaging temperatures.
③ Ignoring the Pot Color
I never thought color mattered until I had two identical pots, one black and one light gray. The black pot in the sun absorbed heat. The internal temperature of the soil was 15 degrees higher than the gray pot.
The solution: For outdoor cactus, avoid dark-colored pots if you live in very hot climates. The roots will cook. I now stick to light, neutral, or terracotta colors that reflect sunlight. It keeps the root zone cooler, which is crucial for growth.
The "Rocks in the Bottom" Myth
You see this everywhere. People put gravel or stones at the bottom of a pot to "improve drainage." I tried this for a long time, and it always felt wrong.
I read a study from the RHS RHS website that debunked this completely. They call it the "perched water table" effect. When you create a layer of faster-draining soil (gravel) below a finer soil (potting mix), the water does not move down. It stops at the boundary between the two layers. It actually keeps water higher up, closer to the roots.
The solution: I stopped using rocks entirely. I use a screen or mesh over the drainage holes to prevent soil from washing out. The holes need to be open, and the soil should be uniform. This simple change has drastically improved my survival rate. The entire soil column dries out evenly now.
The Practical Guide I Wish I Had
Let’s get down to the actual steps. I have been doing this for years now, and this is my foolproof system.
Step 1: The Finger Test and Lift Test
Don't rely on gadgets. I use my index finger. I jab it into the soil up to the second knuckle. If it feels damp, I walk away. If it feels dry like a desert, I get the watering can.
I also lift the pot. A dry pot is significantly lighter than a wet one. I am always surprised by how heavy wet soil feels. This is a physical cue you cannot replicate with a sensor.
Step 2: The Hole Confirmation
Before I buy any pot, I flip it over. I check the holes. Are they raised on the bottom? If the holes are flush with the ground, water cannot escape if the pot sits on a flat deck. I look for pots with "feet" or raised ridges, or I place them on pot feet to elevate them.
Step 3: Use the "Soak and Dry" Method
With my new terracotta pot, I usually water deeply until water flows out of the bottom holes. This draws air into the soil as the water drains. Then, I leave it alone.
I experimented with a mini cactus called a Mammillaria. I gave it a deep soak. I then waited. By day six, the pot felt light. I felt the soil. It was bone dry. I watered again. It has tripled in size over the summer. The AHS AHS recommends letting cacti completely dry out between waterings to promote strong root growth, which lines up perfectly with my experience.
Step 4: Protecting from Heavy Rain
When I started, I left my pots out in the open during summer thunderstorms. Big mistake. Even with perfect drainage, 5 inches of rain in one hour is too much. The soil becomes saturated and anaerobic.
My fix: I now tilt my pots slightly on the bench. It allows water to run off the top and away from the root crown. Or, I move the pots under an eave during severe storms. The drainage holes help, but they are not a miracle worker against torrential downpours.
Long-term Maintenance of the Container
The pot itself needs care.
After about a year, mineral salts from tap water and fertilizer build up on the inside of terracotta pots. This white crust can actually block the pores of the pot, reducing evaporation.
My fix: Once a year, I soak my terracotta pots in a bucket of water with a little vinegar for a few hours. This dissolves the salts. I scrub the inside fresh. After that, the pot breathes like new again. This is a small step that people often skip, but it keeps the drainage working at its best.
I also always check the holes before spring replanting. I have had times where a pill bug or a weed root has clogged the hole completely. A quick poke with a stick fixes it instantly.
Why Terracotta is my Final Answer
If you asked me to narrow down the selection process, I would say look for a pot that is:
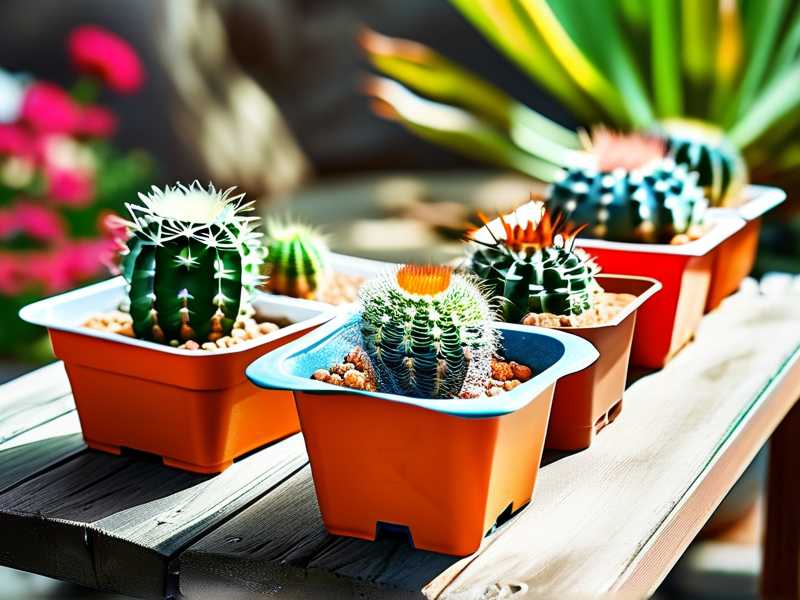
- Made of unglazed terracotta.
- Has multiple holes at the bottom.
- Is wider than it is deep (for most cacti).
- Is light-colored or natural.
I have switched all my outdoor cacti to terracotta. The only exception is a large, heavy barrel cactus that I keep in a plastic half-barrel planter. I drilled 12 extra holes into it and raised it on bricks. It works, but it requires constant vigilance. For every other plant, terracotta is the safest bet.
Frequently Asked Questions
1. Can I use a pot without drainage holes if I put charcoal at the bottom?
No. Charcoal does not create a magic layer that stops root rot. Yes, charcoal absorbs some impurities, but it does not eliminate standing water. The water will still pool above the charcoal layer. In my experience, this setup failed just like the gravel layer. If you have a pot without holes, use it as a cachepot (a decorative outer shell). Keep the cactus in a plastic pot with holes inside it, and remove the inner pot when you water.
2. Are saucers under the pots acceptable?
You can use a saucer, but you have to empty it every single time after watering. If you leave water in the saucer, the soil will wick that water back up, keeping the bottom of the root ball wet. I actually bought terracotta "pot feet" instead. These lift the pot off the saucer and allow air to flow underneath. This ensures that any excess water drains away and evaporates, not touching your roots.
3. How many drainage holes are perfect for a 10-inch pot?
I do not count specific numbers, but I look for coverage. A 10-inch pot should have at least four or five holes spread evenly across the base. Or, one large hole at least 1 inch in diameter. The key is that any water pooling inside should be able to exit within seconds of pouring. If the water drains slowly, the holes are either too small or clogged. I fixed this problem by drilling several quarter-inch holes around the perimeter of the base.
The pot is just the housing, but it dictates your watering routine. It dictates how often you need to water to keep your roots happy. If you get the container right, everything else becomes easier. It gives you a margin of error that plastic simply cannot offer. I genuinely believe that switching to the right pots with proper holes is the main reason I stopped killing my plants and finally started growing beautiful, healthy specimens.
Take a look at your pots today. Flip them over. Look at the holes. If you are unsure, grab a terracotta pot with good drainage and upgrade your cactus. Your plant will thank you.





