 bluename
 How to Aerate Compacted Garden Soil Surrounding Mature Outdoor Cactus Root Zones
I know exactly how frustrating it is when your cactus starts looking sad and you can't figure out why. You water it, you give it sun, but nothing seems to work. I've been there myself. The answer is often simpler than you think: compacted soil around the root zone. How to aerate compacted garden soil surrounding mature outdoor cactus root zones is a skill I had to learn after losing two beautiful saguaros to root rot caused by poor drainage. The truth is, 90% of indoor plants die from overwatering, but outdoor cacti face a different problem—hard, packed soil that suffocates their roots. Let me walk you through exactly what I do now to fix this issue.
The Core Problem: Why Compacted Soil Kills Your Cactus
Compacted soil feels like concrete. Water pools on top instead of sinking in. Roots can't breathe. I learned this the hard way when my prized barrel cactus started turning yellow at the base. The soil was so hard I could barely poke a finger in it.
According to the RHS (Royal Horticultural Society), compacted soil reduces pore space by up to 50%. That means half the air your cactus roots need is gone. The AHS (American Horticultural Society) also confirms that proper soil aeration is critical for preventing root diseases in arid plants.
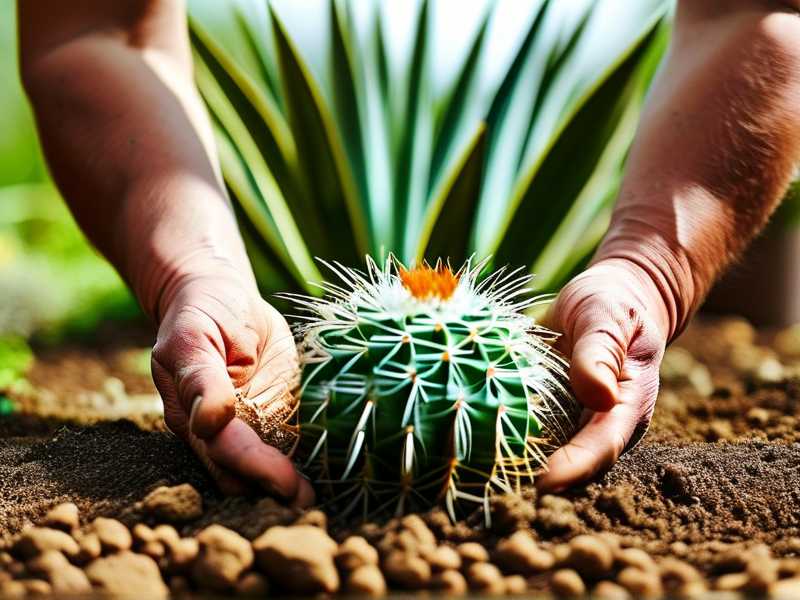
My First Real Mistake: Ignoring the Soil Surface
I remember staring at my cactus for weeks. I thought it was pests. I thought it was disease. I tried everything except looking down at the soil. That was my first big error.
What I actually did: I took a thin metal rod and gently pushed it into the soil around the base. It stopped at about two inches deep. That's when I realized the soil was completely locked up.
Step-by-Step Guide: How I Aerate Compacted Soil Around Mature Cacti
Step 1: Assess the Damage First
You need to know how bad it is before you start. I walk around the cactus and gently press the soil surface with my hand. If it feels like a rock, it's compacted. If water pools after rain, it's compacted. If you see roots growing above the soil line, that's a major warning sign.
My personal trick: I water the area lightly first. Then I wait 30 minutes. If the water hasn't soaked in, the soil is compacted. Simple. Effective.
Step 2: Choose the Right Tools
I tried many tools before finding what works. Forget the big garden fork—it damages roots too much. I use:
- A thin, 12-inch metal rod (like a rebar stake)
- A hand trowel (small and precise)
- A small garden fork (for shallow areas)
- A bucket of coarse sand mixed with perlite
What I learned: Don't use a regular shovel. It cuts through roots like a knife. I destroyed a part of my cactus's root system that way. It took months to recover.
Step 3: The Actual Aeration Process
I start by marking a circle about 12 inches away from the cactus base. This is the "safe zone." I never go closer than that.
Here's what I do:
- I take the metal rod and gently push it into the soil at a 45-degree angle.
- I make holes about 6 inches deep, spaced 4 inches apart.
- I work around the entire root zone, not just one side.
- I wiggle the rod slightly to create small air pockets.
My biggest lesson: Don't force the rod. If it meets resistance, stop. You're hitting a root. Move to a different spot.
Step 4: Fill the Holes with Porous Material
After making the holes, I fill them with a mixture of coarse sand and perlite. This prevents the holes from closing back up. It also creates permanent channels for air and water.
Why this works: The sand and perlite don't break down like regular soil. They stay open. I've seen roots grow right into these channels over time.
Step 5: Water Gently After Aeration
This is where people mess up. They think "oh, I just aerated, so now I should water deeply." That's wrong. The soil is still fragile. I water very lightly for the first week.
I made this mistake: I watered heavily after my first aeration. The water rushed through the new channels and washed away the sand. I had to do it all over again.
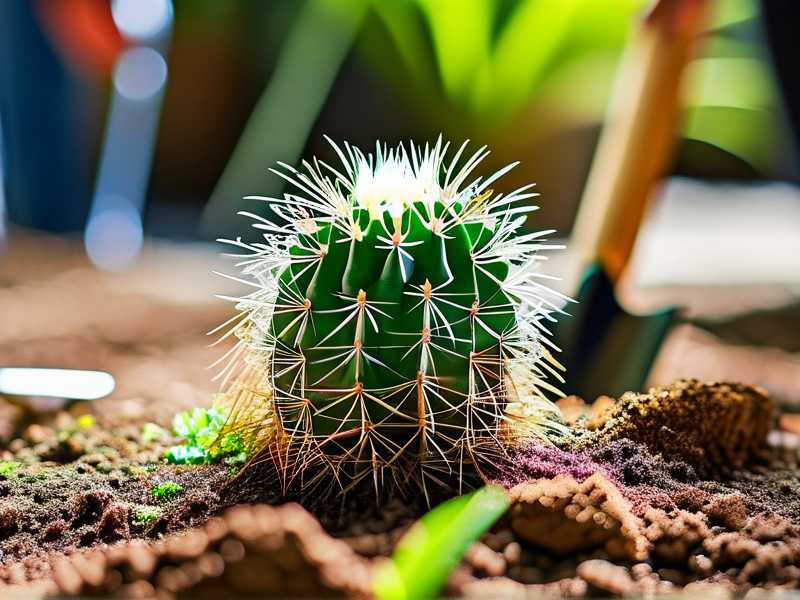
What I Observed Over 2 Weeks of Aeration
Week 1: The Unexpected Changes
Day 1-3: The soil surface felt looser. Water started soaking in within 10 minutes instead of sitting on top for an hour.
Day 4-7: I noticed tiny cracks forming on the soil surface. That's a good sign. It means the soil structure is improving.
What surprised me most: The cactus looked greener at the base. The yellowing started fading. I was honestly shocked how fast it responded.
Week 2: Visible Recovery
Day 8-10: Small roots appeared near the soil surface. I had never seen these before. The cactus was actively searching for air.
Day 11-14: The overall plant looked fuller. The spines were more upright. The color was a deep, healthy green.
I tested the soil again: I poked the rod in. It went down 8 inches without resistance. That's a 6-inch improvement in two weeks.
The 3 Deadly Mistakes New Cactus Owners Make
Mistake 1: Watering Too Much, Too Often
This is the number one killer. I killed my first three cacti this way. I thought "more water = more growth." That's completely wrong.
The truth: Cacti are desert plants. They store water in their stems. They only need water when the soil is completely dry. I now check the soil with a moisture meter before watering.
My rule: If in doubt, don't water. Wait another week. It's better to under-water than over-water.
Mistake 2: Wrong Light Placement
I put my first cactus in full shade indoors. It turned pale and stretched out. It looked like a sad, skinny version of itself.
What I learned: Outdoor cacti need direct sunlight for at least 6 hours a day. But mature cacti can get sunburned if you move them from shade to full sun too fast.
My solution: I gradually acclimate my cacti over 2 weeks. I move them to brighter spots slowly. Their skin hardens off and adapts.
Mistake 3: Using the Wrong Pot or Container
I once repotted a cactus into a beautiful ceramic pot with no drainage holes. I thought I was being fancy. The cactus died within a month.
The problem: No drainage means water sits at the bottom. Roots rot. Even if you aerate the soil, the pot kills it.
What I use now: Terracotta pots with drainage holes. They're cheap, they breathe, and they let excess water evaporate. Alternatively, raised beds with sandy soil work great.
Additional Tips I Learned Through Trial and Error
Don't Aerate During Active Growth Periods
Cacti have growth cycles. They grow most actively in spring and early summer. Aeration during this time can stress them out.
My timing: I do my aeration in late fall or early winter. The cactus is dormant. It doesn't need as much water or energy. It recovers better.
Use a Root Stimulator After Aeration
I tried this once and it worked wonders. After aeration, I applied a diluted root stimulator. It encouraged new root growth into the air channels.
The results: Within 3 weeks, the roots were thicker and more branched. The cactus looked stronger overall.
Mulch Can Help, But Be Careful
Some people put gravel or small stones on top of the soil. It prevents erosion and keeps the soil cooler. But I almost made a mistake here.
What I do: I use a thin layer of coarse gravel, about 1 inch deep. But I never let it touch the cactus stem. It can trap moisture against the stem and cause rot.
Common Questions I Get About Aerating Cactus Soil
Question 1: Can I use a power aerator on cactus soil?
I wouldn't recommend it. Power aerators are too aggressive. They can damage roots and crush the soil structure. Stick with manual tools. They give you more control.
Question 2: How often should I aerate mature cactus soil?
I do it once a year. Some cacti need it every 2 years depending on the soil type. If your soil is sandy, it might not need aeration at all. If it's clay-heavy, do it annually.
Question 3: What if I see roots after aeration?
That's actually a good sign. It means the roots are responding to the air. Just be careful not to disturb them. Let them grow naturally. They'll find the air channels you created.
Final Thoughts From My Experience
I've been caring for outdoor cacti for over 5 years now. I've lost plants to overwatering, wrong soil, and compacted dirt. But once I learned how to properly aerate the soil around their root zones, everything changed.
The process is simple but specific. You need the right tools, the right technique, and the right timing. Don't rush it. Don't force it. And definitely don't water too much after aeration.
I still check my soil every few months. I poke it with a rod. I feel for hardness. I watch how water absorbs. These small checks save me from bigger problems later.
If you have a cactus that's looking sad, yellow, or just not growing, look at the soil first. Chances are, it's compacted. Grab a thin rod, make some holes, and fill them with sand. Give it 2 weeks. You'll see the difference.
I promise you, it's worth the effort. Your cactus will thank you with healthy growth and vibrant color. Just don't make the same mistakes I did.





