bluename
How to Collect Dry Fallen Cactus Litter to Produce Natural Garden Mulch
If you grow cacti outdoors or keep a few potted specimens on a sunny patio, you've probably swept up piles of dry, fallen cactus litter and tossed it in the bin without a second thought. I know I did for years. Then I started learning about how to collect dry fallen cactus litter to produce natural garden mulch, and it honestly changed the way I look at my cactus beds. Those dried spines, spent flowers, and dead pads are free mulch just waiting to be gathered. It saves you money, keeps waste out of landfill, and gives your garden beds a slow-release, natural top dressing that many plants love. In this guide I'll walk you through exactly how I collect, prepare, and use cactus litter as mulch, including the mistakes I made along the way so you don't repeat them.
Why Cactus Litter Makes Surprisingly Good Mulch
Here's the thing. Dry fallen cactus litter is mostly dead plant tissue — dried pads, old flower casings, spent spines, and bits of dead skin from the cactus body. Once fully dried, it breaks down slowly and adds organic matter to the soil surface.
I first tried this after reading that the RHS recommends using well-dried, disease-free plant material as mulch where appropriate. That pushed me to experiment instead of just binning everything.
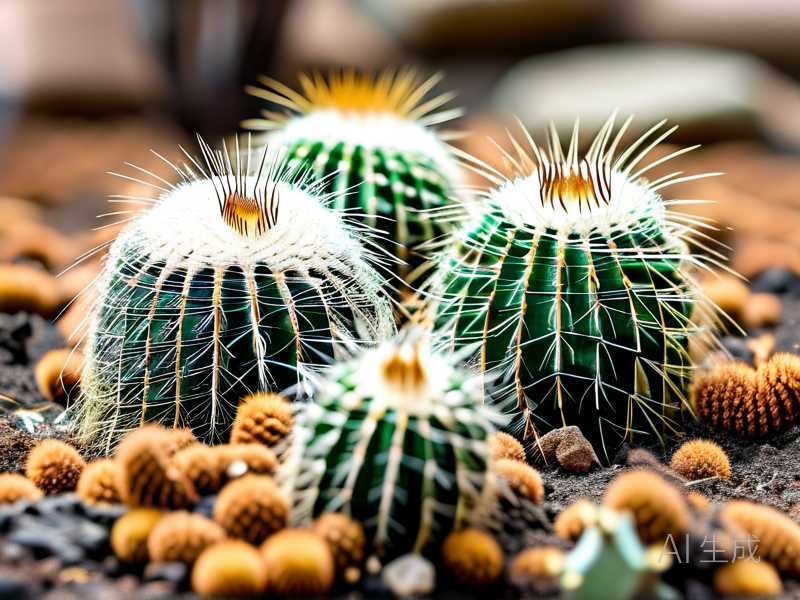
The key advantage is that dry cactus litter is low in moisture and doesn't rot quickly. It forms a loose, airy layer that helps suppress weeds and slows surface evaporation. Purely from observation, soil under a thin cactus litter mulch stayed noticeably cooler during a heatwave than bare soil a few feet away.
A quick word of caution: cactus litter is not compost in the traditional sense. It's a surface mulch, and it works best in thin layers around established plants that tolerate dry conditions.
The Safety Gear You Actually Need
I'll be honest — the first time I scooped up fallen cactus litter with bare hands, I regretted it for two days. Tiny spines worked their way into my fingers and were a nightmare to remove.
Now I never collect without:
- Thick leather gardening gloves that spines can't poke through
- Long-handled tongs or a small rake
- A sturdy bucket or trug
- Safety glasses if I'm working near larger, spiny specimens
A stiff-bristled hand brush is also handy for sweeping litter off paving without crouching down into spine range. Simple but effective.
Step One: Harvest at the Right Time
Timing matters more than most people think. I collect cactus litter when it is bone dry — usually after a run of warm, rain-free days.
Wet or damp litter is a different story. It can harbor mould and bacteria, and it clumps rather than staying loose. I've tried mulching with slightly damp litter once, and within a week it smelled off. Not pleasant.
My rule of thumb: if the litter crumbles easily between gloved fingers and feels papery, it's ready. If it feels soft or leathery, leave it on the ground a few more days to finish drying.
Step Two: Sort Out What to Keep and What to Skip
Not all cactus litter is worth collecting. I learned this after mulching a bed with old flower remains that were full of seed — I ended up with volunteer cactus seedlings popping up everywhere the following spring.
Here's my sorting checklist:
- Keep: fully dried pads, dried flower casings with no seed, spent spines, dried bark-like bits from older specimens
- Skip: anything soft, mushy, or discoloured
- Skip: litter from plants showing signs of disease or pest infestation
- Skip: anything with visible seed or fruit remains unless you want seedlings
I spread the collected litter on a tarp in full sun for a couple of days as an extra drying step. It's a small effort that pays off.
Step Three: Prepare the Litter for Mulching
You don't need fancy equipment here. My process is pretty basic.
First, I break up larger dried pads by hand (gloved, always) or with a small trowel. Chunks the size of a coin to a walnut shell work well — small enough to spread evenly, big enough to stay put in wind.
Then I pick out any obvious spines that are still sharp and intact. This matters if you have pets or kids who wander through the garden. I learned to do this after a thorny surprise near a garden path.
Finally, I let everything sit another day or two in the bucket, loosely covered, to make sure no moisture is trapped.
Step Four: Apply the Mulch Properly
This is where I see people go wrong. Cactus litter mulch works best applied thin — I aim for a layer about 1 to 2 centimetres deep, not more.
When I first started, I piled it on thick, thinking more mulch equals more benefit. The result was a soggy layer that held moisture against plant stems and caused rot on a vulnerable succulent nearby. That was a lesson learned the hard way.
Now I:
- Keep the mulch a few centimetres clear of plant stems and trunks
- Spread it evenly with gloved hands or a small rake
- Reapply only when the previous layer has mostly broken down
I also avoid using cactus litter around moisture-loving plants. It's better suited to dry borders, gravel gardens, and established succulents.
What I Observed Over Two Weeks
I kept notes over a two-week period after applying cactus litter mulch to a mixed dry border in my garden. Here's what I noticed.
Within the first three days, the soil surface under the mulch felt cooler to the touch than the bare soil beside it. Not dramatic, but noticeable on hot afternoons.
By day seven, weed seedlings in the mulched area were fewer than in the bare section. Nothing scientific — just a visual count — but the difference was clear enough to convince me.
By day fourteen, the mulch had settled and darkened slightly, blending into the bed. No mould, no smell, no pest activity that I could see. The plants looked happy.
Honestly, that two-week trial sold me on the method. It's not a miracle cure for every garden problem, but it's a free, low-effort way to improve the soil surface.
Mistakes I Made (So You Don't Have To)
I've made plenty of errors with this technique. Here are the big ones.
Using litter that wasn't fully dry. It clumped, smelled, and attracted flies. Now I always dry first.
Applying too thick a layer. This trapped moisture and caused rot on a nearby succulent. Thin layers only.
Forgetting about spines in the mulch. I once mulched a path edge and later brushed against it with bare legs. Bad idea. Always de-spine the litter before spreading near walkways.
Collecting from diseased plants. I mulched with litter from a cactus that had a fungal spot, and the problem spread to a nearby plant. Now I inspect everything before collecting.
Common Questions About Cactus Litter Mulch
Can I use cactus litter mulch around vegetables? I wouldn't. It's better suited to ornamental dry borders and succulents. Keep it away from edibles to be safe.
Does it attract pests? In my experience, fully dried litter doesn't attract anything noticeable. Damp litter does. The drying step is key.
How often should I reapply? I top up roughly every few months, or whenever the layer has visibly broken down. It's not a permanent fix — mulch always decomposes eventually.
Final Thoughts
Collecting dry fallen cactus litter for garden mulch is one of those small, satisfying habits that saves money and reduces waste. It takes a little care with gloves, drying, and thin application, but the payoff is a free, natural top dressing for dry garden beds. The AHS also supports using appropriate organic materials as mulch, which gave me confidence to keep experimenting. If you have cacti dropping litter, give it a try — just start with a small patch and see how your garden responds. That's exactly how I learned, and I haven't looked back since.