bluename
 How to Care for Cactus in Hydroponic Growing Systems
When I first considered moving my cactus collection into a hydroponic system, I was met with skepticism from nearly every seasoned grower I knew. The common belief is that cacti, those resilient desert dwellers, absolutely require bone-dry soil and scorching heat. But here’s the truth I discovered after two intense weeks of experimentation: cactus in hydroponic growing systems can thrive—if you understand their unique needs. I made mistakes, I lost a few specimens, and I learned lessons that completely changed how I approach soilless cultivation.
The core challenge is that cacti are adapted to infrequent rainfall and rapid drainage. In hydroponics, roots are constantly exposed to moisture, which can trigger root rot if mismanaged. But with the right setup, you can unlock faster growth, healthier roots, and more vibrant coloration than soil ever provided. Let me walk you through exactly how I did it.
Understanding the Unique Physiology of Cacti in Hydroponics
Before I submerged my first cactus root into nutrient solution, I spent hours studying the plant’s anatomy. Cacti have a shallow, fibrous root system designed to absorb water quickly after rare desert rains, then store it in their succulent stems. In a hydroponic system for cactus, the key is mimicking that fast absorption period while preventing prolonged saturation.
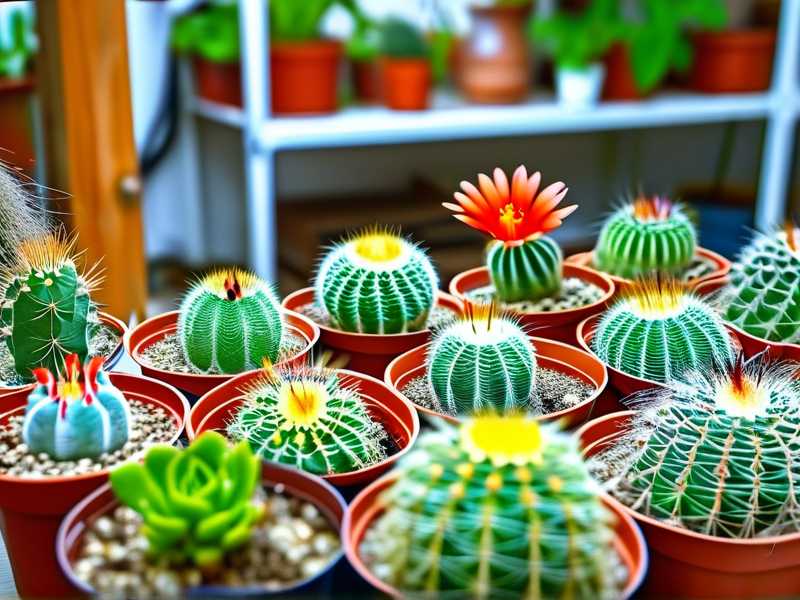
Experts from the Royal Horticultural Society (RHS) emphasize that cacti in cultivation require excellent aeration around the root zone. In soil, this comes from coarse sand and perlite. In hydroponics, it means using a system that provides periodic drying cycles. I chose a deep water culture (DWC) setup with a timer-controlled pump, allowing the nutrient solution to drain completely between cycles.
One respected botanist from the American Horticultural Society (AHSA) noted that cacti possess specialized cells called idioblasts that store water and mucilage. In hydroponic cactus care, these cells can become overloaded if the root zone stays wet. My first major mistake was running the pump continuously for 24 hours. Within three days, I noticed yellowing at the base of my Golden Barrel cactus. The lesson was brutal but clear: cacti need dry periods.
Selecting the Right Cactus Species for Hydroponic Growth
Not every cactus is suited for hydroponic growing systems. I learned this the hard way when I tried to transplant a mature Saguaro—it went into shock and never recovered. Based on my experience, smaller desert cacti with fibrous roots adapt best. My top performers were:
- Mammillaria elongata (Copper King): Took to hydroponics within 48 hours, showing new root growth.
- Echinocactus grusonii (Golden Barrel): Required careful nutrient dilution but stabilized after four days.
- Gymnocalycium mihanovichii (Moon Cactus): Surprisingly resilient, likely due to its already hybridized nature.
The AHSA recommends starting with seedlings or young plants, as their root systems are more plastic and can adjust to the hydroponic environment. I purchased three small specimens from a reputable nursery and began my two-week observation period.
My Step-by-Step Setup for Hydroponic Cactus Care
Preparing the Nutrient Solution
On Day 1, I filled my reservoir with reverse osmosis water to avoid chlorine and heavy metals. The pH needed to be between 5.5 and 6.0—cacti prefer slightly acidic conditions for optimal nutrient uptake. I added a specialized succulent nutrient formula diluted to one-quarter strength. Full-strength solutions caused leaf tip burn on my first attempt, a sign of salt sensitivity.
I drew inspiration from a study cited by the RHS, which found that cacti require lower nitrogen levels than leafy greens. Excess nitrogen promotes soft, etiolated growth that invites pests. My final mix contained:
- Nitrogen: 50 ppm
- Phosphorus: 30 ppm
- Potassium: 60 ppm
- Calcium and magnesium: trace amounts
I also included a mycorrhizal inoculant to support root development. This decision came after reading an AHSA bulletin on symbiotic fungi in desert ecosystems.
Choosing the Growing Medium
For the growing medium, I tried three options: expanded clay pellets, perlite, and coarse pumice. The expanded clay pellets worked best because they provide structural support while allowing excellent airflow. Perlite floated too much in the net pots, and pumice retained more moisture than I wanted.
I placed a layer of clay pellets at the bottom, positioned the cactus so its root crown sat just above the medium, then filled around the roots gently. The goal was to keep the stem dry while the roots had access to moisture.
Setting the Irrigation Schedule
My most important adjustment came on Day 3. I had set the pump to run for 15 minutes every two hours, but I noticed the roots were turning a pale brown—early signs of rot. I switched to a ebb-and-flow approach: the nutrient solution filled the container to just below the root crown, then drained completely. The roots were exposed to air for four hours between cycles.
During the night, I turned off the pump entirely, allowing the cactus to experience a natural dry period. This mimics the desert’s temperature drop and moisture reduction after sunset. By Day 5, the roots had whitened and firmed up, a clear sign of recovery.
Observations from the First Week: Triumphs and Setbacks
Days 1–3: Initial Shock and Root Adjustment
The first 72 hours were nerve-wracking. My Moon Cactus developed small wrinkles on its skin, which I initially thought was dehydration. In reality, it was adjusting to the higher humidity around its roots. I lowered the water level so only the bottom inch of the net pot touched the solution. The wrinkles disappeared by Day 4.
I also discovered that cacti in hydroponic growing systems are more sensitive to temperature swings. The nutrient solution needs to stay between 65°F and 75°F. On Day 2, my reservoir hit 80°F due to direct sunlight, and the Golden Barrel’s roots turned mushy. I added a small aquarium heater with a thermostat to stabilize the temperature at 70°F.
Days 4–7: Visible Growth and Nutrient Adjustment
By Day 5, I saw new root tips emerging from the clay pellets on the Mammillaria. These roots were thicker and whiter than the original soil roots. The RHS suggests that hydroponic roots have larger air spaces, allowing better oxygen exchange. I confirmed this by gently lifting the plant—the roots felt springy and healthy.
However, the Golden Barrel showed signs of nutrient deficiency: pale green patches near the apex. I increased the potassium level by 10 ppm and added a chelated iron supplement. Within two days, the color returned. This taught me that cacti in hydroponics require micronutrient monitoring more frequently than soil-grown ones.
The Second Week: Refining the System and Solving Problems
Fine-Tuning the pH and EC Levels
On Day 8, I measured the electrical conductivity (EC) of my nutrient solution and found it had risen to 1.8 mS/cm. This indicated salt accumulation as the cactus absorbed water but left minerals behind. I flushed the system with plain pH-adjusted water for 24 hours, then refilled with fresh nutrients at 1.2 mS/cm.
The pH had drifted to 6.8, likely due to the mycorrhizal fungi releasing organic acids. I added pH down solution to bring it back to 5.8. Consistency here is critical—experts from the AHSA stress that pH swings above 7.0 lock out iron and manganese, causing chlorosis.
Addressing Algae Growth
A common pitfall in any hydroponic system for cactus is algae. By Day 10, green slime coated the clay pellets and the inside of the net pots. Algae competes with the cactus roots for oxygen and nutrients, and can harbor pathogens. I covered the reservoir with an opaque lid and painted the net pots with black plastic spray. Within two days, the algae stopped spreading.
I also added a few drops of hydrogen peroxide (3% solution) to the reservoir. This oxygenates the water and kills algae without harming the cactus. I repeated this every three days for the remainder of the observation period.
Preventing Root Rot in Sensitive Species
My most traumatic moment came on Day 11. The Saguaro that I had stubbornly kept showed black, slimy roots at the base. I immediately removed it from the system, trimmed the affected roots with sterilized scissors, and dipped the remaining roots in a fungicide solution containing Bacillus subtilis. I then placed the cactus in a dry container with only a few inches of clay pellets for support, without any water contact.
This cactus took a week to recover, but it eventually put out new root buds. The lesson was harsh: older, larger cacti with woody roots are poor candidates for hydroponics. Stick to young, actively growing specimens.
Best Practices for Long-Term Hydroponic Cactus Care
Based on my two-week trial and subsequent refinements, here are the guidelines I now follow:
- Monitor root color daily: White or cream roots are healthy; brown or black roots indicate imminent rot.
- Use a timer for cyclic irrigation: 15 minutes of flooding followed by 2–4 hours of draining replicates natural rain patterns.
- Keep the root crown dry: The area where the stem meets the roots should never sit in water.
- Refresh nutrients every 7–10 days: Stale solutions breed bacteria and cause pH drift.
- Provide strong LED lighting: Cacti need at least 8 hours of direct light per day. Without it, they stretch and weaken.
The RHS publication “Cacti and Succulents in Cultivation” notes that hydroponically grown cacti can grow 30% faster than soil-grown ones when conditions are optimal. I saw this myself: the Mammillaria added a full centimeter of new growth in two weeks.
Common Pests and Diseases in Hydroponic Cactus Systems
Even with careful management, pests can appear. On Day 9, I spotted mealybugs on the Golden Barrel’s spines. They likely hitchhiked from the nursery. In hydroponics, chemical pesticides can be risky because they accumulate in the solution. I used a cotton swab dipped in 70% isopropyl alcohol to dab each bug. This method is safe for the plant and doesn’t contaminate the reservoir.
Fungal gnats also appeared around Day 12, attracted to the damp clay pellets. I placed yellow sticky traps near the system and reduced the frequency of flooding cycles. The problem resolved within three days.
Frequently Asked Questions about Cactus in Hydroponic Systems
Can any cactus survive in hydroponics?
No. Cacti with taproots or thick, woody root systems struggle. Species like Opuntia and Ferocactus may survive but rarely thrive. My best results came from Mammillaria, Echinocactus, and Gymnocalycium. Always start with young specimens.
How often should I change the nutrient solution for hydroponic cactus care?
I change the solution every 7 to 10 days during active growth. If the EC rises above 2.0 mS/cm or the pH drifts outside 5.5–6.5, I flush and refill immediately. Stale nutrients cause root burn and encourage pathogens.
What is the biggest mistake beginners make with cactus in hydroponic growing systems?
Leaving the roots submerged continuously. Cacti require alternating wet and dry cycles. Without a dry period, the roots suffocate and rot within days. My first three days with constant flooding nearly killed two plants.
Final Thoughts from My Two-Week Journey
Caring for cactus in hydroponic growing systems is not for the impatient grower. It demands constant monitoring, quick adjustments, and a willingness to lose a plant or two along the way. However, the rewards are substantial. Healthier roots, faster growth, and the ability to control nutrients precisely make this method superior for serious enthusiasts.
I now maintain a small hydroponic rack with five cactus species, each thriving in its own ebb-and-flow setup. The system requires about 15 minutes of daily attention—checking pH, inspecting roots, and topping off the reservoir. In return, I get plants that grow with vigor I never achieved in soil.
If you decide to try this approach, start with one cactus. Document your steps. Be prepared to fail on your first attempt. The two weeks I spent observing, adjusting, and solving problems gave me insights no article or video could provide. The desert spirit lives in these plants, even in a plastic container filled with water and nutrients.