bluename
How to Treat Waterlogged Translucent Cactus Tissue After Severe Overwatering
If your cactus has gone squishy and see-through, you're probably panicking right now. I get it. I've killed more cacti than I'd like to admit, and that glassy, waterlogged look is the worst sign you'll see. The short answer: stop watering immediately, unpot the cactus, trim away every bit of translucent tissue with a sterilized blade, let the cut surfaces callus for several days, and repot into fast-draining gritty mix. That's the emergency fix. But honestly, 90% of indoor plants die from overwatering, and cacti are no exception. Let me walk you through exactly what I did when this happened to my five-year-old Echinopsis, including the two-week recovery timeline, so you can save yours too.
Why Cactus Tissue Turns Translucent in the First Place
What severe overwatering actually does inside the plant
Cactus cells aren't built to sit in saturated soil. When water floods the root zone, those cells swell, burst, and lose their structure. That's why the tissue looks glassy instead of firm green.
Once the cells rupture, bacteria move in fast. The rot spreads upward from the roots. By the time you notice the translucent patch, the damage has usually been brewing underground for days.
The warning signs most people miss
I missed them myself. Looking back, my cactus had been pale for a week before the mush showed up. The pot felt heavy. The soil smelled faintly sour.
If your cactus leans, wrinkles oddly, or the base feels soft when you press it gently—those are early flags. Catch it at that stage and you might avoid surgery altogether.
My Step-by-Step Rescue Plan (What I Actually Did)
Step 1: Get it out of the wet soil right away
I pulled my cactus out the same evening I noticed the problem. Waiting even one more day would have been too long.
Knock the root ball out of the pot and gently shake off the soggy soil. Don't rinse it. You want it dry, not cleaner.
Step 2: Trim every translucent bit
This is the part that hurts. I used a sharp craft knife wiped down with rubbing alcohol and cut back until I hit clean, firm, bright green tissue.
Here's the rule I follow now: if it squishes or looks see-through, it goes. Leave nothing questionable behind. Rot hides in the margins.
Step 3: Let the cuts callus
I set my trimmed cactus on a paper towel in a dry room with indirect light. No soil. No water. Just air.
It took eight days for the cut surfaces to form a tough, dry callus in my climate. Some people say three to five days. Truth is, it depends on your humidity. Wait until the wound feels like hard leather—then you're ready.
Step 4: Repot into gritty, fast-draining mix
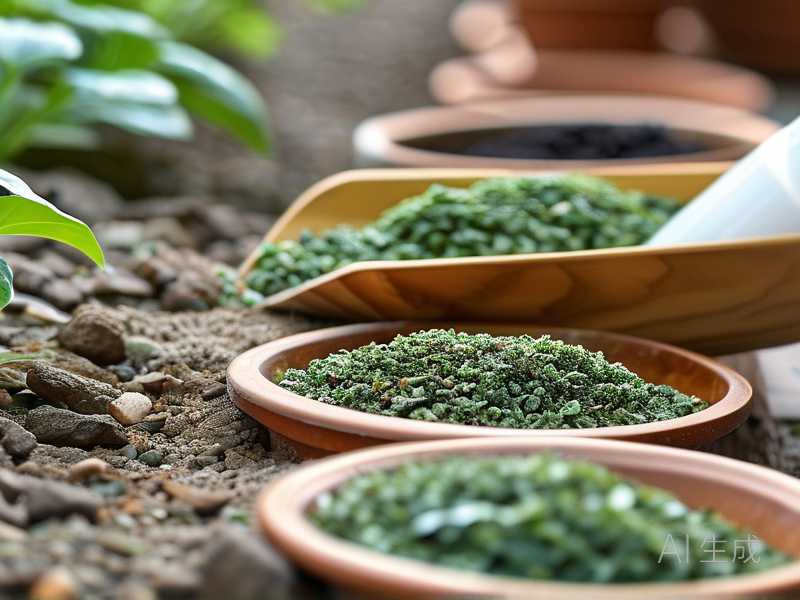
My old soil was the real culprit. It held moisture like a sponge. Now I use roughly 60% pumice or perlite, 30% coarse potting grit, and 10% organic matter. Some growers skip the organic part entirely.
Choose a pot with a drainage hole, and go one size smaller than feels natural. Cacti like snug roots. After repotting, I didn't water for another full week.
Step 5: Watch for two weeks before you relax
This is where most people mess up. They water "just a little" to help the plant recover. Don't.
I checked my cactus every single day for 14 days. Firmness came back gradually. New green color returned around day 10. Any soft spot that reappeared meant another trim. Mine stayed firm, and by day 14 it was clearly on the mend.
The Three Beginner Mistakes That Cause This Every Time
I've made all three. You probably will too if nobody warns you.
Mistake one: watering on a schedule. Cacti don't drink on Tuesdays. I water when the soil is bone dry, sometimes four weeks apart in winter.
Mistake two: putting them in the wrong light. Too little light means slow growth and soil that never dries. Too much harsh afternoon sun scorches them. Bright, filtered light is the sweet spot.
Mistake three: using the wrong pot. Glazed ceramic without drainage, oversized containers, decorative pots with no holes—I've tried them all, and they all trapped water. Terra cotta with a hole is boring but saves plants.
Letting Light Do Half the Work
The RHS guidance on cactus cultivation stresses bright light as a baseline, and my experience backs that up completely. A recovering cactus in dim conditions heals slowly and stays vulnerable to rot.
Place yours near a south or east window if you're in the northern hemisphere. Sheer curtain filtering is fine. A few hours of gentle morning sun is ideal.
If your windowsill is dark, a cheap LED grow light two feet above the plant works fine. I've used one for winter rescues and it made a visible difference within a week.
Watering Rules I Follow Now (No Exceptions)
The soak-and-dry rhythm
When I water, I water thoroughly until it runs out the drainage hole. Then I wait. Bone dry, top to bottom, before the next round.
Seasonal changes
Summer dormancy in extreme heat means careful, occasional watering. Winter means almost none—maybe once every four to six weeks, just enough to keep roots alive. In spring and fall, I water when the soil tests dry an inch down.
The one I learned the hard way
After repotting a recovering cactus, no water for at least seven to ten days. I watered too soon once and watched the rot return within 48 hours. That plant didn't make it. The soil needs to settle and the roots need to heal first.
What 14 Days of Observation Taught Me
Simple timeline from my notebook:
- Days 1–3: cuts drying, plant looks sad but stable
- Days 4–7: callus forms, color slightly greener
- Days 8–10: repotted, no water, firmness returning
- Days 11–14: first light watering, new growth tip visible
Honestly, the daily check was half the cure. Catching a new soft spot early saved me from losing more tissue. That's a habit I've kept ever since.
Preventing Round Two
Soil and pot hygiene
Buy fresh, gritty mix every repot. Don't recycle old wet soil. Scrub pots with hot soapy water and let them dry fully before reuse.
The weight test
Lift your potted cactus before and after watering. You'll learn to feel the difference. Heavy pot equals wet soil. Set it down and walk away.
Airflow matters more than you think
Stagnant air keeps moisture sitting on the skin. A small room fan on low, or just an open window in mild weather, cuts rot risk noticeably. The AHS lists good air circulation among core basics for succulent health, and it's easy to underestimate.
Frequently Asked Questions
Can a waterlogged cactus recover on its own?
Almost never. Translucent tissue doesn't regenerate. If you leave it, rot spreads and the plant collapses within weeks. The trim-and-callus method is the only real fix I've seen work.
How do I know if the rot has spread to the core?
Cut into the base a little. Clean, firm flesh is good. Brown, mushy, or foul-smelling tissue means you cut further—sometimes down to healthy offsets you can root separately.
Should I use fungicide after trimming?
I don't. A dry environment and a proper callus handle most cases. Fungicide can help in very humid climates, but airflow and patience do the heavy lifting. Keep it simple first.
The bottom line: act fast, cut decisively, dry thoroughly, and resist the urge to water. Your cactus took months to get sick, and it needs weeks to heal. Give it that time, and you'll likely be rewarded with new, firm growth. I know mine was.