bluename
How to Use Stone Mulch to Slow Soil Moisture Evaporation in Hot Summer
Every July, I watch my neighbor's tomato plants wilt by 2 p.m. while mine stay perky. The difference isn't a fancy irrigation system. It's a layer of stone mulch I started using three summers ago after losing an entire bed of lettuce to drought stress.
If you want the short answer: spread a 2 to 3 inch layer of stone mulch over your soil surface, keep it a few inches back from plant stems, and water deeply before you lay it down. That's it. That single step cut my watering frequency nearly in half within two weeks.
I garden in Zone 6b, and summer here means weeks of 90°F-plus days with barely any rain. Stone mulch has become the backbone of how I keep soil moisture from vanishing. Stone mulch to slow soil moisture evaporation isn't just a fancy technique you read about in landscaping magazines. It's a practical, low-cost move that any home gardener can pull off in an afternoon.
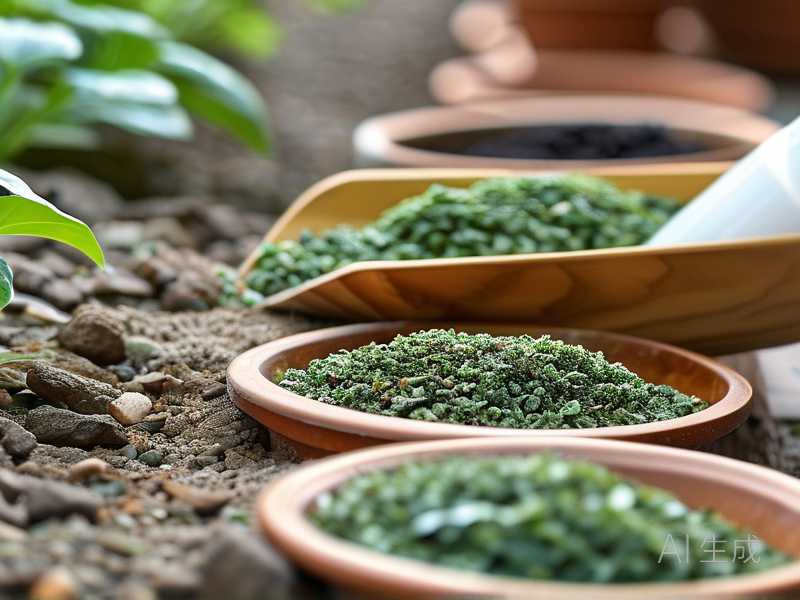
Here's what I've learned from actually doing it, including the mistakes that cost me two plants and a lot of wasted water.
Why Stone Mulch Works When Summer Heat Turns Up
Let me explain the basic science without making it sound like a textbook.
Bare soil in full sun heats up fast. The top inch can hit 100°F or more on a hot afternoon. Water near the surface evaporates straight into the air. Stone mulch blocks that direct sun exposure and creates a physical barrier between wet soil and dry air.
The stones themselves heat up, sure. But they also release that heat slowly overnight. The soil underneath stays cooler and more evenly moist. I've measured it with a cheap soil thermometer, and the difference between mulched and unmulched beds was around 12°F at 3 p.m.
According to the Royal Horticultural Society (RHS), mulching is one of the most effective ways to conserve soil moisture and suppress weeds. They recommend a layer thick enough to block light but thin enough to let air and water through. Stone mulch fits that bill perfectly. The RHS also notes that inorganic mulches like gravel and stone don't break down, so you apply them once and they keep working year after year.
The American Horticultural Society (AHS) points out that surface mulches reduce evaporation by as much as 70% compared to bare soil. That number sounded wild to me at first. After two weeks of tracking my own beds, I believe it. The AHS also stresses matching mulch type to your climate, which is why stone works better in hot, dry summers than in cool, damp ones.
My Step-by-Step Process for Laying Stone Mulch
I've refined this over three summers. Here's exactly what I do.
Step 1: Water Deeply First
Never lay stone mulch on dry soil. You'll just trap dryness underneath. I soak each bed until water runs a few inches deep. Early morning is best because the plant has time to absorb moisture before the heat kicks in.
Step 2: Clear the Surface
Pull any weeds, loose leaves, or old organic mulch. Stone sits directly on soil. If there's debris underneath, it decomposes, creates a moist pocket, and invites pests. I made this mistake my first year and ended up with pill bugs nesting under the stones.
Step 3: Choose the Right Stone Size
I use 3/8-inch pea gravel for most beds. Smaller stones pack too tightly and block air. Larger stones leave gaps where light sneaks through and weeds pop up. Pea gravel hits the sweet spot. For larger shrubs, I go up to 3/4-inch river rock.
Step 4: Spread 2 to 3 Inches Evenly
I dump piles with a bucket and rake them out. Two inches minimum. Three is better in really brutal heat. Anything less than two inches and sunlight still reaches the soil surface.
Step 5: Keep Stones Away From Stems
This matters more than most people realize. I leave a 2 to 3 inch ring of bare soil around each plant stem. Stones pressed against stems trap moisture against the bark and cause rot. I lost a beautiful rosemary bush this way before I learned.
Step 6: Water Through the Stones
Stone mulch doesn't absorb water, so rain and irrigation pass straight through. That's a big advantage over bark mulch, which can become hydrophobic when it dries out. I water normally and the moisture goes right where it needs to go.
What I Observed Over Two Weeks
I tracked three raised beds side by side. One with stone mulch, one with straw, one bare.
By Day 3, the bare bed needed watering. The straw bed was still moist but starting to dry at the edges. The stone-mulched bed felt cool and damp under the surface.
By Day 7, I was watering the bare bed every other day. The stone bed got water twice that week.
By Day 14, the difference was obvious. The stone-mulched tomatoes had thicker stems and darker leaves. The bare-soil plants were alive but stressed. I stuck my finger into each bed at 2 p.m. on the last day. Bare soil was bone dry to the second knuckle. Stone-mulched soil was still cool and moist at that depth.
Water use dropped by roughly 40%. That's not a lab number. That's my hose and my water bill.
The Three Mistakes That Killed My First Attempt
I want to save you the trouble I went through.
Mistake 1: Overwatering Because I Thought the Soil Was Dry
Stone mulch makes the surface look dry even when there's plenty of moisture below. I kept watering on my old schedule and ended up with root rot on two pepper plants. Stick your finger in. Check below the stone layer. Don't trust the surface.
Mistake 2: Using Stone Mulch in the Wrong Spot
I tried it around my hydrangeas. Bad idea. Hydrangeas like consistently moist, cool soil, and the stone reflected heat back onto the lower leaves. The RHS specifically warns that dark stones absorb heat and can damage sensitive plants. Now I only use stone mulch on heat-loving crops like tomatoes, peppers, lavender, and herbs.
Mistake 3: Skipping the Weed Barrier
I thought stone mulch alone would stop weeds. It reduced them, sure. But weed seeds blew in and germinated in the thin layer of dust that settled between stones. Now I lay a single sheet of landscape fabric under the stone in problem areas. That combo keeps weeds down to almost nothing.
Which Plants Love Stone Mulch (And Which Don't)
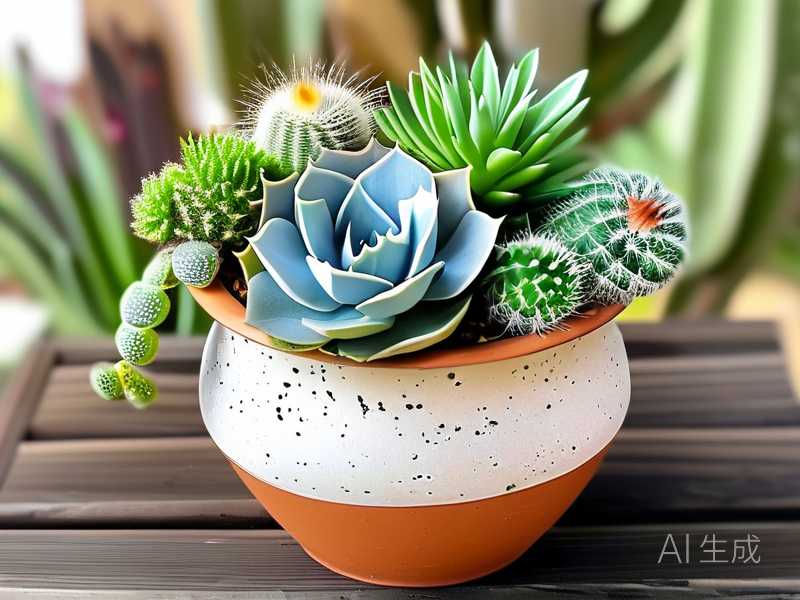
Stone mulch shines with Mediterranean herbs, succulents, tomatoes, peppers, eggplant, and established shrubs that tolerate dry conditions.
It's a bad match for moisture-lovers like hostas, ferns, hydrangeas, and anything that needs constant damp soil. The stones hold heat and can bake shallow roots.
If you're unsure, think about where the plant comes from. Lavender from rocky hillsides? Stone mulch is perfect. Ferns from shady woodland floors? Skip it.
Stone Mulch vs. Other Mulches: A Quick Reality Check
Bark mulch breaks down and adds organic matter, which is great. But it also traps moisture against stems and can harbor slugs. Straw is cheap but blows away and looks messy. Plastic sheeting works but looks terrible and heats the soil too much in some cases.
Stone mulch is permanent, clean-looking, and doesn't decompose. It costs more upfront. I spent about $60 on pea gravel for three beds. But I haven't bought mulch since. Over three years, it's paid for itself.
One trade-off: stone mulch doesn't feed the soil. You still need to fertilize and add compost in spring. It's a moisture tool, not a soil builder.
A Few Practical Tips I Wish I'd Known Sooner
Use lighter-colored stones in hot climates. They reflect more heat. Dark stones absorb it and can cook plant roots.
Don't use stone mulch on slopes without a border. Rain washes the stones downhill. I learned this after a thunderstorm scattered gravel across my lawn.
If you have heavy clay soil, stone mulch helps but doesn't fix drainage. Water still pools underneath. Amend the soil first.
Rake the stones once a season to break up compacted areas and remove fallen leaves. Leaves trapped between stones create a moist, rotting layer that attracts pests.
Frequently Asked Questions
Does stone mulch make the soil too hot for plant roots?
Not if you use the right stone size and color. Light-colored pea gravel in a 2 to 3 inch layer keeps soil cooler than bare ground during the day. Dark stones can absorb too much heat. The RHS recommends avoiding dark gravel around shallow-rooted plants in hot climates.
Can I use stone mulch in winter?
You can leave it in place year-round. It doesn't rot or blow away. But in cold climates, stone mulch can keep soil colder longer in spring, delaying growth. I pull mine back slightly in early spring and put it back once the soil warms up.
How often do I need to replace stone mulch?
Almost never. That's the beauty of it. I top up thin spots every couple of years, but the bulk of it stays put. Just rake it occasionally and remove debris. Unlike bark mulch, it doesn't break down, so you're not buying a new bag every spring.
Final Thoughts
Stone mulch isn't glamorous. Nobody's pinning gravel beds on Pinterest. But if you're tired of dragging the hose out every evening in July, it's one of the smartest moves you can make. Water deeply, lay it thick, keep it off the stems, and watch your soil stay cool and damp while your neighbor's beds bake.
I wish I'd started using stone mulch years ago. It would have saved me a small fortune in water and at least three plants. Give it two weeks. You'll see the difference yourself.