bluename
 How to Care for Cactus in Children’s Gardening Kits: A Hands-On Guide from a Plant Lover
So, you’ve just opened that exciting children’s gardening kit with your little one, and there it is—a tiny, adorable cactus. It seems like the perfect first plant: tough, low-maintenance, and oh-so-cute. But if you’re feeling a twinge of worry about how to actually keep this spiky friend alive, especially with eager little hands involved, you’re not alone. I’ve been there. The promise of an easy plant can quickly turn into a mushy, overwatered mess if we’re not careful. This guide is born from my own real-life experience nurturing cacti from kids’ kits, complete with my successes, the mistakes I made, and the simple solutions that led to thriving plants.
My journey started with a classic terracotta pot kit. I assumed caring for a cactus would be foolproof. Spoiler: it wasn’t. But through two weeks of dedicated observation and adjustment, I learned exactly what these miniature desert dwellers need to flourish in our homes. Let’s walk through the process together, step by step.
Understanding Your Tiny Cactus: It’s Not a Regular Houseplant
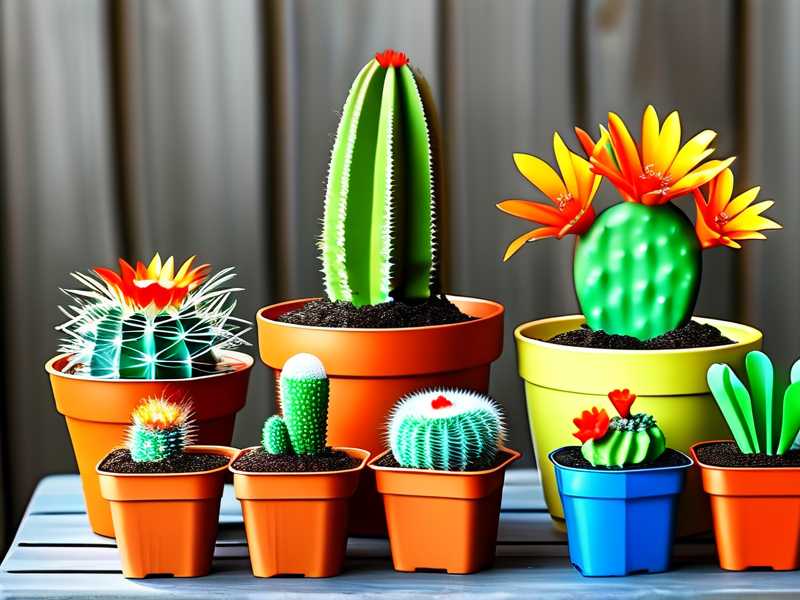
The most crucial lesson is this: a cactus from a children’s gardening kit has specific needs that differ dramatically from a typical seedling. These kits often contain young, fast-growing varieties like Mammillaria or Echinopsis, chosen for their child-friendly size and interesting shapes. According to the Royal Horticultural Society (RHS), treating these young cacti like ordinary plants is the primary reason for failure. They thrive on neglectful attention—love that comes in the form of bright light and infrequent watering, not daily check-ins.
The First 48 Hours: Unboxing and Initial Setup
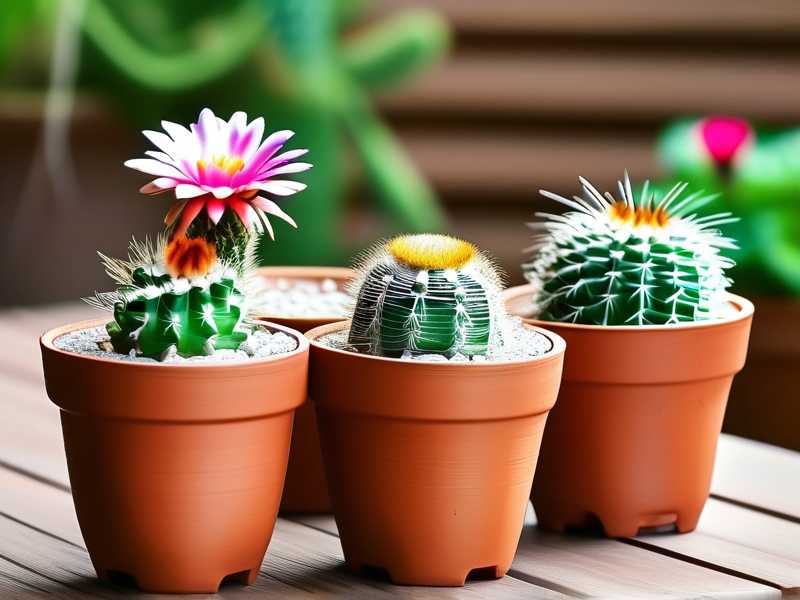
When our kit arrived, the first thing I did was inspect the contents. We had a small cactus pup, a bag of specialized “cactus and succulent mix,” a terracotta pot, and decorative pebbles. Here’s my exact setup process:
- Pot Preparation: I soaked the terracotta pot in water for about 20 minutes. This prevents the dry clay from instantly sucking all the moisture from the soil later on. While it soaked, I gently loosened the roots of the cactus pup.
- Soil is Everything: I cannot stress this enough. Do not use regular garden soil. I used only the provided cactus mix, which is gritty and well-draining. The American Horticultural Society (AHS) emphasizes that proper drainage is non-negotiable for cactus health, preventing fatal root rot.
- Planting with Care: Wearing gloves (a great tip for kids!), I placed a few pebbles at the pot’s bottom for extra drainage, filled it partway with soil, settled the cactus in, and gently added more soil around it. I left a small space at the top.
- The First “Watering” – A Mistake!: Here was my first major pitfall. I gave it a good drink right after planting, thinking it needed to settle in. This was wrong for a cactus already stressed from shipping.
The Two-Week Observation Journal: Light, Water, and Adjustments
I placed the potted cactus on a bright, south-facing windowsill and committed to a simple observation routine. This is where the real learning happened.
- Days 1-3: The cactus looked unchanged. The soil from my initial watering was still damp. I resisted the urge to water again.
- Days 4-7: The soil finally felt completely dry to the touch an inch below the surface. This was my cue. Instead of pouring water, I used a spoon to give it just two tablespoons of water at the soil base, avoiding the plant body. This technique, recommended for young cacti, prevents over-saturation.
- Days 8-10: I noticed a very slight, almost imperceptible plumping up of the cactus. A good sign! However, I also saw the very tip start to stretch slightly toward the window. It was craving more intense sunlight. I moved it to a spot with direct morning light for longer periods.
- Days 11-14: With the adjusted light, the stretching stopped. The cactus maintained a firm, green appearance. On day 14, I performed the “soil dryness test” again and gave another modest watering of three tablespoons. The plant seemed stable and happy.
Common Pitfalls and How I Solved Them
Every new plant parent faces hurdles. Here are the ones I encountered and how we fixed them.
- The Overwatering Urge: My biggest challenge was not watering too much. My child wanted to “feed” the plant daily. Our solution? We made a “Cactus Care Calendar.” We marked watering days with a sticker (initially every 10-14 days). This visual aid helped manage expectations and turned patience into a game.
- The “Leaning” Cactus: The slight stretching I noticed is called etiolation—a search for light. Without enough bright, direct sunlight, cacti become weak and misshapen. The fix was simple: finding a brighter location. A grow light can be a fantastic supplement, especially in winter months.
- Handling with Safety: Prickles are a concern. We used a pair of soft, kitchen tongs for any handling needs, which my child found fun and safe. It’s a perfect way to teach respectful interaction with plants.
Creating a Fun, Educational Routine for Kids
Caring for a cactus from a children’s gardening kit isn’t just about plant health; it’s about fostering responsibility and wonder. We incorporated these activities:
- Weekly Measuring: Using a non-contact ruler, we measured the cactus’s height. Seeing even millimeter of growth over weeks was thrilling.
- The “Finger Test” Game: My child learned to gently touch the soil (not the plant!) to see if it was “thirsty” (dry) or “still drinking” (damp).
- Drawing a Growth Journal: We sketched the cactus every weekend, noting its color and shape. This sharpens observation skills.
Long-Term Success: Beyond the First Month
After the initial two-week establishment period, the routine becomes easier. Watering can gradually increase in volume but never in frequency. Always let the soil dry out completely between waterings. Repotting will only be necessary in a year or two, when the cactus visibly outgrows its starter home. Remember, slow growth is healthy growth for these desert plants.
Frequently Asked Questions
How often should I really water my kit cactus? Forget a fixed schedule. The only reliable method is the “dryness test.” Stick your finger an inch into the soil. If it’s completely dry, it’s time for a careful, modest watering. In typical indoor conditions, this often translates to every 10-14 days, but it can vary with seasons and light.
My cactus is turning yellow/brown at the bottom and feels soft. What’s wrong? This is almost certainly root rot from overwatering. It was my greatest fear. Stop watering immediately. If the damage is only at the base, you might be able to save it. Gently remove the cactus from the soil, cut away any black, mushy roots with a sterile knife, and let the plant air-dry on a paper towel for a few days before repotting in fresh, dry cactus mix. Do not water for at least a week after repotting.
Is the cactus in my child’s kit safe around pets? While many common kit cacti are non-toxic, their spines are the primary hazard. The best practice is to place the kit in a high, secure location out of reach of curious pets and toddlers. Always supervise interactions and teach gentle observation from a distance.
Starting with a cactus from a children’s gardening kit is a wonderful adventure. It teaches us that sometimes, the best care involves mindful observation and a little restraint. By providing strong light, impeccable drainage, and sparse watering, you’re not just keeping a plant alive—you’re creating a lasting lesson in nature’s resilience. Our little spiky friend, now thriving on the sunny sill, is a daily reminder that the simplest projects, done with care, can grow into something truly special.