 bluename
 How to Care for Cactus Affected by Fungal Diseases: A Step-by-Step Recovery Guide
There’s a special kind of heartbreak that comes from seeing your beloved cactus, a symbol of resilience, suddenly sporting strange spots, mushy patches, or a suspicious white fuzz. I’ve been there. You water diligently, provide ample sunlight, and yet, a fungal disease can creep in, turning your prickly friend into a source of worry. The frustration is real—these issues often progress silently, and by the time they’re visible, decisive action is needed. If you’re staring at a cactus with signs of fungal infection and wondering how to save it, you’re not alone. I’ve navigated this exact crisis, and through trial, error, and careful observation, I developed a recovery protocol that brought my plants back from the brink. This guide will walk you through the entire process, from identification to treatment and prevention, based on my hands-on experience.
Understanding the Enemy: Common Fungal Diseases in Cacti
Before you can treat the problem, you need to know what you’re dealing with. Fungal pathogens thrive in damp, poorly ventilated conditions and can enter through wounds or overwatered soil.
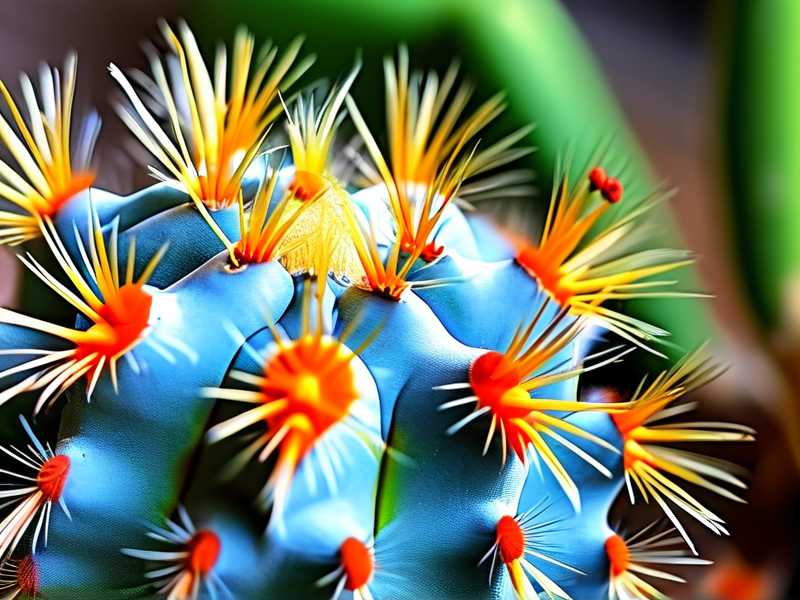
Anthracnose appears as sunken, dark, circular spots that can spread rapidly. Fusarium rot often starts at the base or roots, causing a dry, corky rot that works its way upward. Phytophthora (a water mold) leads to soft, black, rapidly decaying tissue, usually at the soil line. Powdery mildew coats the plant in a white, powdery film. In my case, the patient was a mature Echinopsis that developed classic anthracnose lesions—several dark, wet-looking spots on its ribs.
My Step-by-Step Rescue Operation
Armed with research and a dose of determination, I embarked on a two-week rescue mission. Here is the exact sequence I followed.
Step 1: Immediate Isolation and Assessment
The moment I confirmed the symptoms, I moved the affected cactus away from all other plants. Fungal spores are airborne and can easily spread. I placed it on a separate bench in a well-ventilated, bright area. A thorough assessment is crucial. Using a magnifying glass, I examined the extent of the damage. Were the lesions localized or widespread? Was the base firm? This initial diagnosis informed the aggressiveness of the next steps.
Step 2: Surgical Removal of Infected Tissue
This is the most critical and nerve-wracking part. You must remove all infected tissue to prevent further spread.
- Tools: I sterilized a sharp knife and a spoon with 70% isopropyl alcohol. Have fresh paper towels and a trash bag ready.
- The Procedure: I carefully cut out each dark, sunken spot, carving into healthy green tissue by at least a half-inch around the visible lesion. For one deeper lesion, I had to scoop out a small cavity. Every single piece of removed tissue went directly into the trash bag, not the compost.
- The First Pitfall and Fix: My initial cuts were too shallow. Within two days, I noticed the discoloration creeping back from the edges of one wound. I had to re-sterilize my tools and excise more tissue, going deeper and wider than felt comfortable. The lesson: be ruthlessly thorough on the first attempt.
Step 3: Application of Antifungal Treatment
With the wounds fresh and clean, treatment begins. I opted for a two-pronged approach recommended by several horticultural resources, including the American Horticultural Society (AHS), which emphasizes the importance of both physical and chemical barriers post-surgery.
- Cinnamon Powder: For smaller, superficial wounds, I dusted them generously with common cinnamon powder. It’s a natural desiccant and mild antifungal.
- Commercial Fungicide: For the larger, deeper cavities, I used a copper-based fungicide paste, applying it with a cotton swab to coat the entire wound surface. This creates a protective barrier. It’s vital to choose a product labeled for use on succulents and cacti.
Step 4: The Critical Drying Period
Here’s where patience is non-negotiable. I placed the cactus in a warm, dry, airy spot with bright, indirect light. I did not water it. I did not expose it to rain. The goal is to allow the wounds to callus over completely, forming a hard, dry seal. This process took a full 10 days for the larger wounds. Watering during this phase is the fastest way to reintroduce moisture and trigger a new infection.
Step 5: Repotting with Fresh, Sterile Medium
The old soil was a potential reservoir of pathogens. After the calluses were fully formed, I repotted.
- I gently removed the cactus from its old pot, brushing away all the old soil from the roots.
- I inspected the roots, trimming any that were dark or mushy with sterilized scissors.
- The new pot had excellent drainage and was cleaned with a bleach solution.
- I used a fresh, commercially bagged cactus & succulent mix, to which I added extra perlite (about a 1:1 ratio) for maximum drainage. The Royal Horticultural Society (RHS) consistently advises that well-draining soil is the single most important factor in preventing fungal issues in succulents.
Step 6: The Cautious Rehydration and Observation Phase
After repotting, I waited another 4 days before giving the cactus its first watering. I used the “soak and dry” method, thoroughly wetting the soil and then allowing it to drain completely. The plant was then returned to its bright, ventilated recovery location.
The 2-Week Observation Diary: What Actually Happened
- Days 1-3: Post-surgery, the plant looked understandably rough. The wounds were stark and yellow. No change.
- Days 4-7: The cinnamon-dusted spots formed a thin, dry film. The fungicide-paste areas remained unchanged. The plant’s color slightly dulled—a normal stress response.
- Days 8-10: The major turning point. All wounds developed a firm, brown callus. The plant’s skin began to regain a healthier, slightly glossy hue. Crucially, there was zero spread of discoloration from any treated area.
- Days 11-14: After the first careful watering, I observed a slight plumping up of the ribs. The cactus showed clear signs of stabilizing and moving from survival mode to recovery mode. New growth was not expected yet, but the halt of the disease was a definitive victory.
Key Lessons from the Front Lines: Mistakes to Avoid
My journey wasn’t perfect. Here are the pitfalls I encountered so you can skip them:
- Underestimating the Spread: My first, timid excision failed. Fungus spreads invisibly into healthy tissue. Cut boldly and sterilize tools between every cut.
- Impatience with Watering: The urge to water a stressed plant is strong. Resist it. The drying period is sacred.
- Ignoring the Roots: Initially, I focused only on the aerial damage. When repotting, I found a few suspect roots. Always check the root system.
- Poor Airflow: The plant’s original location was slightly crowded. I’ve since spaced all my cacti to ensure consistent, good air circulation, which is a powerful preventive measure.
Building a Fungus-Resistant Environment
Treatment is reactive; prevention is proactive. After this scare, I overhauled my care routine:
- Watering Wisdom: I now water only when the soil is completely dry, and I never let water sit in the saucer. In winter, I withhold water almost entirely.
- Soil and Pot Priority: I use unglazed terracotta pots for breathability and a gritty, inorganic-heavy soil mix.
- Light and Air: I ensure my cacti get at least 6 hours of direct sun and are not placed in stagnant corners.
- Quarantine New Plants: Any new addition now spends 3-4 weeks isolated from the collection, a practice widely endorsed by expert collectors to prevent introducing pests or diseases.
How can I tell if my cactus has a fungal disease or is just overwatered? Both often stem from excess moisture, but the signs differ. Simple overwatering typically causes generalized yellowing, translucency, and overall mushiness, often starting at the base. A fungal infection usually presents as distinct, localized lesions—spots, rings, or patches of specific discoloration (black, brown, rusty orange) or powdery coatings. Fungal issues can occur even with correct watering if spores are present and conditions are humid.
Are homemade fungicides like hydrogen peroxide or vinegar effective? They can be, but with caution. A 3% hydrogen peroxide solution can be sprayed on surface mold or used to disinfect soil. However, it can also damage healthy plant tissue if overused. Vinegar is too acidic and risky for cacti. For active infections requiring tissue removal, a dedicated horticultural fungicide (like copper or sulfur-based products) is more reliable for creating a lasting protective barrier. Natural options like cinnamon are best for minor wounds or as a preventative dusting.
My cactus has extensive rot at the base. Is it too late to save it? Not necessarily. If the top portion is still healthy and firm, you can perform a “beheading.” Using a sterile knife, cut cleanly through the healthy stem well above the rot. Let the cutting callus for 1-2 weeks, then root it in dry, gritty soil. This is a propagation method that can salvage a plant from a severe case of crown or root rot.
Watching a cactus fight a fungal disease is a test of a gardener’s resolve. It requires a blend of decisive action, surgical precision, and, above all, patience. The process I detailed—isolation, thorough excision, diligent drying, and a fresh start in sterile soil—is demanding but profoundly effective. It transformed my ailing Echinopsis from a patient back into a thriving, resilient specimen. The experience reinforced that successful cactus care is less about frequent intervention and more about mastering the fundamentals: impeccable drainage, judicious watering, and vigilant observation. By creating an environment where fungi struggle to gain a foothold, you give your spiky companions the best defense possible, allowing their natural toughness to truly shine.





