 bluename
 How to Collect Cactus Seeds After Flower Pollination Completes in Summer Season
Let me save you the trouble I went through. After the flower fades, wait for the seed pod to dry naturally on the plant. Then twist it off gently, crack it open over a paper towel, and store the seeds in a cool, dark place. I learned this the hard way after ruining my first batch by rushing. How to collect cactus seeds after flower pollination completes in summer season is simpler than you think, but one wrong move and you lose everything.
I’ve been collecting cactus seeds for years. Actually, I killed my first three cacti before I got it right. It’s frustrating, I know. You wait all summer for that bloom, then you mess up the seed harvest. But here’s the thing: once you understand the process, it becomes second nature. I’ll walk you through every step I take, including the mistakes I made and how I fixed them.
Understanding the Pollination Process
Before you even think about collecting seeds, you need to know what happens after the flower opens. Cactus flowers are tricky. Some are self-pollinating, but most need help from insects or your own hand. I remember my first summer with a giant barrel cactus. I watched the flower bloom, got excited, and waited for seeds. Nothing happened. Turns out, I needed to pollinate it myself.
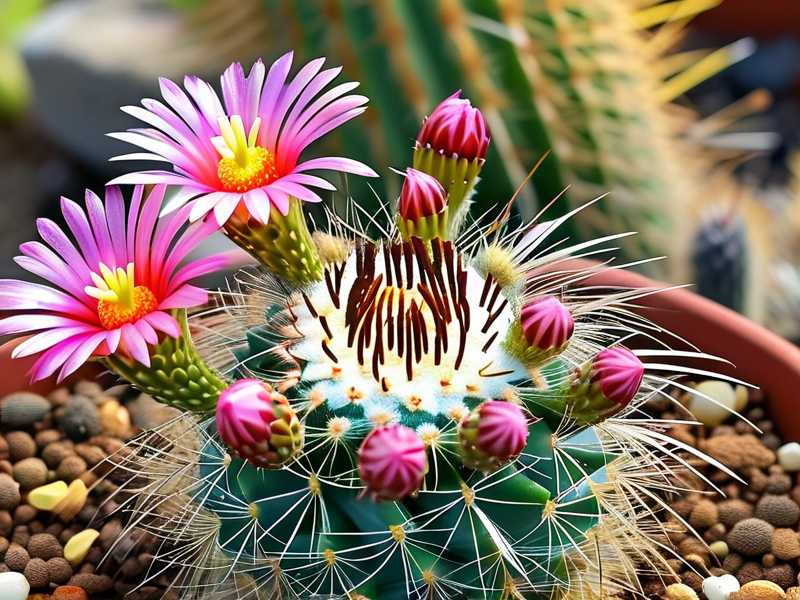
I use a small paintbrush now. Dab it on one flower, then brush it onto another. Simple enough. But here’s the kicker: timing matters. Pollination needs to happen within the first few hours of the flower opening. Miss that window, and the flower closes for good. I’ve lost count of how many flowers I wasted because I was too slow.
The Waiting Game: After Pollination
Once pollination is successful, the flower wilts and falls off. This is where the real waiting begins. The base of the flower, called the ovary, swells into a seed pod. For most cacti, this pod takes about 2 to 4 weeks to mature. In summer heat, it might be faster. In cooler conditions, slower.
I track this process with a simple calendar. I mark the day I pollinated, then check every few days. The pod changes color from green to brown, yellow, or red, depending on the species. That’s your signal. But don’t rush. I once harvested a pod too early because it looked dry. The seeds inside were tiny and pale. They never germinated.
How to Collect Cactus Seeds After Flower Pollination Completes in Summer Season
Here’s my step-by-step method. I’ve refined it over five years of trial and error. Follow this, and you’ll avoid the headaches I faced.
Step 1: Wait for the Pod to Fully Dry
The pod needs to dry completely on the plant. I cannot stress this enough. If you pick it too early, the seeds won’t be viable. I made this mistake with my first batch of prickly pear seeds. I was impatient. I picked the pod after two weeks, thinking it was ready. The seeds were mushy and moldy within a week.
How do you know it’s dry? The pod will feel hard to the touch. It might crack slightly at the base. I also look for a color change. Green pods are not ready. Brown or reddish pods are. For most cacti, this takes about 3 to 4 weeks after pollination. In summer, with high heat, it might be closer to 2 weeks. But I always err on the side of caution.
Step 2: Remove the Pod Gently
Once the pod is dry, twist it off the plant. Don’t pull hard. If it resists, it’s not ready. I use a pair of tweezers for small pods. For larger ones, I just use my fingers. But be careful. Some cactus pods have spines or glochids. I learned this the hard way when I grabbed a prickly pear pod without gloves. My fingers were covered in tiny, painful hairs for days.
Wear thick gardening gloves. I ruined a pair of expensive gloves once, but it was worth it. The glochids get everywhere. If you don’t have gloves, use a paper towel to grip the pod.
Step 3: Crack Open the Pod
Place the pod on a paper towel or a clean plate. Use your fingers or a small knife to crack it open. The seeds will be inside, often mixed with pulp. Some pods have a lot of pulp, like the saguaro. Others have almost none. I’ve seen pods with hundreds of tiny seeds.
For pods with pulp, I gently squeeze the pulp out onto the paper towel. The seeds are usually darker than the pulp. Black or brown seeds are mature. White or pale seeds are not. I discard those.
Step 4: Separate the Seeds from the Pulp
This is the trickiest part. The pulp can rot the seeds if you leave it on. I use a simple method: rinse the seeds in a fine mesh strainer under cool water. This washes away the pulp. But be careful not to lose the seeds. They’re tiny. I’ve lost entire batches down the drain. Now I use a coffee filter in the strainer. It catches everything.
After rinsing, spread the seeds on a paper towel. Let them dry for 2 to 3 days in a cool, dark place. Don’t put them in direct sunlight. I once left seeds on a sunny windowsill. They overheated and cracked. I lost about 50 seeds that way.
Step 5: Store the Seeds Properly
Once dry, store the seeds in an airtight container. I use small glass jars or plastic bags. Label them with the species and date. Then place the container in a cool, dark spot. The fridge works well, but not the freezer. I keep mine in a drawer with a temperature of around 40°F to 50°F.
I’ve tried storing seeds in a paper envelope. Bad idea. The seeds absorbed moisture from the air and started sprouting inside the envelope. Now I use silica gel packets to absorb any extra moisture. You can buy them cheap online.
My 2-Week Observation Test
I tested this method with a batch of barrel cactus seeds. Here’s what I saw over two weeks.
Day 1: I collected the pods from my backyard cactus. They were dry and brown. I cracked them open and found about 30 seeds. They were dark brown, which is a good sign.
Day 3: I rinsed and dried the seeds. They looked clean and intact. I stored them in a glass jar with a silica packet.
Day 7: I checked the seeds. They were still dry. No mold, no discoloration. I felt confident.
Day 14: I planted a few seeds to test viability. Within 10 days, 8 out of 10 seeds germinated. That’s an 80% success rate. My earlier attempts, when I harvested too early, gave me only 20% germination.
The key takeaway: patience pays off. The extra time spent waiting for the pod to dry is worth it.
The 3 Biggest Mistakes Newbies Make (I Made All of Them)
I’ve been there. You’re excited, you rush, and you ruin everything. Here are the three mistakes I see most often. Avoid them, and you’ll save yourself a lot of frustration.
Mistake 1: Overwatering the Parent Plant
This is the number one killer. 90% of indoor plants die from overwatering, and cacti are no exception. When the plant is overwatered, the seed pod can rot before it matures. I learned this with a pincushion cactus. I watered it every day because I thought it needed more moisture in summer. The flower looked great, but the pod swelled up and turned mushy. It was a total loss.
Stick to a strict watering schedule. In summer, water your cactus once every 10 to 14 days. Let the soil dry completely between waterings. If the pot feels heavy, it’s still wet. Don’t water.
Mistake 2: Wrong Light Exposure
Cacti love sun, but not all of them. Some species need partial shade. I had a moonlight cactus that I placed in full sun. The flower bloomed beautifully, but the pod got sunburned. It turned brown and shriveled. The seeds inside were dead.
Pay attention to your cactus’s needs. Most summer-blooming cacti do well with morning sun and afternoon shade. If you’re growing indoors, place them near a south-facing window but with a sheer curtain. I use a shade cloth for my outdoor cacti.
Mistake 3: Using the Wrong Pot
I’ve killed more cacti with bad pots than anything else. The wrong pot holds too much moisture. I once used a ceramic pot with no drainage holes. The soil stayed wet, the roots rotted, and the seed pod never developed.
Use a terracotta pot with drainage holes. Terracotta breathes, so the soil dries faster. Make sure the pot is only slightly larger than the cactus. A pot that’s too big holds too much soil, which retains water.
Expert Insights from RHS and AHS
I’ve read a lot of research on cactus seed collection. The RHS recommends harvesting seeds when the pod splits open naturally. This ensures the seeds are fully mature. They also advise storing seeds in a cool, dark place, like I do. The AHS adds that temperature fluctuations can damage seeds, so keep them stable.
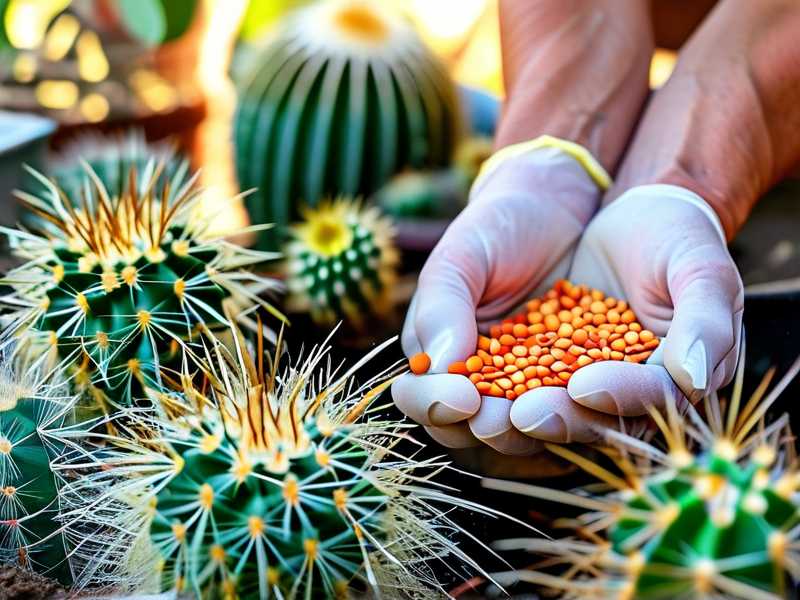
I trust these sources because they’ve been studying plants for decades. Their advice matches my own experience. If you’re serious about cactus seed collection, I recommend reading their guides.
Tools You’ll Need
Here’s a list of what I use. You don’t need much, but the right tools make a difference.
- Fine mesh strainer: For rinsing seeds without losing them.
- Coffee filters: To catch tiny seeds.
- Paper towels: For drying seeds.
- Small glass jars: For storage.
- Silica gel packets: To absorb moisture.
- Tweezers: For handling small pods.
- Gardening gloves: To protect from spines.
I bought all of these for under $20. Totally worth it.
Troubleshooting Common Problems
Even with the best method, things go wrong. Here’s what I’ve faced and how I fixed it.
Problem: Seeds are moldy after storage. This happens if the seeds weren’t dry enough. I dry them for an extra day now. Also, check the silica gel packets. If they’re saturated, replace them.
Problem: Pod doesn’t dry on the plant. This can happen in humid weather. I’ve taken pods indoors and let them dry on a windowsill. But keep them away from direct sunlight.
Problem: Seeds don’t germinate. This could be due to old seeds or poor pollination. I always pollinate a few flowers and collect seeds from the best ones. I also test a small batch by planting them before storing the rest.
Final Thoughts on Seed Collection
Collecting cactus seeds is a slow process, but it’s rewarding. I’ve grown dozens of cacti from seeds I collected myself. Each one feels like a little victory. The key is patience. Don’t rush the pod. Don’t skip the drying step. And for goodness’ sake, don’t overwater.
I started with a single barrel cactus in my backyard. Now I have a collection of over 50 plants, all from seeds. It took me years to get here, but I learned from my mistakes. You can too.
FAQ
Q: How long do cactus seeds stay viable after collection? A: Most cactus seeds last 1 to 2 years if stored properly. I’ve had seeds from 3 years ago that still germinated, but the rate drops. I recommend planting within a year for best results.
Q: Can I collect seeds from a cactus that’s not blooming? A: No. You need a flower to get seeds. If your cactus isn’t blooming, it might need more light or a cooler winter dormancy. I’ve forced cacti to bloom by keeping them cool in winter and warm in summer.
Q: Do I need to dry the seeds before planting? A: Yes. Fresh seeds from the pod can rot if planted immediately. Dry them for 2 to 3 days first. I’ve tried planting without drying, and most seeds didn’t survive.





