 bluename
 How to Check for Blockages Inside Drainage Holes of Long-Used Cactus Pots
If your cactus has been sitting in the same pot for years, the drainage holes might be clogged right now and you would never know it. I learned this the hard way after losing a beautiful eight-year-old golden barrel cactus that I swore was "healthy" right up until it collapsed into mush. The fix takes about ten minutes, and I will walk you through exactly how I check for blockages inside drainage holes of long-used cactus pots, what I found after two weeks of monitoring, and the mistakes that almost killed my collection.
Here is the short answer: flip the pot, look at the drainage holes, and probe each one with a bamboo skewer or chopstick. If the skewer will not go in more than half an inch, you have a blockage. If water pools on the soil surface for more than 30 seconds when you water, that is your second clue. That is it. Everything else in this article is the detail behind those two checks, plus the stuff I wish someone had told me years ago.

Why This Problem Sneaks Up on You
Cactus roots are surprisingly aggressive. Over time, they grow toward the drainage holes because that is where moisture and oxygen collect. Fine roots push through the holes, then die back when they dry out. Those dead roots mix with mineral crust, perlite dust, and compacted peat, and slowly you get a solid plug.
I have pulled pots apart where the drainage hole looked perfectly clear from the outside, but a quarter-inch of calcified gunk was sealed just inside the rim. From above, everything looked fine. From below, nothing drained.
Also worth knowing: hard water leaves calcium deposits. If you water with tap water like most of us do, those deposits build up on the inside walls of the drainage hole. After two or three years, that crust can close a hole that was originally the size of a pencil.
The Tools I Actually Use
You do not need fancy gear. Here is what sits on my repotting tray:
- A bamboo skewer or wooden chopstick
- A cheap LED flashlight or your phone light
- A chopstick with a slightly blunt tip (for gentle probing)
- A small bristle brush, like an old toothbrush
- A bowl of room-temperature water
- A moisture meter, optional but handy
I tried a metal skewer once and chipped the rim of a terracotta pot. Stick with bamboo or wood. It is soft enough to flex around roots without slicing them.
My Step-by-Step Check
Step 1: Water the pot first, then wait five minutes.
I know this sounds backward, but it tells you everything. Pour water slowly over the soil surface. If it sits there like a mini pond and drains painfully slowly, the blockage is real. If it runs straight through, your holes are probably fine and the problem is elsewhere.
Step 2: Flip the pot carefully.
Cup one hand over the soil surface, supporting the cactus. Turn the pot on its side, then tilt it so you can see the bottom. Do this over a towel in case soil spills.
Step 3: Shine light into each drainage hole.
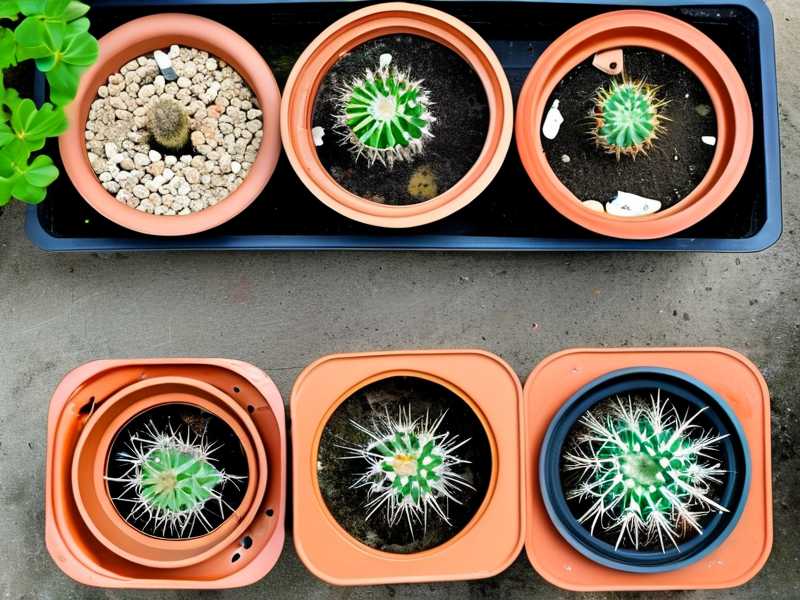
You are looking for three things: white crusty deposits, dark clumps of dead roots, and that crumbly gray-brown mix of old soil and minerals. All three are blockage signs.
Step 4: Probe each hole with the skewer.
Push gently. You should feel it slide in easily for at least an inch. If it stops hard, or if you hit a spongy resistance, there is a plug. Do not force it. Forcing pushes the blockage deeper and can crack the pot.
Step 5: If blocked, clear it from below.
This is the part most people skip. I wet the skewer slightly, then use a gentle twisting motion to break up the crust. Follow with the toothbrush, brushing in small circles around the inside rim of the hole. Rinse with a trickle of water and repeat until water flows freely.
Step 6: Do a drainage test.
Hold the pot over a sink and pour a cup of water on the soil. Time how long it takes to come out the bottom. A healthy cactus pot should start dripping within 10 to 20 seconds. If nothing comes out after a minute, you have a deeper problem and it might be time to repot.
What I Observed Over Two Weeks
I tested this method on four pots: two terracotta, two glazed ceramic. All had been in use for three to six years.
Day 1: Two of the four had partial blockages. One terracotta pot was almost fully sealed. Water pooled for over two minutes.
Day 3: After clearing, drainage improved but was still sluggish on the worst pot. I repeated the skewer-and-brush routine.
Day 7: All four pots drained within 30 seconds. The cacti visibly perked up, which surprised me because cacti are not exactly dramatic plants.
Day 14: I checked again. No new crust had formed. The soil surface dried out faster, which is exactly what you want. One cactus that had been slightly wrinkled at the base plumped back up.
That two-week window taught me something simple: blockages do not fix themselves, but they are easy to fix if you catch them early.
The Three Mistakes That Kill Most Beginner Cactus Growers
I have made all three of these. More than once.
Mistake 1: Overwatering.
You have probably heard this a hundred times, but it bears repeating: 90% of indoor plants die from overwatering. For cacti, that number might be even higher. Blocked drainage holes make overwatering almost guaranteed because water has nowhere to go. If you are watering on a schedule instead of checking the soil, stop. Stick your finger an inch into the soil. If it is not bone dry, wait.
I killed my first rebutia by watering every Sunday like clockwork. The pot had a blocked hole. The soil stayed wet for weeks under the surface. By the time I noticed, the base had turned to brown jelly.
Mistake 2: Wrong light.
Cacti are not all full-sun plants. Some, like Christmas cactus and many forest types, burn in direct afternoon sun. Others, like saguaro seedlings, stretch and weaken in low light. A stressed cactus from bad lighting is more vulnerable to root rot, even if your drainage is decent.
I once put a mammillaria on a south-facing windowsill in July and came back from a weekend trip to find it scorched. The drainage holes were clear. The light was the killer.
Mistake 3: Wrong pot.
This is the sneaky one. Glazed ceramic pots with tiny drainage holes look beautiful but drain poorly. Terracotta breathes and dries out faster, which is usually better for cacti. Plastic pots hold moisture longer. And pots without any drainage holes? Those are decorative cachepots, not growing pots. Do not plant directly into them, no matter what the tag says.
I have a gorgeous blue glazed pot that I now use only as a cachepot. Inside it sits a plain terracotta pot with proper drainage. Best decision I ever made for my collection.
What the Experts Say
The Royal Horticultural Society (RHS) recommends checking drainage holes as part of routine cactus care, especially before and after the growing season. They point out that compacted soil and root congestion are the leading causes of poor drainage in established pots. The American Horticultural Society (AHS) adds that mineral buildup from hard water is a common but overlooked issue, particularly in containers that have not been repotted in over two years.
In practice, that means if your cactus has been in the same pot for more than two growing seasons, assume there is some level of blockage until you prove otherwise.
When to Repot Instead of Just Clearing
Clearing the holes buys you time, but it is not a permanent fix. Here is my rule of thumb: if the soil is more than three years old, if the cactus has visibly outgrown the pot, or if you find a solid mat of roots when you probe, repot.
I repot my cacti every two to three years in fresh, gritty mix. For most of my plants I use a blend of one part potting soil, one part coarse sand, and one part perlite or pumice. That mix drains fast and resists compaction. It also makes future blockage checks much easier because the soil does not turn into a brick.
A Quick Note on Water Quality
If you live in an area with hard water, like parts of the Midwest or southern England, consider filtering your water or using rainwater for your cacti. I started collecting rainwater in a small barrel two summers ago and the difference in mineral crust is noticeable. Fewer crusty deposits mean fewer blockages.
If rainwater is not practical, let tap water sit out overnight. That lets some chlorine evaporate. It does not remove calcium, but it helps a little.
FAQ
How often should I check the drainage holes?
Every three to six months for established pots is reasonable. If you water with hard tap water or have not repotted in over two years, check every couple of months. It takes two minutes once you get the hang of it.
Can I just drill extra holes in the pot?
You can, but be careful. Terracotta and ceramic crack easily. Use a diamond-tipped bit and keep the surface wet while drilling. Honestly, though, I have found that fixing the existing holes usually solves the problem without drilling new ones. Try that first.
What if the water still will not drain after I clear the holes?
That usually means the soil itself has become hydrophobic, meaning it repels water. This happens with old peat-based mixes. In that case, repotting in fresh gritty mix is the only real fix. I have tried soaking the pot in a tray of water to rehydrate the soil, and it helps temporarily, but the problem always comes back.
Final Thoughts
Checking for blockages in old cactus pots is one of those small maintenance habits that makes a huge difference. It takes less time than scrolling through social media, and it can save a plant you have had for years.
Start by flipping the pot. Probe the holes. Run a drainage test. If something is wrong, clear it gently and keep an eye on it for a week or two.
Your cactus will not send you a thank-you note, but you will notice the difference. Trust me, I have seen it happen in my own collection more times than I can count.




