 bluename
 How to Grow Edible Nopales Cactus Species for Kitchen Gardens
I used to think my kitchen garden was complete. I had herbs, tomatoes, peppers. But something was missing. I wanted a plant that was resilient, unique, and truly useful beyond the ordinary. That’s when I discovered the edible nopales cactus species. The idea of growing my own prickly pear pads, or nopales, for fresh, tangy additions to scrambles and salads was incredibly appealing. Yet, I was held back by common fears: Aren’t cacti difficult? Won’t they take over? How do I even handle something so spiny? If you share these hesitations, you’re not alone. This guide is born from my two-year journey from cautious beginner to confident grower of edible nopales. I’ll walk you through every step, share the mistakes I made (and how to fix them), and show you how to successfully integrate this incredible, drought-tolerant superfood into your own garden space.
Understanding the Edible Nopales Cactus: More Than Just a Prickly Plant
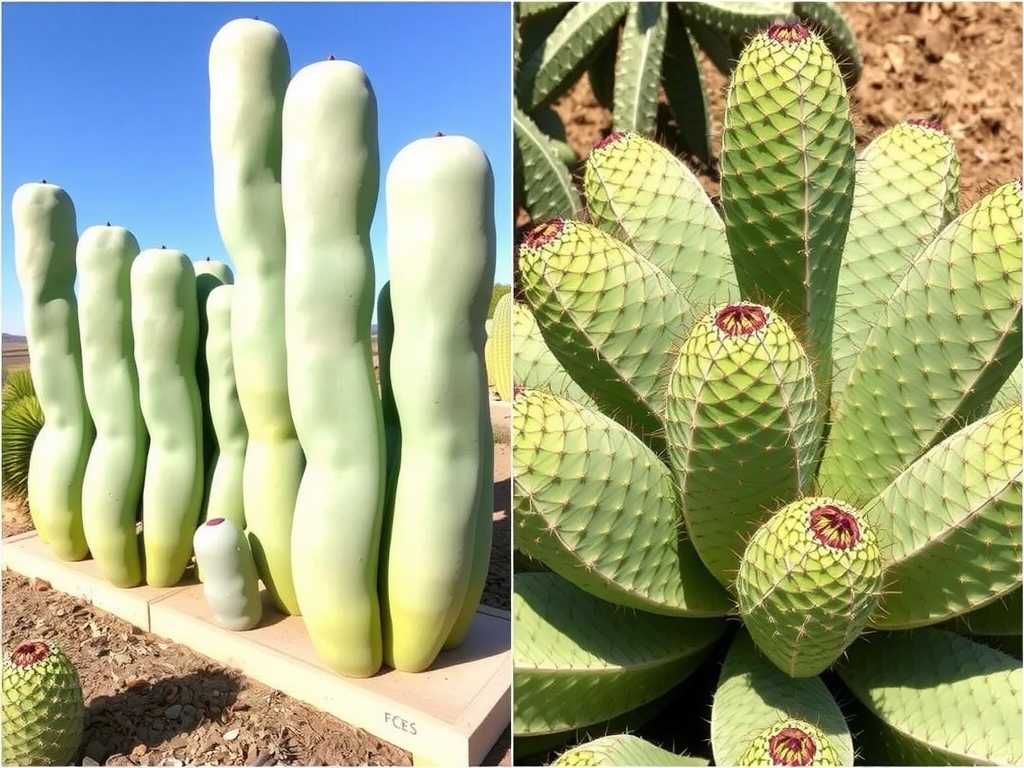
Before we get our hands dirty, let’s understand what we’re growing. When we talk about growing edible nopales for kitchen use, we’re primarily focusing on specific cultivars of Opuntia ficus-indica, the Indian fig opuntia. This species is prized for its large, tender, and less-spiny pads, known as nopales. Unlike ornamental cacti, these varieties are selected for flavor, texture, and yield.
According to a report from the University of California’s Division of Agriculture and Natural Resources, Opuntia species are not only a staple food but also play a crucial role in sustainable agriculture in arid regions. Their water-use efficiency is exceptional. The Royal Horticultural Society (RHS) notes that opuntias are surprisingly hardy and can thrive with minimal intervention once established, making them perfect for low-maintenance gardens. This aligns perfectly with the needs of a modern kitchen gardener seeking resilient crops.
Getting Started: Selecting and Sourcing Your Plants
You have two main paths: starting from seed or from a pad cutting. For kitchen garden nopales cultivation, I strongly recommend starting with a pad cutting or a small, established plant. Seeds take years to produce a harvestable plant. My first attempt was with seeds, and after six months of babying tiny seedlings, I realized I wanted results within a more reasonable timeframe.
I sourced my first pad from a local Hispanic grocery store. Yes, you read that right! I selected a firm, medium-sized, bright green pad (also called a cladode) from the produce section. This is a fantastic and affordable way to start. Alternatively, you can purchase a specific edible cultivar from a reputable nursery. Look for names like ‘Burbank Spineless’ or ‘O. ficus-indica’ varieties known for minimal glochids (those tiny, almost invisible spines that are truly the worst). This initial choice is critical for a positive edible cactus gardening experience.
The Planting Process: A Step-by-Step Guide
Here is the exact process I followed, refined after a few initial stumbles.
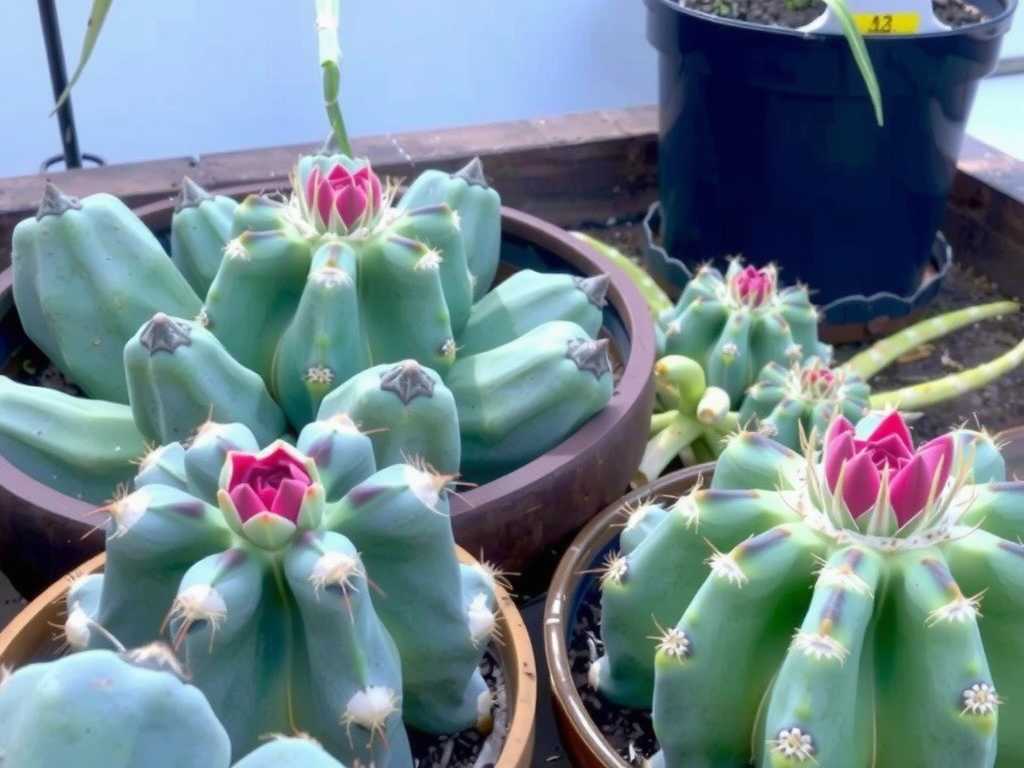
Step 1: Callousing the Cutting If you’re using a store-bought pad, you must let the cut end dry and form a callus. This prevents rot when planted. I laid my pad on a paper towel in a dry, shaded spot indoors. I left it for a full 7-10 days. The cut end will harden and look sealed. My mistake the first time? I only waited 3 days, planted it, and it developed a soft, rotten base within a week. Patience is non-negotiable here.
Step 2: Choosing the Right Container and Soil Nopales demand excellent drainage. I use a terra cotta pot with a large drainage hole. For soil, I mix a standard cactus/succulent potting mix with an additional 25% by volume of perlite or coarse sand. This creates the gritty, fast-draining environment their roots crave. The American Horticultural Society (AHA) emphasizes that “soggy soil is the single greatest killer of cacti and succulents.” I learned this the hard way with my first, poorly-draining mix.
Step 3: The Actual Planting Once calloused, plant the pad about 1/3 to 1/2 of its length deep into the dry soil mix. You can plant it vertically or at a slight angle for stability. Do NOT water it yet. This was my second big mistake—I watered immediately, inviting rot. After planting, place the pot in a spot with bright, indirect light and leave it completely alone for another 7-10 days. This allows roots to begin forming.
Step 4: The First Water and Initial Care After about 10 days, give the soil a light watering around the base of the pad. Then, return to a “soak and dry” method: water thoroughly only when the soil is completely dry. At this stage, I moved my pot to a sunnier location, eventually acclimating it to full sun (6+ hours daily).
My Two-Week Observation Log: The First Signs of Life
I documented this process meticulously. Here’s what I observed:
- Days 1-7 (Callousing): The pad remained firm and green. The cut end slowly changed from moist to dry and hardened.
- Day 8 (Planting): Planted in dry mix. No change visually.
- Days 9-14: The pad still looked the same—a good sign meaning no rot. It felt firmly anchored when I gave it a very gentle wiggle, hinting at root development.
- Day 15 (First Water): Gave a modest drink. The soil dried out within 3 days.
- Day 21: I noticed the very top of the pad seemed slightly plumper and a tiny, bright green new growth nub was emerging near the top! This was the thrilling confirmation of success.
Ongoing Care for a Bountiful Harvest
Sunlight and Positioning: Mature nopales crave full sun. The more sun, the better the growth and flavor development. In extremely hot climates, some afternoon shade can prevent scorching.
Watering Wisdom: The “soak and dry” method is your mantra. In summer, this might be every 10-14 days. In winter, I water mine only once a month or less, especially if it’s outdoors. Overwatering leads to mushy, yellowing pads.
Feeding for Growth: These aren’t heavy feeders. I apply a diluted, balanced liquid fertilizer (like a 5-5-5) only twice during the active growing season (late spring and mid-summer). Too much fertilizer promotes weak, watery growth.
Handling and Harvesting Your Nopales
This is where most beginners get nervous. You need the right tools: thick leather gloves and kitchen tongs. Even “spineless” varieties have glochids. To harvest, I use the tongs to grip a mature, firm pad (usually ones that are at least 4-6 months old). With a sharp, clean knife, I cut at the joint where it connects to another pad. I place the harvested pad vertically in an empty pot to let the sap drip.
Processing for the Kitchen: My technique is to place the pad on a cutting board held down with tongs. I use a sharp vegetable peeler to shave off the nodes where the spines and glochids cluster. Then, I slice off the thin outer edge of the pad. Finally, I dice or slice the inner flesh. You’ll notice a slippery mucilage (like okra)—this is normal and nutritious! A quick blanching or grilling reduces it if desired.
Troubleshooting: The Pitfalls I Encountered
- Problem: Soft, Yellowing Base. Cause: Overwatering/rot. Solution: I had to unpot the pad, cut away all the soft, rotten tissue until only firm, green flesh remained, re-callous for 10 days, and replant in grittier mix. It survived!
- Problem: Brown Scorched Spots. Cause: Moved from indoors to full sun too quickly. Solution: Acclimate over 1-2 weeks by increasing sun exposure gradually.
- Problem: Slow or No Growth. Cause: Insufficient light or dormant period (winter). Solution: Ensure maximum sunlight in growing season. Be patient in winter; it’s resting.
- Problem: Glochids in My Fingers. Cause: Careless handling. Solution: Use sticky tape or a facial peel to lift them out. Prevention with gloves and tongs is infinitely better.
Integrating Nopales into Your Garden Ecosystem
As my plants grew, I appreciated their role beyond food. They became a striking architectural element. I planted them in a dedicated, raised bed with other Mediterranean herbs like rosemary and lavender that share their love for sun and dry feet. They attract pollinators when their beautiful yellow or red flowers bloom in late spring. This holistic approach to cultivating nopales cactus plants creates a beautiful and productive garden corner.
Frequently Asked Questions
Can I grow edible nopales indoors? Yes, but with a major caveat. They need the sunniest spot you have, ideally a south-facing window. Growth will be slower, and you must be even more vigilant about watering less due to lower light and airflow. They are truly happiest outdoors.
How long until I can make my first harvest? From a healthy pad cutting, you can typically make your first light harvest in 4-6 months. The plant needs time to establish a robust root system and produce new pads. My first meaningful harvest, where I could take a pad without stressing the plant, was about 8 months after planting.
Are the fruits (prickly pears) edible too? Absolutely! The tuna, or prickly pear fruit, is a delicious bonus. It ripens in late summer/fall, turning a deep red or purple. Harvest with extreme care using tongs due to glochids. The fruit can be peeled and eaten fresh, juiced, or made into jams.
Growing edible nopales cactus species has been one of the most rewarding projects in my kitchen garden. It transformed my perspective on what a resilient, sustainable food source can look like. It requires a shift in thinking—embracing dry soil and respecting spines—but the payoff is immense. You gain a unique, nutritious vegetable that thrives on neglect, reduces your water usage, and adds incredible character to your garden and your plate. Start with a single pad, follow these hands-tested steps, and you’ll soon enjoy the deep satisfaction of harvesting your own homegrown nopales.





