 bluename
 How to Grow Grafted Trichocereus Cactus Species Successfully: A Grower’s Log
I remember the first time I saw a grafted Trichocereus cactus. It was a stunning Trichocereus bridgesii ‘Monstrose’ crest, perched atop a robust, green rootstock. The contrast was mesmerizing. I bought it immediately, dreaming of its rapid, sculptural growth. But within months, my dream turned into a confusing struggle. The graft union looked stressed, growth stalled, and I was terrified of losing this unique plant. If you’ve ever felt that panic, wondering why your prized graft isn’t thriving like the pictures online, you’re not alone. The journey of learning how to grow grafted Trichocereus cactus species successfully is filled with subtle nuances that aren’t always in the basic care guides. Through trial, error, and careful observation, I’ve navigated these challenges and want to share a practical, step-by-step guide from one enthusiast to another.
Understanding the Grafted Partnership: Scion and Rootstock
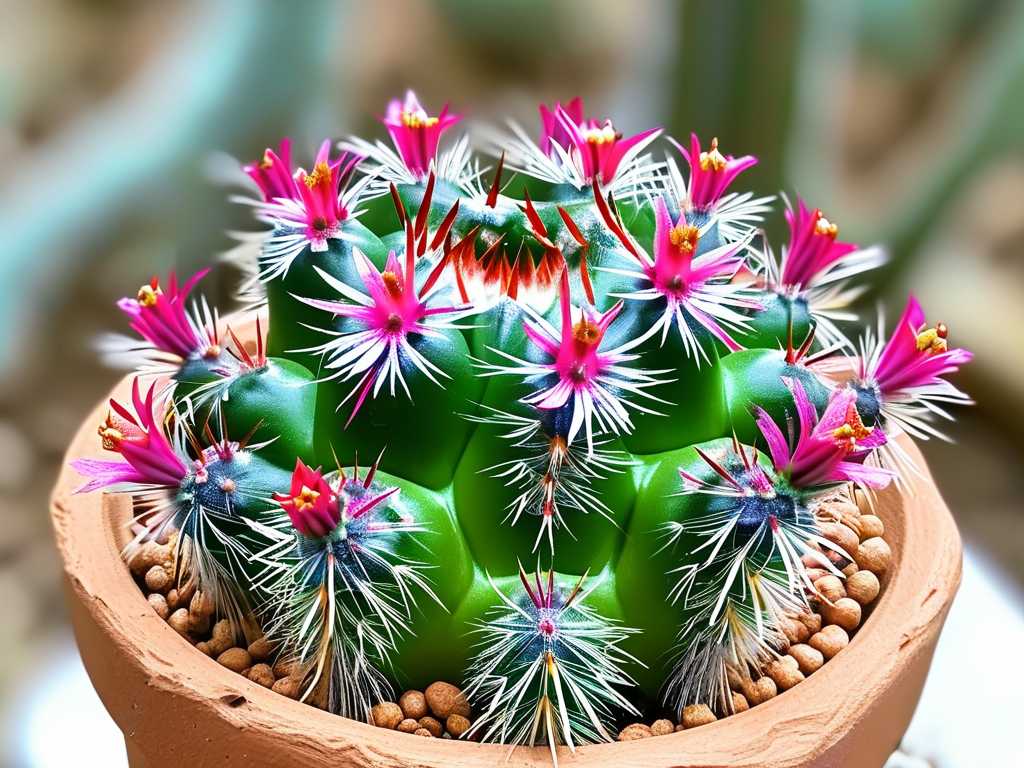
Before we dive into care, it’s crucial to understand what you’re working with. A grafted cactus combines two parts: the scion (the desirable Trichocereus cultivar on top, like a ‘Monstrose’ or ‘Crested’ form) and the rootstock (the hardy, fast-rooting base, typically a Trichocereus pachanoi or Pereskiopsis). The rootstock’s job is to provide a powerful, established root system to drive growth in a scion that might be slow-growing, rare, or difficult to root on its own. Success hinges on maintaining the health of this partnership, not just the individual parts.
My Essential Step-by-Step Care Protocol
This isn’t just theory; this is the exact regimen I follow for my collection, developed after several failures.
Selecting and Acquiring a Healthy Plant Your success starts the moment you choose a plant. I look for a firm, plump rootstock with no signs of shriveling or soft spots. The critical element is the graft union—the seam where scion meets rootstock. It must be clean, well-attached, and calloused over without any gaps or signs of infection (ooze, black spots). I once bought a graft with a tiny, almost invisible gap at the union. It introduced rot that traveled into the scion within weeks. Now, I use a magnifying glass for a thorough inspection. A reputable seller is key; I often reference resources from the Cactus and Succulent Society of America (CSSA), which emphasizes sourcing from ethical propagators to ensure plant health and correct labeling.
The Perfect Soil and Potting Setup This is where I made my biggest early mistake. I used a standard, organic-rich potting mix. It retained too much moisture, causing the cold-sensitive rootstock to rot while the scion was still thirsty. The solution? A radically well-draining mix. My current recipe, which has been a game-changer, is:
- 40% mineral base (pumice or perlite)
- 30% coarse horticultural sand
- 20% crushed granite or small gravel
- 10% sieved coconut coir or commercial cactus soil (for minimal water retention) This mix drains almost instantly, preventing “wet feet.” As noted in horticultural best practices, a well-aerated substrate is non-negotiable for healthy root function and preventing fungal pathogens. The pot must have excellent drainage holes—I prefer unglazed terracotta for its breathability.
Watering: The Delicate Balance Overwatering is the fastest killer. Underwatering stresses the union. My method is simple but requires attention. I perform the “weight test”: lift the pot. A light pot needs water; a heavy one doesn’t. I only water when the soil is completely dry, and then I soak it thoroughly until water runs freely from the bottom. In active summer growth, this might be every 7-10 days. In winter dormancy, it can be once a month or less. The rootstock, being a vigorous Trichocereus, can handle more water than the scion might suggest, but the soil dryness is the ultimate guide.
Light and Temperature: Mimicking the Andes Grafted Trichoceresus need intense light to grow compactly and healthily. However, newly acquired or stressed grafts need acclimation. I place mine in bright, indirect light for two weeks before introducing them to 4-6 hours of direct morning sun. After acclimation, they thrive in full sun. A south-facing window or a grow light (I use full-spectrum LEDs) is essential indoors. Temperature-wise, they prefer warm days (70-90°F) and cooler nights. Crucially, they must be kept absolutely frost-free. The rootstock is often more cold-sensitive than the hardy Trichocereus scion.
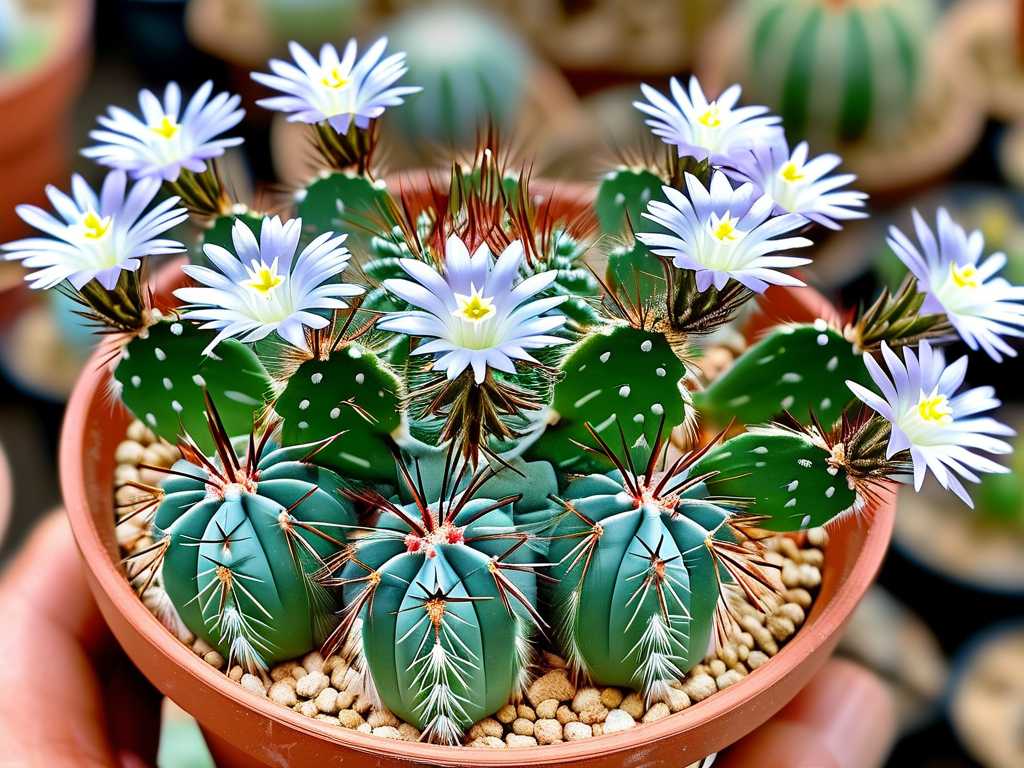
Nutrition and Growth Support The whole point of grafting is accelerated growth, so feeding is important. During the active growing season (spring to early fall), I use a balanced, low-nitrogen cactus fertilizer diluted to half-strength every third watering. I avoid high-nitrogen formulas as they can cause weak, etiolated growth, making the scion susceptible to damage. A little goes a long way.
A Two-Week Observation: The Acclimation Test Let me walk you through a real-life scenario. I recently acquired a Trichocereus peruvianus ‘Sharxx Blue’ graft. For the first two weeks, I placed it in my bright shade area. Here was my log:
- Days 1-3: No change. The scion and rootstock remained firm.
- Days 4-7: I noticed the very tip of the scion showing a faint, brighter green—a sign of new cellular activity. The rootstock plumped up slightly after its first deep watering.
- Days 8-14: The bright green tip became more pronounced, a clear growth point. No discoloration at the union. The rootstock responded well to a second watering, showing no signs of edema or splitting. This successful acclimation period told me the plant had overcome transplant stress and was ready for gradual introduction to stronger light to fuel that new growth.
Troubleshooting Common Graft Problems
Problem: The Scion is Shriveling While the Rootstock is Plump. This indicates a failed connection. The vascular tissues are not conducting water. Sometimes, this can be temporary due to shock. I increase ambient humidity slightly (not soil moisture) by misting the air around it and providing bright, indirect light. If it doesn’t plump up in a week, the graft may have failed internally and needs to be re-grafted.
Problem: Soft, Dark Spots at the Graft Union or on the Rootstock. This is rot, often from overwatering or poor air circulation. My solution is immediate surgery. With a sterilized knife, I cut above the rot on the scion, bevel the edges, and re-graft it onto a fresh rootstock. If the rootstock is rotting from the base, I can sometimes behead it above the rot, re-root it, and then re-graft the scion later. Letting rot sit is a death sentence.
Problem: The Scion is Growing Thin and Stretched (Etiolation). This means insufficient light. The plant is desperately reaching for a photon source. The fix is to gradually increase light intensity. Unfortunately, the thin section won’t fatten up. Once in proper light, new growth will be normal. For aesthetics, some growers eventually cut and re-graft the normal-growing tip.
Problem: The Rootstock is Pushing Out Its Own Pup. The vigorous rootstock wants to grow! I remove these pups as soon as I see them, using a sterile twist-and-pull or cut method. This directs all the rootstock’s energy into the scion. Leaving them will slow the scion’s growth significantly.
Long-Term Success and Advanced Tips As your graft matures, the rootstock may become disproportionate or aged. Many advanced hobbyists practice “re-grafting” onto a fresh, young rootstock every few years to maintain vigorous growth. It’s also vital to monitor the union as both plants expand; sometimes, slight cracking can occur, which I dust with sulfur powder to prevent infection. The American Horticultural Society’s (AHS) Encyclopedia of Gardening supports this proactive approach to plant maintenance, stating that regular assessment and intervention are key to sustaining specialized garden plants like grafts.
Frequently Asked Questions
Can I plant my grafted cactus in the ground? In suitable climates (warm, arid, frost-free), yes. However, I generally advise against it. Planting in-ground exposes the cold- and moisture-sensitive rootstock to uncontrolled conditions. A pot allows you to manage the soil and environment precisely, which is the cornerstone of successful grafted cactus care.
How long will the rootstock last? A healthy Trichocereus pachanoi rootstock can last for many years, even decades, with proper care. Its lifespan is directly tied to your watering habits and prevention of rot. Signs it’s failing include persistent shriveling, corking far beyond the base, or loss of firmness.
My graft is stable but growing very slowly. What’s wrong? Consider three factors: light, nutrients, and temperature. Is it getting enough direct sun or strong grow light? Have you been feeding it during the growth season? Are nighttime temperatures too cool? Slow growth is usually an environmental cue, not a disease. Adjust these elements one at a time and observe.
Growing grafted Trichocereus cacti is a deeply rewarding practice that blends horticultural science with patient observation. It teaches you to read a plant’s subtle language—the slight blush of new growth, the firmness of the stem, the weight of the pot. By understanding the symbiotic relationship between scion and rootstock, providing a harsh-but-appropriate environment, and acting swiftly at the first sign of trouble, you can cultivate these extraordinary specimens successfully. The joy of seeing a rare crest double in size, fueled by a robust rootstock you’ve nurtured, is a testament to the fascinating art and science of cactus grafting. Start with a healthy plant, master the basics of soil and water, and let your observations guide you from there.





