 bluename
 How to Care for Seed-Grown Lophophora Cactus Species (Legal Varieties): A Grower’s Complete Guide
I remember the mix of excitement and sheer panic when my first packet of Lophophora seeds arrived. I was captivated by the idea of nurturing these slow-growing, spiritually significant cacti from their very beginning. But as a beginner, I was overwhelmed. How do you even start? What if I drown them, or they never sprout? The information online felt either too vague or overly scientific. If you’re holding some seeds and feeling that same anxiety, you’re in the right place. This guide is born from my own journey, filled with trial, error, and ultimately, success in cultivating legal, seed-grown Lophophora varieties like Lophophora williamsii var. caespitosa and other ornamental cultivars.
My goal is to walk you through every step, not as an untouchable expert, but as a fellow enthusiast who has spent countless hours observing, adjusting, and learning from both triumphs and mistakes. I’ll share my real, hands-on process, the specific results I observed over a critical two-week germination period, and the practical solutions to problems you’re almost guaranteed to encounter. Let’s demystify the process together.
Understanding Your Lophophora Seeds and Legal Considerations
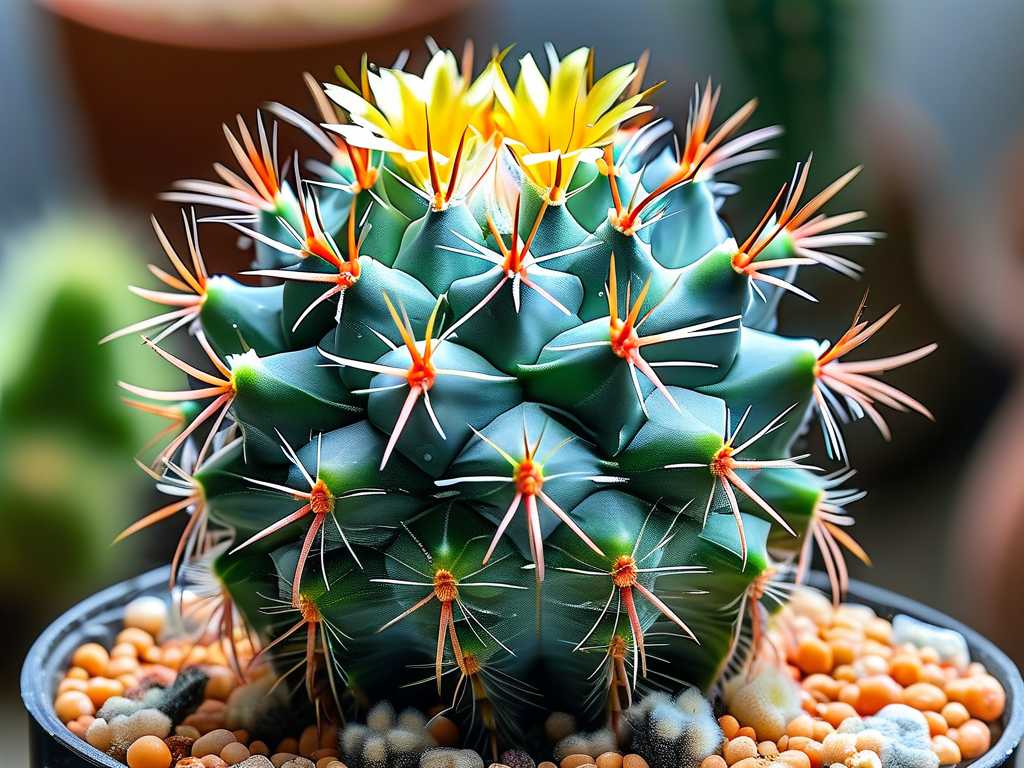
Before we touch a single seed, this is the most crucial step. The genus Lophophora, often called peyote, contains species with cultural and legal significance. It is imperative to only source and grow seeds of legal, non-mescaline-containing ornamental varieties or cultivars where local and international law permits. Always verify the specific regulations in your country and state. My cultivation focus, and the focus of this guide, is exclusively on the horticultural practice of growing legally acquired seeds for ornamental collection. Reputable specialized cactus seed vendors clearly label their varieties. Starting with legally sourced seeds is the foundation of a responsible and rewarding hobby.
Phase One: The Germination Setup – Precision is Key
Germination is the most delicate stage. Getting it wrong here means your journey ends before it begins. I use a modified “takeaway tek” method, which provides a controlled, humid microenvironment.
My Step-by-Step Sowing Process
I gather my materials: a clean, transparent plastic container with a lid, a well-draining cactus soil mix (I combine 50% pre-mixed cactus soil with 50% perlite or pumice for extra drainage), a spray bottle with distilled water, and of course, my seed packet.
First, I thoroughly moisten the soil mix. The key is damp, not soggy. I squeeze a handful; it should hold together lightly but release no free water. I fill the container about two-thirds full and gently level the surface without compacting it. Now, for the seeds. Lophophora seeds are tiny. I carefully scatter them on the surface, spacing them out as best I can. They require light to germinate, so I do not cover them with soil. A gentle mist from the spray bottle settles them into place.
Here’s my critical step: I seal the container lid tightly. This creates a mini-greenhouse, maintaining near 100% humidity. I place it under bright, indirect light—never direct sun, which will cook the seeds. A spot under grow lights or on a bright windowsill with a sheer curtain is perfect. The ideal temperature range is between 75-85°F (24-29°C). I use a heat mat set to 80°F for consistent bottom heat, which dramatically increases germination rates.
The Critical First Two Weeks: Daily Observations and Adjustments
This is where patience and observation become your greatest tools. I marked my calendar and committed to checking the container daily without opening it unless necessary.
- Days 1-4: Nothing visible. The container walls stayed foggy with condensation. I resisted the urge to open it. Maintaining humidity is paramount.
- Days 5-7: The first sign of life! Tiny, bright green dots appeared. These are the cotyledons, the seed leaves. My success rate looked to be about 70% so far. I felt a surge of relief.
- Days 8-10: More seedlings emerged. The pioneers started to plump up slightly. I noticed a couple of seeds looked like they had a fuzzy white coating—my first problem. This was likely a harmless fungal mycelium, but it could outcompete seedlings. Time for action.
- Days 11-14: The colony was established. The fuzzy patch had grown slightly. This was my “pitfall” moment. I knew I needed to introduce air flow to combat the fungus without desiccating the delicate seedlings.
Solving the Fungus Pitfall: A Balanced Approach
Opening the sealed environment is risky. My solution was gradual acclimatization. I carefully unsealed the lid and cracked it open by about a quarter of an inch. I increased this gap slightly each day over the next week. This slowly lowered the humidity and introduced fresh air, which halted the fungus growth. For the visible patch, I used a toothpick dipped in a diluted 3% hydrogen peroxide solution (1 part peroxide to 4 parts water) to gently dab the area. The fungus receded and the nearby seedlings were unharmed. This experience taught me that sterile technique is vital, but minor contamination is manageable with prompt, gentle intervention.
Phase Two: Seedling Care – The First Few Months
Once germinated and acclimatized to slightly lower humidity, the real test begins. These babies will stay in this container for several months.
Watering and Light for Young Lophophora Cacti
The soil should remain visually moist but not wet. I now water from below by placing the container (with drainage holes poked in the bottom at this stage) in a shallow tray of water for 10-15 minutes, allowing the soil to wick up moisture. This prevents disturbing the seedlings. I let the surface dry slightly between waterings. Light remains bright and indirect. As they grow, I gradually move them closer to a stronger light source to prevent etiolation (stretching), but direct sun is still too intense.
Recognizing and Addressing Common Seedling Issues
- Reddish Hue: If seedlings turn reddish-purple, they’re likely getting too much light or heat. I simply move the container to a slightly shadier spot, and the green color returns.
- Stretching and Leaning: This signals insufficient light. I gradually introduce them to a stronger grow light, increasing exposure by an hour every few days.
- Damping Off: This fatal fungal condition causes seedlings to collapse at the base. It’s caused by overly wet, cool conditions. Prevention through proper soil drainage, air flow, and avoiding overwatering is the only cure.
Phase Three: The Long-Term Care Strategy for Mature Plants
After 6-12 months, your Lophophora will be ready for their own small pots. The care principles shift.
The Perfect Soil Mix and Pot Choice
Drainage is non-negotiable. My mature mix is even grittier: roughly 30% organic matter (like cactus compost) and 70% mineral grit (perlite, pumice, coarse sand). I always use pots with drainage holes. Terracotta pots are excellent as they wick away excess moisture.
Mastering the Watering and Dormancy Cycle
This is the heart of long-term Lophophora cactus care. I water deeply only when the soil is completely dry, and I mean completely. During the active growing season (spring and summer), this might be every 2-3 weeks, depending on climate. In the winter, they enter dormancy. I withhold water entirely from late autumn to early spring, keeping them in a cool (around 50°F/10°C), bright location. This dry, cool rest is essential for their health and encourages flowering in mature specimens. As noted by experts at the Cactus and Succulent Society of America (CSSA), simulating natural seasonal cycles is key to cultivating healthy, resilient cacti.
Optimal Light and Temperature Conditions
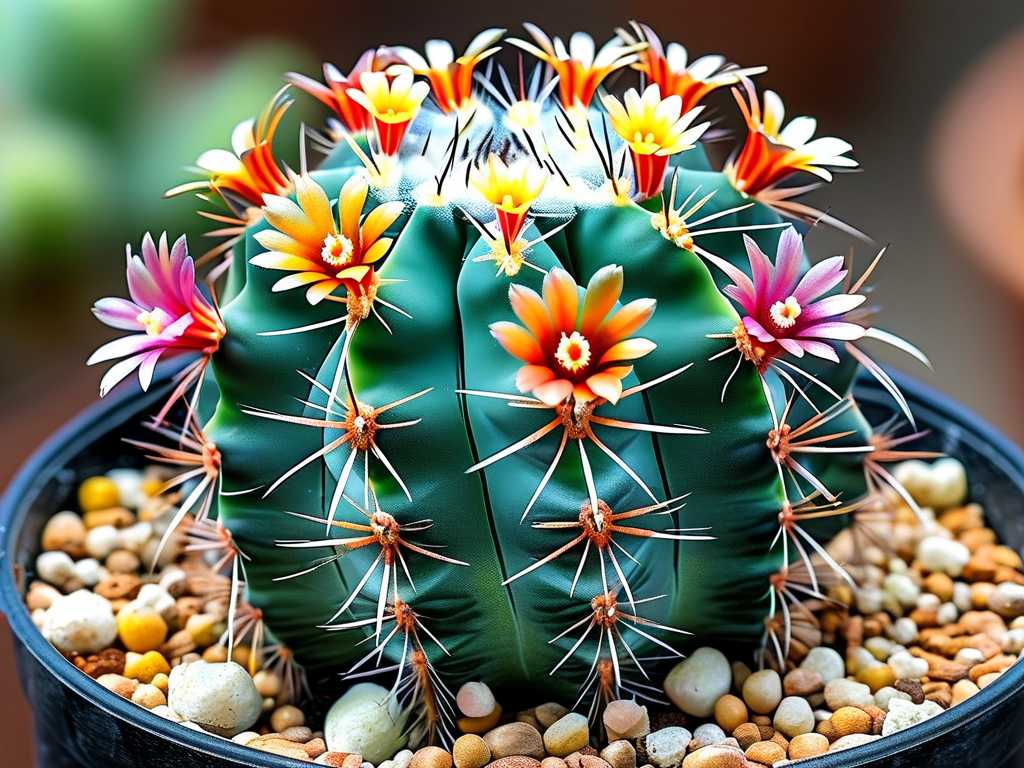
Mature Lophophora can handle and indeed require several hours of direct morning sun or filtered afternoon sun. However, in scorching summer heat, some light shade during the peak afternoon hours prevents scorching. They thrive in warm temperatures but appreciate the cooler winter dormancy period.
Fertilizing for Healthy, Slow Growth
Less is more. During the growing season, I use a diluted, low-nitrogen cactus fertilizer at half strength, only once or twice total. Over-fertilizing leads to weak, unnatural growth.
Troubleshooting Advanced Growth Problems
- Scorching: Brown, crispy patches mean too much direct sun too quickly. Acclimate plants gradually to higher light levels.
- Soft, Yellowish Base: The dreaded sign of rot from overwatering, especially in cool conditions. The only hope is to cut well above the rot with a sterile knife, let the cut callous for weeks, and attempt to re-root. Prevention through proper watering is infinitely easier.
How do I know when my seedling is ready to be transplanted? Wait until they are at least the size of a small pea and have developed visible, firm areoles (the fuzzy spots where spines would be). This usually takes 6-12 months. Their robust structure will handle the move better.
Can I grow legal Lophophora varieties indoors? Absolutely. A south or east-facing windowsill is ideal. For consistent results, especially in less sunny climates, I highly recommend using a full-spectrum LED grow light for 12-14 hours a day. This ensures they receive enough light without the risk of sunburn from a magnifying window glass.
Why hasn’t my mature Lophophora ever flowered? Flowering requires maturity (often 5+ years from seed), excellent light, and, most importantly, a strict winter dormancy period with no water and cool temperatures. This seasonal stress signals the plant to produce buds when growing conditions return in spring.
Growing Lophophora from seed is a lesson in patience and attentiveness. It connects you to the entire life cycle of these remarkable plants. By starting with legal seeds, creating the right germination environment, navigating the pitfalls of early care, and respecting their natural growth and dormancy cycles, you can successfully cultivate these living gems. The joy of seeing that first green dot emerge, and years later, a delicate pink flower, is an unparalleled reward for any plant lover. Start with care, observe closely, and enjoy the slow, beautiful journey.





