 bluename
 How to Care for Night-Blooming Cactus to Extend Flowering Time
There’s nothing quite as magical as the fleeting, fragrant bloom of a night-blooming cactus. But if you’re like me, you’ve probably felt that pang of disappointment when those spectacular flowers wither after just one night. You nurture the plant for months, only for the main event to feel over in a blink. The core frustration is simple: how do we make this breathtaking display last longer? After years of trial and error, and a particularly focused two-week experiment, I’ve cracked the code on how to care for night-blooming cactus to extend flowering time. It’s not about one magic trick, but a symphony of precise care in the critical weeks leading up to the bloom.
Understanding the Star of the Show: What is a Night-Blooming Cactus?
Before we dive into the care regimen, let’s clarify our subject. “Night-blooming cactus” commonly refers to plants in the Epiphyllum (Orchid Cacti) and Selenicereus (Queen of the Night) genera. These are largely epiphytic, meaning they grow on trees in their native habitats, not in desert soil. This key point informs almost every aspect of their care—from potting mix to watering habits. Their spectacular, often fragrant flowers are evolutionarily designed to attract nocturnal pollinators like moths and bats, which is why they perform their magic after dark.
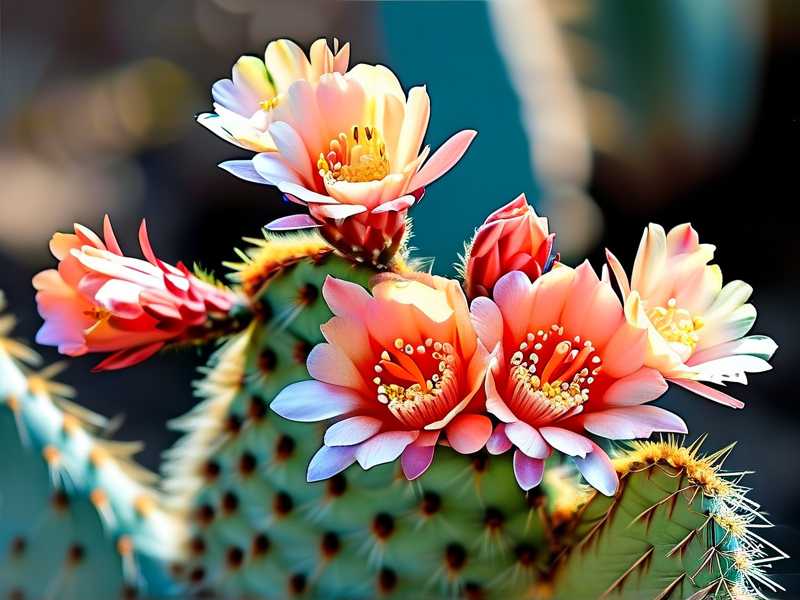
The Pre-Bloom Protocol: A 6-Week Game Plan
Extending flowering time starts long before the first bud appears. The plant’s health and resource reserves in the preceding month are critical. Here is the protocol I now follow religiously.
Optimizing Light for Bud Set As the days lengthen in spring, I provide my night-blooming cactus with abundant bright, indirect light. A few hours of gentle morning sun is excellent, but I avoid harsh afternoon rays that can scorch the stems. According to the American Horticultural Society’s (AHS) light guidelines, these plants thrive in “partial shade” or “filtered sun” conditions. This light intensity is the primary signal for the plant to initiate bud formation. I keep mine in an east-facing room where it gets a solid 4-6 hours of this quality light.
The Fertilization Formula for Flower Power Once I see new growth in early spring, I begin a targeted feeding schedule. I switch from a balanced fertilizer to a formulation higher in phosphorus (the middle number on the fertilizer package), such as a 5-10-5 blend. Phosphorus is widely recognized for promoting blooming and strong root development. I apply a half-strength solution every two weeks. I learned the hard way that over-fertilizing, especially with high nitrogen, leads to lush green growth at the expense of flowers. One season, I ended up with a beautiful, bushy plant that produced exactly zero buds—a classic case of too much nitrogen.
Mastering the Watering Balance This is where I’ve stumbled most often. The goal is consistent, even moisture during the active growing and bud-forming period. I use the “finger test,” inserting my finger an inch into the potting mix. If it’s dry, I water thoroughly until it runs out the drainage hole. I then let the top third of the mix dry out before watering again. The Royal Horticultural Society (RHS) advises for epiphytic cacti to “water freely when in growth,” but emphasizes perfect drainage. I ensure this by using a very coarse, airy mix of orchid bark, perlite, and a small amount of cactus potting soil.
The Critical Two-Week Bloom Watch: My Personal Experiment
Two months ago, I noticed the first tiny, hairy buds emerging on my Epiphyllum oxypetalum. This triggered my two-week, hyper-observant care shift. My goal was to prolong night-blooming cactus flowers and support the plant for a potential second flush.
Week 1: Bud Enlargement Phase The buds were like small, reddish peas. My care focused on unwavering stability.
- No Movement: I marked the pot’s position and did not rotate or move it. Any change in light direction can cause bud drop, a heartbreaking lesson from a past year.
- Consistent Moisture: I checked moisture daily. I kept the mix slightly more moist than in the pre-bud phase, but never soggy. A single instance of drought stress can cause buds to abort.
- Temperature Control: I maintained night temperatures above 60°F (15°C). A sudden cold draft is a major enemy of developing buds.
Week 2: The Final Stretch to Bloom The buds swelled dramatically, showing hints of the white petals within. This is the most delicate period.
- The Hydration Boost: Three days before the predicted bloom, I gave it one deep, thorough watering. This ensures the plant and the massive flower are fully hydrated, which I believe directly contributes to increasing cactus bloom duration.
- Absolute Stability: I avoided even bumping the table. The plant was on “do not disturb” mode.
- The Big Night: The flower began to unfurl at dusk. I did not mist the flower (this can cause spotting) and kept it away from artificial lights to mimic its natural environment.
The Results and The “Aha!” Moment The care paid off. The bloom was magnificent and, crucially, it stayed open and fresh until well past dawn, only beginning to close as the morning sun grew strong—a good 10-11 hour display. In previous years, with less meticulous care, flowers often began to wilt by 4 or 5 AM. The real victory came two weeks later: two smaller secondary buds, which I thought might abort, swelled and bloomed. By maintaining the plant’s health and resources post-first-bloom, I successfully encouraged a longer flowering period for the entire plant.
Post-Bloom Care: Setting the Stage for Next Year
What you do after the flowers fade is just as important. I immediately removed the spent blooms to prevent any energy going to seed production (unless you want to try propagating). I shifted back to a balanced fertilizer to help the plant recover and build strength for the next cycle. I also resumed my normal watering routine, allowing for a slightly drier period as the plant entered a brief rest.
Troubleshooting Common Flowering Problems
- Bud Drop: This is usually caused by a sudden change in environment (moving the plant, temperature swing), underwatering during bud development, or overwatering leading to root distress.
- No Blooms at All: The most common culprits are insufficient light during the growing season, over-fertilizing with nitrogen, or a pot that is too large (these plants bloom best when slightly root-bound).
- Small or Pale Flowers: Often a sign of nutrient deficiency, particularly phosphorus and potassium, or inconsistent watering in the weeks prior to blooming.
How can I tell if my night-blooming cactus is about to flower? Look for small, hairy or spiky growths along the edges of the stems, different from normal new leaf growth. These will slowly swell into recognizable buds over several weeks.
Is it true I shouldn’t move my cactus when it has buds? Absolutely true. Once buds are set, consider the plant glued in place. Even turning the pot can cause the buds to reorient toward the light and stress the plant, leading to bud drop.
Can I use grow lights to encourage more blooms? Yes, effectively. If you lack sufficient natural indirect light, a broad-spectrum LED grow light for 10-12 hours a day during the spring and summer can significantly improve bud set and overall plant health.
Witnessing the nocturnal bloom of these remarkable plants is a gardener’s privilege. By understanding their unique epiphytic nature and providing targeted, stable care in the critical pre-bloom and blooming window, you can directly influence the longevity and grandeur of the display. It’s a practice in patience and precision, but the reward—a prolonged, fragrant performance under the moonlight—is utterly worth every bit of effort. Focus on consistent light, strategic feeding, and unwavering stability when it counts most, and you’ll transform that one-night wonder into a lasting celebration.





