 bluename
 How to Care for Cactus with Root Rot Issues: A Plant Lover’s Rescue Guide
There’s a special kind of panic that sets in when you notice your beloved cactus, once plump and proud, now looking deflated, discolored, or wobbly in its pot. You water it, but it only seems to get worse. If this sounds familiar, you’re likely facing the silent killer of the succulent world: cactus root rot. I know that panic intimately. I’ve lost a prized Golden Barrel to it, and it was that heartbreak that sent me on a mission to learn not just how to diagnose it, but how to actually care for a cactus with root rot issues and nurse it back to health. Through trial, error, and a lot of research, I’ve developed a reliable, step-by-step rescue protocol. This guide isn’t just theory; it’s the exact process I used to save my recent patient, a Mammillaria that had turned soft at its base. I’ll walk you through my real-world steps, the critical two-week observation period, and the mistakes I made along the way so you can avoid them.
Understanding the Enemy: What Is Cactus Root Rot?
Before we dive into the rescue, let's understand what we're fighting. Root rot is a disease caused by overwatering, which creates an oxygen-deprived, soggy environment perfect for soil-borne fungi like Pythium or Phytophthora to attack the roots. It’s not the water itself that kills the plant, but the resulting fungal infection that decays the root system, cutting off all water and nutrient uptake. The cruel irony is that the symptoms—shriveled, soft tissue—mimic underwatering, often leading well-meaning owners to water more, accelerating the death sentence. According to the Royal Horticultural Society (RHS), "Overwatering is the most common cause of plant loss, particularly in cacti and succulents, with root rot being the primary consequence." This highlights that our care, not the plant's fragility, is usually the root cause.
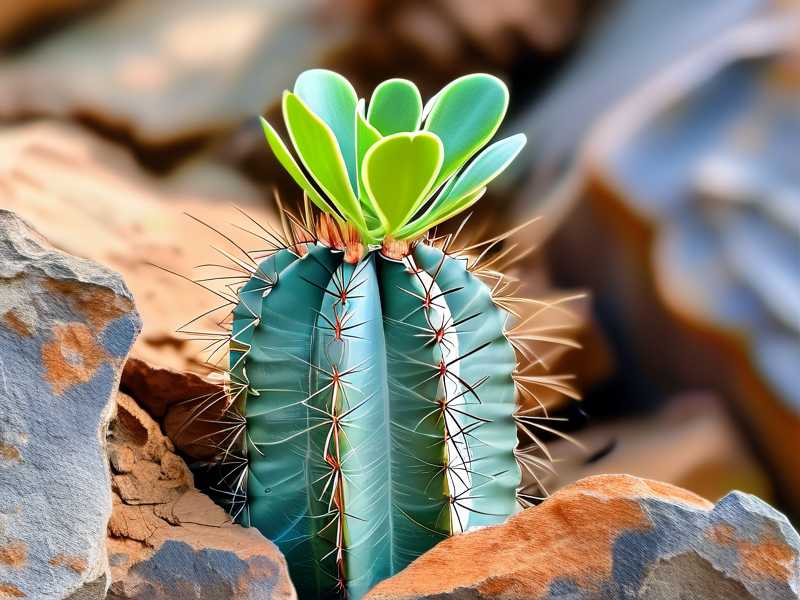
My Step-by-Step Rescue Operation: A Real-Life Case
Two months ago, I noticed my Mammillaria wasn’t its usual perky self. It had a slight yellow tinge at the bottom and felt suspiciously soft when I gave it a gentle poke. I knew immediately it was time for an intervention.
Step 1: The Unpotting and Diagnosis Gently, I tipped the cactus out of its pot. The soil was still damp days after its last watering—a major red flag. I began carefully brushing away the soil to inspect the roots. Healthy cactus roots should be firm and white or light in color. What I found instead was a mix of dark brown, mushy threads and a foul, musty smell—the undeniable signature of rotten cactus roots. The base of the stem was also beginning to soften, indicating the rot was spreading upward.
Step 2: The Surgical Removal This is the most critical step. I gathered a sharp, sterile knife (I wiped it down with isopropyl alcohol), a clean paper towel, and some sulfur powder or cinnamon (a natural fungicide). I laid the plant on the paper towel and, with the sterile knife, cut away every single piece of brown, soft root and tissue. You must be ruthless here. I cut back until I saw only clean, healthy, green or white flesh. If the rot has traveled into the stem, you must slice it away until no discolored tissue remains. It left me with a much smaller cactus "core," but it was clean.
- The Mistake I Made (And How I Fixed It): The first time I did this, I was too timid. I left a small patch of slightly discolored tissue, hoping it would recover. It didn’t. The rot regrew and killed the plant. Now, I cut at least half an inch above any visible rot to ensure complete removal.
Step 3: The Drying and Callousing Period After surgery, the wound must dry and form a hard callus. I dusted the entire cut area with sulfur powder to ward off fungal infection during this vulnerable time. Then, I placed the cactus in a warm, dry, shaded spot with good air circulation. I left it there for a full seven days. This period is non-negotiable. Potting a fresh cut directly into soil invites immediate reinfection.
Step 4: Repotting in a Lifesaving Environment Once a hard callus had formed, it was time to repot. The choice of soil and pot is what will prevent a recurrence.
- Pot: I chose a clean, terracotta pot with a large drainage hole. Terracotta is porous and helps wick away excess moisture.
- Soil: I used a specialized cactus and succulent potting mix, but I further improved its drainage by amending it with 50% extra perlite and coarse sand. The goal is a mix that drains almost instantly. The Arizona Cactus and Succulent Society (ASCSA) emphasizes that "a fast-draining mineral-based soil is the single most important factor in preventing cactus root rot."
- Technique: I planted the calloused cactus just deep enough to support itself in the dry mix. I did not water it. Not a single drop.
Step 5: The Critical Waiting Game and First Water I placed the repotted cactus in bright, indirect light (not direct sun yet, to avoid stress). Here began the two-week observation period. I resisted all watering urges. The plant needs to focus on initiating new roots in search of moisture. After exactly 14 days, I gave it its first thorough watering—soaking the pot until water ran freely from the drainage hole. Then, I returned to the classic "soak and dry" method: watering only when the soil was completely, bone-dry all the way through.
The Two-Week Observation: What Success Looks Like
This period was filled with anxious checking. Here’s what I observed:
- Week 1: The cactus remained stable. No further shrinking or softening. This was a good sign—the rot had been halted.
- Week 2: After the first watering at the end of the second week, I noticed the very slightest hint of firmness returning to the body. It wasn't plumping up yet, but it had stopped deteriorating. This is the first sign of successful cactus root rot treatment. New root growth was happening unseen beneath the soil.
The key takeaway? Recovery is slow. You won't see dramatic growth for weeks or even months. Success is defined as the absence of further decay and the slow return of turgor (firmness).
How to Prevent Cactus Root Rot in the Future
Curing root rot is one thing; preventing it is true mastery. Here’s what I changed in my care routine:
- The "Finger Test" Rule: I never water on a schedule. I stick my finger deep into the soil. If there’s any moisture or coolness, I wait.
- Winter Dormancy: I learned that most cacti need a cool, dry rest period in winter with little to no water. This mimics their natural habitat and is crucial for health.
- Pot and Soil Check: I now repot all new cacti into my gritty mix and ensure every pot has exemplary drainage. It’s the best insurance policy.
How do I know for sure if my cactus has root rot? The most definitive signs are visual and tactile. Unpot the plant and inspect the roots. Healthy roots are firm and light-colored. Rotten roots are mushy, dark brown or black, and may fall apart to the touch. A foul smell from the soil is also a dead giveaway.
Can a cactus recover from severe root rot? It depends on how far the rot has spread. If the rot has consumed the entire root system and has moved more than halfway up the main stem, the chances are slim. However, if you can cut back to clean, healthy tissue—even if that means beheading the cactus—you can often save the top section by treating it as a cutting and rerooting it.
What’s the difference between root rot and just underwatering? This is the crucial distinction. An underwatered cactus will typically shrivel and feel dry, papery, or leathery. Its soil will be powdery dry. A cactus with root rot will also shrivel, but it will often feel soft, mushy, or waterlogged to the touch, especially at the base. The soil may also stay damp for too long. When in doubt, unpot and check the roots.





