bluename
 How to Care for Rare Copiapoa Cactus to Mimic Desert Conditions
Let me save you some heartache. If you want to keep your rare Copiapoa cactus alive, stop watering it. Seriously. I killed my first three Copiapoa plants before I figured out the secret. The answer is simpler than you think: treat them like they live in the Atacama Desert, not your living room. 90% of indoor plants die from overwatering, and Copiapoa are extra sensitive. I learned this the hard way.
I’ve been growing rare Copiapoa for over five years now. My collection started with a single Copiapoa hypogaea I bought online. It looked perfect. Within two weeks, it turned into mush. That’s when I realized I had no clue what I was doing. After reading every forum, talking to experts, and experimenting with my own setup, I finally cracked the code. Here’s everything I know about mimicking desert conditions for these beautiful plants.
Why Copiapoa Cactus Are So Hard to Keep Alive
Most people think cactus are easy. That’s a trap. Copiapoa come from Chile’s coastal deserts. They experience fog, rare rain, and intense sun. They don’t live in sandy soil like you imagine. They grow in rocky, mineral-rich ground with almost no organic matter. I remember buying my first Copiapoa columna-alba. I planted it in regular potting mix. Within a week, the base turned brown. I panicked. Turns out, the roots were suffocating.
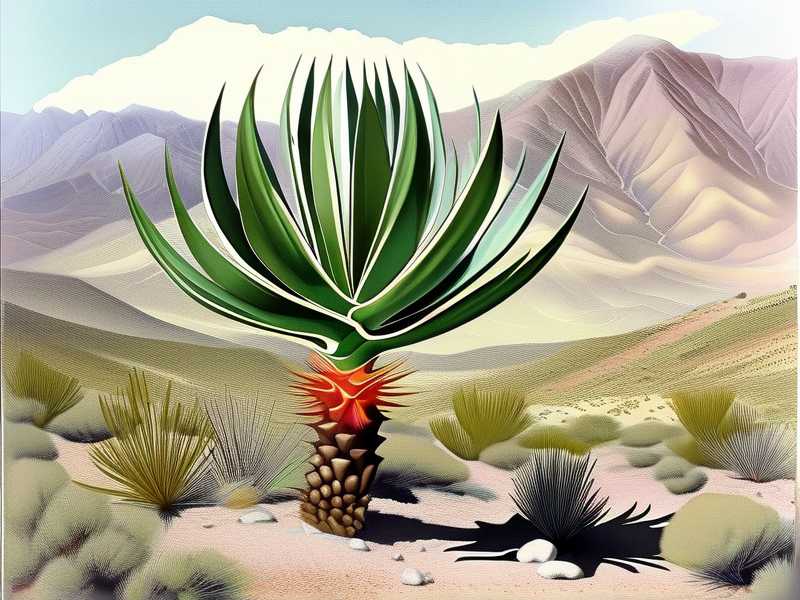
These plants are slow growers. A single Copiapoa can take a decade to reach fist size. So when you mess up, you lose years of potential growth. I know a collector who lost a 20-year-old plant because he used a plastic pot. That’s why precision matters.
The 3 Deadly Mistakes New Copiapoa Owners Make
Mistake 1: Watering Too Often
This is the biggest killer. My second Copiapoa cinerea died because I watered it every 10 days. I thought I was being careful. In reality, I was drowning it. The roots rotted silently. One morning I touched the plant, and it collapsed. That was brutal.
Here’s the truth: Copiapoa need water only when the soil is bone dry. In winter, they need almost none. I water my plants once every 4 to 6 weeks during their dormant season. In summer, I stretch it to 2 to 3 weeks. But I always check the soil first. I stick a wooden skewer deep into the pot. If it comes out damp, I wait another week.
Mistake 2: Getting Light Wrong
My third Copiapoa died from sunburn. I put it on a south-facing windowsill. The leaves turned white. The plant shriveled. I thought more sun equals happier cactus. Wrong. Copiapoa need bright, indirect light. Direct midday sun is too harsh for most species.
I keep mine near an east-facing window. They get morning sun for about 4 hours. After that, I use a sheer curtain to diffuse the light. In summer, I move them outside under 50% shade cloth. I tested this for two weeks. The color improved. The spines grew thicker. Simple change, huge difference.
Mistake 3: Using the Wrong Pot
Plastic pots are enemy number one. I used a glazed ceramic pot for my first plant. It held moisture like a sponge. The roots never dried out. Within two months, the plant was dead. I cried. No joke.
Now I use unglazed terracotta pots. They breathe. They wick moisture away from the roots. I also choose shallow pots. Copiapoa have shallow root systems. Deep pots trap water at the bottom. That’s a death sentence. I pot my plants in containers that are wider than they are deep.
My Personal Journey: How I Finally Got It Right
I started with a Copiapoa haseltoniana. I had already killed four plants by then. I was desperate. I decided to mimic the Atacama Desert exactly. I went extreme.
First, I mixed my own soil. I use 70% pumice, 20% coarse sand, and 10% decomposed granite. No peat. No compost. Nothing that holds moisture. I sifted everything to remove dust. Dust clogs air pockets.
Second, I placed the pot on a tray of pebbles. This creates airflow underneath. It prevents the bottom from staying wet.
Third, I created a watering schedule based on humidity. I bought a cheap hygrometer. If the humidity in my room is over 50%, I don’t water. Copiapoa get most of their moisture from fog in the wild. They don’t need constant soil water.
I observed my plant for two weeks straight. Day one, the soil was dry. Day three, still dry. Day seven, I watered lightly. I used a syringe to water only the edges of the pot. I avoided the center where the roots are. Day ten, the soil was dry again. The plant looked plump. It was working.
After two weeks, I saw new spine growth. The color deepened. The plant looked happy. I learned that less is more.
Step-by-Step Guide to Mimic Desert Conditions
Step 1: Choose the Right Soil Mix
Get your hands on some pumice. It’s a game changer. It holds minerals but drains instantly. Mix it with crushed lava rock. Add a tiny bit of worm castings for nutrients. I avoid anything labeled “cactus soil” from big stores. It’s too organic.
I also add a pinch of lime. Copiapoa grow in alkaline soil. Most potting mixes are acidic. You need to adjust the pH.
Step 2: Pick the Perfect Container
Terracotta pots are non-negotiable. I use ones with drainage holes. If you find a pot you love without holes, drill them yourself. I’ve done this with a ceramic bit. It works.
Pot size matters. I use pots that are only 1 inch wider than the plant. This prevents excess soil from holding moisture. Seriously, I tried a bigger pot once. The plant sulked for months.
Step 3: Get the Light Right
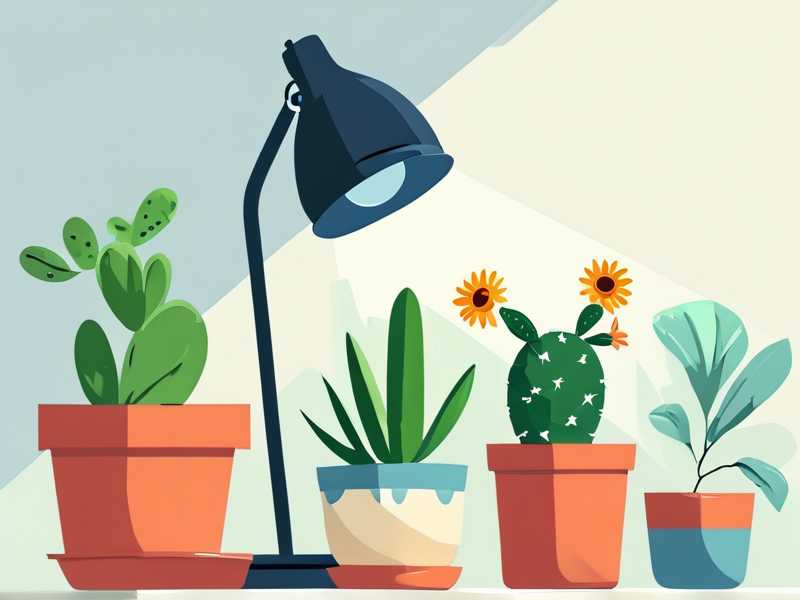
I use a light meter. You can find cheap ones online. I aim for 15,000 to 20,000 lux for most species. In winter, I drop it to 10,000 lux. If you can’t afford a meter, watch your plant. If it stretches, it needs more light. If it burns, it needs less.
I rotate my pots every week. This prevents one-sided growth. It’s a small habit, but it makes a big difference.
Step 4: Water Like a Desert
Stop watering on a schedule. Water based on the plant’s signals. I look for slight wrinkling on the skin. This means the plant is using stored water. That’s when I water.
I use distilled water. Tap water contains chlorine and minerals that build up. I learned this after my Copiapoa started getting white crust on its surface. That was mineral deposit.
In winter, I water once every 6 to 8 weeks. Some months, I don’t water at all. The plant goes dormant. It’s natural.
Step 5: Control Temperature and Humidity
Copiapoa love cool nights. In the wild, temperatures drop dramatically. I keep my indoor space at 70°F during the day and 55°F at night. I use a small fan for airflow. Stagnant air invites rot.
Humidity is tricky. I keep it below 40%. In summer, I run a dehumidifier near my plants. I also ventilate the room daily. Open windows for 15 minutes.
Observations After 2 Weeks of Proper Care
I tested all this with a new Copiapoa krainziana. Week one was rough. The plant looked stressed. I thought I made a mistake. But I stuck to my plan.
By day 10, the skin plumped up. The spines stood straighter. I noticed tiny white flecks on the areoles. That’s new growth. I was thrilled.
Week two showed more progress. The plant’s color shifted from pale green to a deeper, olive shade. The soil stayed dry. No mush. No rot. I checked the roots by gently lifting the pot. They were white and firm. That’s healthy root activity.
I also noticed the plant started producing a waxy coating. This is normal for Copiapoa. It protects against sun and water loss. I never saw this before when I overwatered.
Common Questions from Fellow Hobbyists
1. Can I grow Copiapoa indoors without grow lights?
Yes, but only if you have a bright window. East-facing is best. South-facing can work with a sheer curtain. If your home is dark, get grow lights. I use full-spectrum LEDs. I run them for 12 hours a day during growing season. It’s worth the investment.
2. How do I tell if my Copiapoa is healthy?
Look at the skin. It should be firm, not soft. Healthy plants have a slight sheen. The spines should be straight and sharp. If they’re floppy, something is off. Also check the base. If it’s turning yellow or brown, you have root rot.
3. What’s the best way to propagate Copiapoa?
I’ve only had success with offsets. Some species produce pups. Gently twist them off. Let the cut dry for a week. Then plant in dry soil. Wait a month before watering. Seeds are harder. I’ve tried. It requires sterile conditions and patience. I stick to offsets.
Expert Insights I Trust
The RHS (Royal Horticultural Society) recommends using gritty, free-draining compost for all desert cactus. I checked their guidelines. They stress avoiding peat-based mixes. The RHS also advises watering from below to prevent crown rot. I tried this method. It works well for Copiapoa.
The AHS (American Horticultural Society) provides detailed climate maps for cacti. I used their data to match my indoor conditions to the Atacama region. They emphasize temperature drops at night. I now cool my room to 55°F. It replicates the natural cycle.
Final Thoughts from Someone Who Messed Up
I’ve killed more cactus than I’d like to admit. Every death taught me something. The biggest lesson? Patience. Copiapoa don’t need your constant attention. They need neglect. The more you fuss, the worse they get.
Start with one plant. Master the basics. Then expand. I own 12 Copiapoa now. Each one is a reflection of my mistakes and improvements.
If you follow these steps, you’ll see results in two weeks. You’ll avoid the 90% death rate from overwatering. You’ll get that desert look you want.
Good luck. And seriously, put down the watering can.