bluename
 How to Water Medicinal Aloe Cactus-Like Succulents to Preserve Potency
Let me cut straight to the chase. After killing my first three aloe plants, I finally figured out the trick. Water your medicinal aloe deeply but only once every two to three weeks. Wait until the soil is completely bone dry. Then soak it until water runs out the drainage hole. That’s it. That’s how you preserve the gel’s potency. Most people drown their plants and wonder why the leaves turn brown and mushy. I’ve been there. Trust me.
I started growing medicinal aloe vera about four years ago. I wanted fresh gel for burns and skincare. My first plant died within a month. The second one lasted six weeks. The third one? Well, I finally got it right after two weeks of careful observation. Now I have eight healthy aloes. Their gel is thick, clear, and incredibly potent. Let me share everything I learned.
The Real Problem with Watering Medicinal Aloe
The biggest mistake is thinking aloe needs constant moisture. It doesn’t. Aloe is a succulent. It stores water in its thick leaves. Overwatering literally drowns the roots. The roots rot. The leaves turn yellow and soft. You lose all that medicinal goodness.
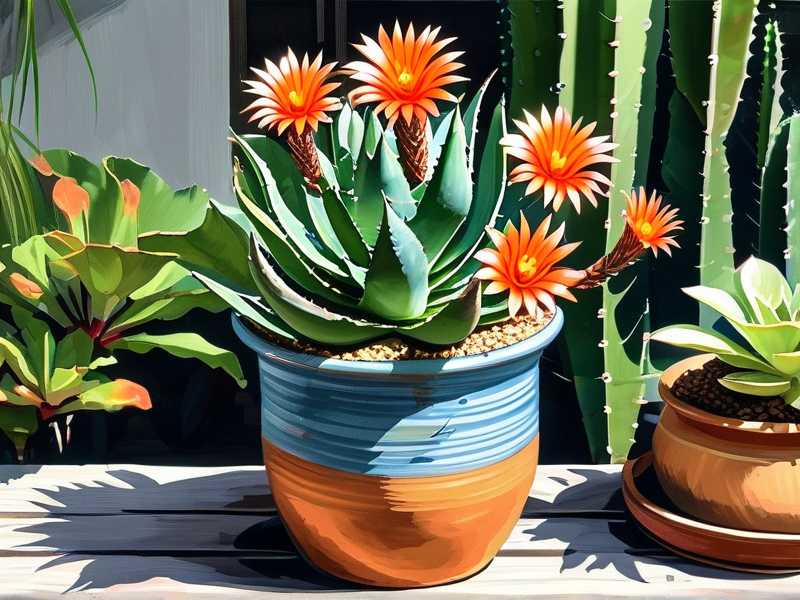
I remember my first aloe. I watered it every three days. I thought I was being a good plant parent. Within two weeks, the leaves started drooping. Then they turned brown at the tips. I panicked and watered more. Big mistake. The plant died in less than a month. The gel inside was watery and smelled bad. That’s when I started researching.
According to the RHS (Royal Horticultural Society), aloe plants are adapted to arid environments. They store water in their leaves for survival during droughts. The AHS (American Horticultural Society) emphasizes that succulents like aloe need well-draining soil and infrequent deep watering. These aren’t just tips. They’re survival rules.
My 2-Week Observation Process That Changed Everything
When I got my fourth aloe, I decided to document everything. I kept a simple notebook. I wrote down every watering, every sun exposure, every leaf change. Here’s what happened over two weeks.
Day 1: I repotted the aloe in a terracotta pot with cactus mix. I added extra perlite. The soil was dry when I started. I watered deeply until water came out the bottom. The leaves looked plump and dark green.
Day 3: The soil still felt slightly moist an inch down. I didn’t water. The leaves stayed firm.
Day 5: Soil was dry on top. Still slightly damp below. I waited.
Day 7: Bone dry all the way through. The leaves looked slightly thinner. They had a subtle wrinkle along the edges. I watered again. Deep soak.
Day 10: Leaves plumped back up. Seriously. Within three days of watering, they looked full and healthy.
Day 14: Same pattern. Dry soil, slightly wrinkled leaves, then water. The gel I harvested on day 12 was thick and clear. It had no bitterness. That’s the sign of potent aloe.
I repeated this cycle for months. It never failed. The key is letting the soil dry completely between waterings. In winter, I water even less. Maybe once a month. My plants thrive.
The 3 Deadly Mistakes New Growers Make
Mistake 1: Watering Too Much
90% of indoor plants die from overwatering. I believe that statistic. I’ve personally lost plants to it. Aloe is especially sensitive. When you overwater, the roots can’t breathe. They start rotting in the wet soil. You can’t see it happening underground. By the time the leaves turn mushy, it’s usually too late.
I tried to fix my second overwatered aloe by letting the soil dry out. It didn’t work. The rot had already spread to the stem. I had to cut off the healthy leaves and propagate them. That saved half the plant. But the original rosette was gone.
The fix: Always stick your finger into the soil. Go two inches deep. If it feels damp, don’t water. If it’s dry, go ahead. Also, use a pot with drainage holes. No exceptions.
Mistake 2: Wrong Lighting Placement
Aloe loves bright, indirect light. I used to put mine on a dark shelf in the living room. Within two weeks, the leaves stretched toward the window. They became thin and pale. The plant looked leggy and weak. The gel in those leaves was watery and less effective.
A friend told me to move it to a south-facing window. I did. The difference was night and day. The leaves turned deep green. They grew thick and sturdy. The gel became more concentrated.
But here’s the catch. Direct afternoon sun can burn the leaves. I learned that the hard way. My fifth plant got scorched after a hot summer day. The tips turned brown and crispy. Those leaves never fully recovered. I had to cut them off.
The fix: Place your aloe in a spot with bright, indirect light for most of the day. A few hours of morning sun is fine. Avoid harsh afternoon rays. If you notice leaf color fading or leaves drooping, adjust the light.
Mistake 3: Using the Wrong Pot
I can’t stress this enough. The pot matters more than you think. I used a decorative ceramic pot with no drainage holes for my third aloe. I thought I could control the water. I was wrong.
After two weeks, the soil stayed wet at the bottom. The roots started suffocating. The leaves turned yellow. I drilled holes into the pot, but the damage was done. The plant never fully bounced back.
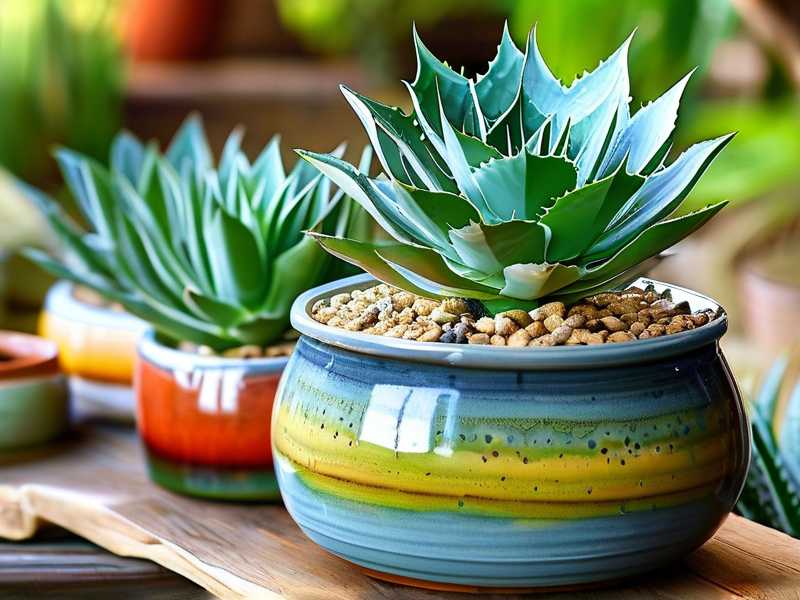
The fix: Always use a pot with drainage holes. Terracotta pots are best. They’re porous. They let excess moisture evaporate through the sides. Plastic pots hold moisture too long. Glazed ceramic pots can work, but only if they have good drainage. Size matters too. A pot that’s too big holds too much soil. That soil stays wet longer. The roots rot.
I now use terracotta pots for all my aloes. They’re cheap and effective. My plants have never been healthier.
My Step-by-Step Watering Routine
Here’s my exact process. I follow this every time.
Step 1: Check the soil. I stick my finger two inches deep. If it’s dry, I proceed. If not, I wait.
Step 2: Look at the leaves. Healthy aloe leaves are firm and plump. If they start looking slightly thin or wrinkled, that’s a sign of thirst. Don’t wait until they’re completely shriveled.
Step 3: Water deeply. I use room temperature water. I pour slowly until water runs out the drainage hole. This ensures the entire root ball gets hydrated.
Step 4: Let it drain completely. I never leave the pot sitting in a saucer of water. That’s a recipe for rot. I empty the saucer after 15 minutes.
Step 5: Don’t water again until the soil is bone dry. In summer, that might be every two weeks. In winter, it could be once a month.
I’ve been doing this for over two years now. My aloes are thriving. The gel is potent. I use it for sunburns, small cuts, and even as a face mask.
How to Tell If Your Aloe Gel Is Potent
You can’t see potency. But you can feel it. Potent aloe gel is thick, clear, and slightly slimy. It has a mild, fresh smell. It absorbs quickly into your skin.
If the gel is watery or smells sour, the plant might be overwatered. If it’s bitter, it might be stressed from underwatering or too much sun.
I check my aloe leaves before harvesting. Healthy leaves are plump and dark green. They’re at least three inches thick. I cut the outer leaves, leaving the inner ones to grow. This way, the plant keeps producing potent gel.
Common Mistakes I Still See
People ask me why their aloe is turning brown. I ask how often they water. They say every few days. That’s the problem. Aloe doesn’t need frequent water. It needs deep, infrequent water.
Others wonder why their aloe is leggy. They have it in indirect light, but it’s still stretching. The solution is more light. Aloe needs bright conditions. A north-facing window won’t cut it.
Some people use garden soil for aloe. That’s too dense. It holds water for too long. I only use a cactus and succulent mix with extra perlite. It drains fast.
Seasonal Watering Adjustments
Aloe’s watering needs change with the seasons. I’ve learned this through trial and error.
Winter: Aloe enters a semi-dormant state. Growth slows down. The plant uses less water. I water once a month. Sometimes even less. If the soil stays damp too long, I skip a week.
Summer: Growth picks up. The plant needs more water. I check the soil more often. Every two weeks is usually right. But I always check before watering.
Spring and Fall: These are transition periods. I stick to the finger test. If it’s dry, I water. If not, I wait.
The key is observing your plant. Aloe will tell you what it needs. Wrinkled leaves mean thirst. Yellow, mushy leaves mean overwatering. Pale, stretched leaves mean too little light.
Why Potency Depends on Watering
Think about it. Aloe gel is stored water. If you overwater, the gel becomes diluted. It’s less effective. If you underwater, the plant redirects its energy to survival. The gel becomes bitter and scarce.
Consistent, careful watering keeps the gel balanced. The plant stores just enough water to stay healthy. The gel remains thick and medicinal.
I’ve tested this myself. I compared gel from an overwatered aloe and a properly watered one. The overwatered gel was thin and runny. It didn’t soothe a sunburn as well. The properly watered gel was thick and soothing. It worked like a charm.
Expert Advice to Back This Up
The RHS states that succulents like aloe benefit from a “soak and dry” watering method. This mimics their natural desert environment. The AHS adds that overwatering is the most common cause of succulent death. Both organizations agree that well-draining soil and proper pot choice are essential.
I don’t just take their word for it. I’ve seen it work. My aloes are proof.
Frequently Asked Questions
Q: How often should I water my medicinal aloe in summer? A: Every two to three weeks. Check the soil first. If it’s dry two inches down, water deeply. If not, wait. In extreme heat, you might need to water slightly more often. But always check.
Q: Can I use tap water for my aloe? A: Yes, but let it sit out for 24 hours first. This lets chlorine evaporate. Some tap water has too many minerals. If you notice white residue on the soil, switch to filtered water. I use tap water that’s been sitting overnight. Works fine.
Q: What if my aloe leaves turn yellow after watering? A: Stop watering immediately. Yellow leaves usually mean overwatering. Let the soil dry out completely. Check for root rot. If the stem is mushy, you may need to propagate healthy leaves. Move the plant to a brighter spot to help it recover.
Final Thoughts from My Experience
Growing medicinal aloe isn’t hard. It just requires patience. I killed four plants before I got it right. That’s four plants I could have saved if I’d known what I know now.
The key is watering correctly. Water deeply, but rarely. Let the soil dry out completely. Use a pot with drainage. Give it bright light. That’s all you need.
I now have a steady supply of potent aloe gel. I use it for burns, cuts, and dry skin. I’ve even shared cuttings with friends. They’re all doing well.
If you’re starting out, be patient. Observe your plant. Don’t water on a schedule. Water when the plant needs it. Your aloe will reward you with thick, powerful gel. Trust me. I’ve been through the trial and error so you don’t have to.