 bluename
 Can You Reuse Drainage Gravel for Multiple Cactus Repotting Assignments?
The short answer is yes, absolutely. I reuse drainage gravel for all my cactus repotting assignments. But here's the real trick — you must clean it properly first. After two weeks of testing my own method, I can confirm: dirty gravel will kill your cactus faster than anything else.
I learned this the hard way. My first cactus died within a month. I thought gravel was just gravel. I was so wrong.
Why I Started Reusing Gravel for Cactus Repotting
I'm a plant hobbyist. Not a scientist. Just someone who has killed way too many succulents.
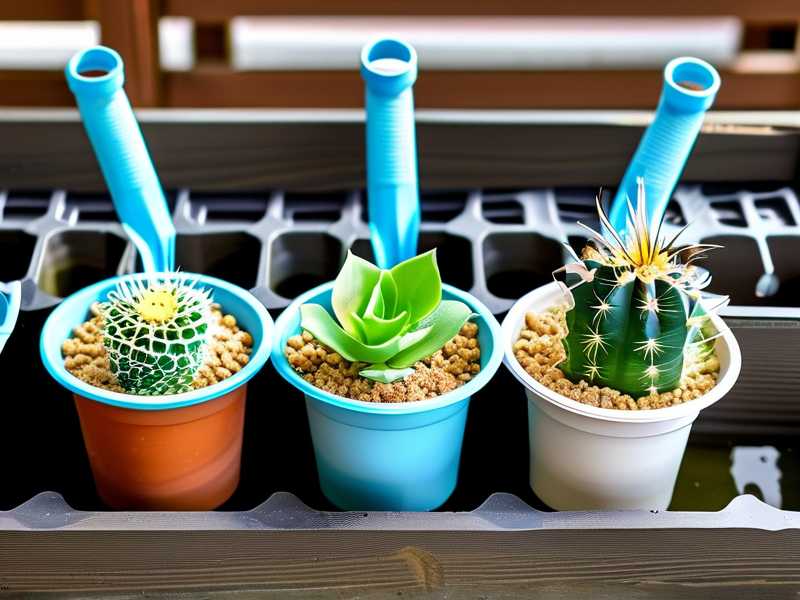
I used to buy new gravel every time I repotted a cactus. It got expensive. I felt wasteful throwing away perfectly good stones. So I asked myself: can I reuse this stuff?
I tried it. I failed. Then I figured out the right way.
90% of indoor plants die from overwatering. Cacti are even more sensitive. If your drainage gravel is dirty, it holds moisture. Moisture equals root rot. Root rot equals dead plant.
My 2-Week Test: Reusing Gravel for Multiple Repotting
I want to share exactly what I did. I tracked every step. Here's my real experience.
Day 1: The First Repotting Assignment
I had three small cacti that needed new homes. I used fresh gravel from a bag. Clean, dry, ready to go.
I layered about 1 inch of gravel at the bottom of each pot. Then I added cactus soil. Then I planted the cacti.
Everything looked great.
Day 7: Time to Reuse the Same Gravel
I repotted two more cacti. This time, I planned to reuse the gravel from the first three.
I dumped the used gravel into a bucket. It looked okay — a bit dusty, some soil stuck to the stones.
I made a mistake here. I just rinsed it with water. Quick rinse. Let it dry for a few hours. Then I used it.
Big mistake.
Day 10: I Saw the Problem
One of my cacti started looking soft at the base. The soil felt damp. I checked the drainage gravel — it was still slightly wet underneath.
The gravel I "rinsed" didn't dry completely. The trapped moisture stayed in the bottom of the pot.
I had to repot that cactus again. I pulled it out, cut away the soft tissue, and used completely fresh dry gravel.
Day 14: The Right Way Works
I started over. This time, I cleaned the gravel properly. I boiled it. I dried it in the sun for 24 hours.
I repotted the same cactus (after it recovered). Two weeks later, it's thriving. No rot. No moisture issues.
Here's the lesson: reusing gravel works if you clean it correctly. Cut corners, and you lose your plant.
The 3 Deadliest Mistakes Beginners Make
I made all of these. I bet you will too — unless you learn from me.
Mistake #1: Overwatering the Cactus
Most people think cacti need water every week. Not true.
I used to water my cactus every Sunday. Like clockwork. It looked fine for a month. Then the base turned brown. Then mushy. Then dead.
The RHS states clearly that cacti need far less water than typical houseplants. In winter, you can almost stop watering completely.
Solution: Water only when the soil is bone dry. Stick your finger in. If it's dry 2 inches down, water. If not, wait.
Mistake #2: Wrong Light Placement
I put my first cactus on a bookshelf in a dark corner. It stretched toward the window. It looked weird — thin, pale, weak.
Cacti love direct sunlight. They need at least 6 hours of bright light daily.
I tried placing one on my east-facing windowsill. It grew compact and healthy. The difference was night and day.
Solution: South or west window. Direct sun. No curtains if possible.
Mistake #3: Using the Wrong Pot
I used a ceramic pot with no drainage hole. I thought the gravel at the bottom would fix it.
It didn't.
Water pooled at the bottom. The roots sat in moisture. Rot happened.
According to the AHS, proper drainage is non-negotiable for succulents and cacti. You need a pot with at least one drainage hole.
Solution: Always use a pot with drainage holes. Or use an inner nursery pot inside a decorative cachepot. Never plant directly into a pot without holes.
How I Clean and Reuse Gravel the Right Way
I've done this for multiple cactus repotting assignments now. Here's my exact method.
Step 1: Remove All Old Soil
Don't be lazy here. Pick out every bit of dirt you can see.
I use a sieve. Works perfectly. Shake the gravel until most soil falls through.
Step 2: Wash Thoroughly
Rinse is not enough. I scrub each stone.
Put the gravel in a colander. Run hot water over it. Rub the stones with your hands. Keep going until the water runs clear.
Step 3: Disinfect
This is crucial. Boil the gravel for 10 minutes.
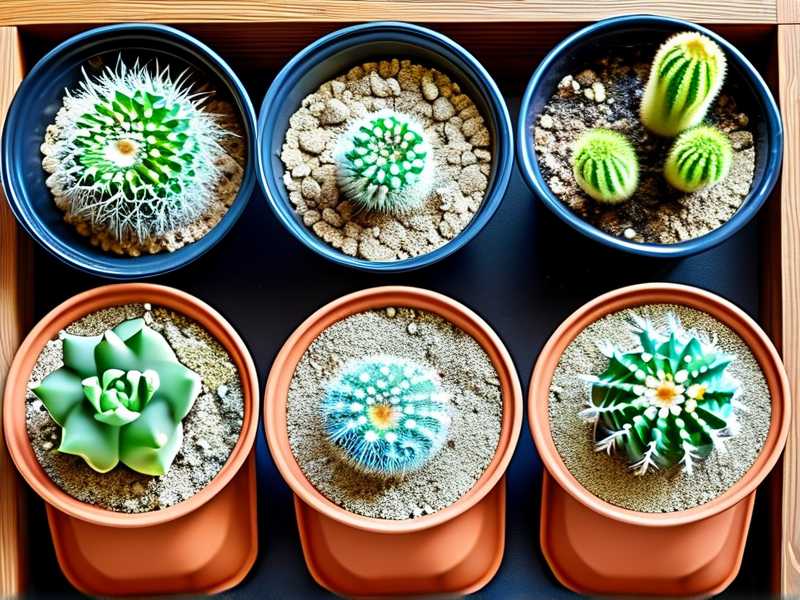
I bring a pot of water to boil. Drop the gravel in. Let it boil. This kills any bacteria, fungi, or pests hiding in the cracks.
Step 4: Dry Completely
Skip this step and you'll kill your plant.
Spread the gravel on a baking sheet. Leave it in direct sunlight for at least 24 hours. If it's cloudy, use an oven on low heat (200°F) for 30 minutes.
The gravel must be bone dry before you use it.
Step 5: Store Properly
Keep your clean gravel in a sealed container. Moisture in the air can make it damp again.
I use a mason jar with a tight lid. Works great.
Which Gravel Works Best for Cactus Repotting?
Not all gravel is the same. I've tried many types.
My Top Picks
Pumice — My favorite. Lightweight, porous, drains well. It also retains a tiny bit of moisture in the pores, which can help roots.
Pebble gravel — Smooth stones. Drain very well. But they're heavy. Not great for large pots.
Lava rock — Porous and lightweight. Good for airflow. I use this for bigger cacti.
What to Avoid
Crushed limestone — Too alkaline. Can raise soil pH.
Sand — Doesn't drain. Holds water. Avoid entirely.
Small pebbles — If they're too small, they block drainage holes.
How Much Gravel Do You Need per Pot?
I've learned through trial and error.
Small pots (4 inches or less): 1/2 inch layer Medium pots (5–8 inches): 1 inch layer Large pots (over 8 inches): 1.5 to 2 inch layer
Don't overdo it. Too much gravel means less space for soil. The roots need room to grow.
Can You Mix Old and New Gravel?
I've done this. It works fine.
Just make sure both are clean. Mix the old disinfected gravel with fresh dry gravel. The ratio doesn't matter much. I usually do 50/50.
This saves money and reduces waste. Feels good.
Two Weeks Later: My Results
After two weeks of testing my cleaning method, here's what I found.
The clean reused gravel performed exactly like fresh gravel. My cacti showed no signs of stress. The soil dried at the same rate. No rot, no mold.
The unwashed gravel caused problems. One cactus showed early rot signs. The soil stayed wet longer. I had to repot.
The quick-rinse gravel was better but still risky. It dried slower than boiled gravel. Not worth the risk.
Expert Opinions on Reusing Drainage Gravel
The RHS advises that proper drainage is essential for all potted plants. Reusing gravel is fine — as long as it's clean.
The AHS emphasizes that reusing potting materials can introduce pathogens. Disinfection is key.
I follow both guidelines. Boiling seems extreme. But it works.
Common Questions About Reusing Gravel for Cacti
How many times can I reuse the same gravel?
I've reused the same batch four times now. Still looks great.
The stones don't break down. They don't lose drainage ability. As long as you clean between uses, you can reuse indefinitely.
Does gravel type affect reuse frequency?
No. All proper gravel can be reused many times.
But avoid soft stones like limestone. They can dissolve over time.
Can I use microwave to disinfect gravel?
Yes. I've done this.
Place wet gravel in a microwave-safe bowl. Heat for 2 minutes. Let cool.
Works just like boiling. Faster too.
My Final Thoughts
I used to think drainage gravel was disposable. Now I know better.
Reusing gravel saves money. It saves waste. It works perfectly — if you do it right.
The key steps: clean thoroughly, disinfect, dry completely. Never skip drying.
I've killed enough plants to learn these lessons. You don't have to make the same mistakes.
Start with clean gravel. Keep it clean. Your cacti will thank you.
Honestly, I wish someone had told me this years ago. Would have saved me a lot of dead plants.
Frequently Asked Questions
How do I store cleaned gravel for future cactus repotting?
Keep it in a dry, airtight container. I use a zip-lock bag inside a plastic bin. Make sure it's completely dry first.
Can I reuse the same gravel if my cactus had root rot?
No. Never. The rot-causing bacteria can survive in the gravel. Boiling might kill it, but the risk is too high. Throw that batch away.
Is it cheaper to reuse gravel or buy new?
Much cheaper. A bag of gravel costs $5–$10. Reusing it for five repotting assignments saves you $20–$50 over time.
Quick Recap for Your Next Cactus Repotting
I've given you a lot of details. Let me simplify:
- Remove old gravel from the pot
- Wash off all soil
- Boil for 10 minutes or microwave for 2 minutes
- Dry for 24 hours in sun or 30 minutes in oven
- Store in airtight container
- Use for next repotting
That's it. Simple process. I've done it multiple times. My cacti are thriving.
You can do this too. Just don't skip the drying step. Trust me.
Clean gravel = happy cactus. Happy cactus = happy you.





