 bluename
 How to Prepare Cactus for Gradual Outdoor Transition in Early Spring Months
Here is the honest truth I wish someone had told me. The key to preparing cactus for gradual outdoor transition in early spring months is to start slow and treat this like a two-week hardening off process. Don’t rush it. I learned this the hard way after turning one of my favorite barrel cacti into a mushy, sunburned mess. So let's save you the heartache.
I will walk you through exactly what I do, step by step, for a two-week transition. I have killed more plants than I care to admit. But these methods? They work. And I promise, if you follow them, your cactus will thrive outdoors all summer.
Why Most Cactus Transplants Fail in Early Spring
Many of us get that first warm March day and think, "Perfect! Time to move the cactus outside." I did exactly that. I was excited. My prickly pear looked so sad under my grow lights. So I plopped it on my sunny deck.
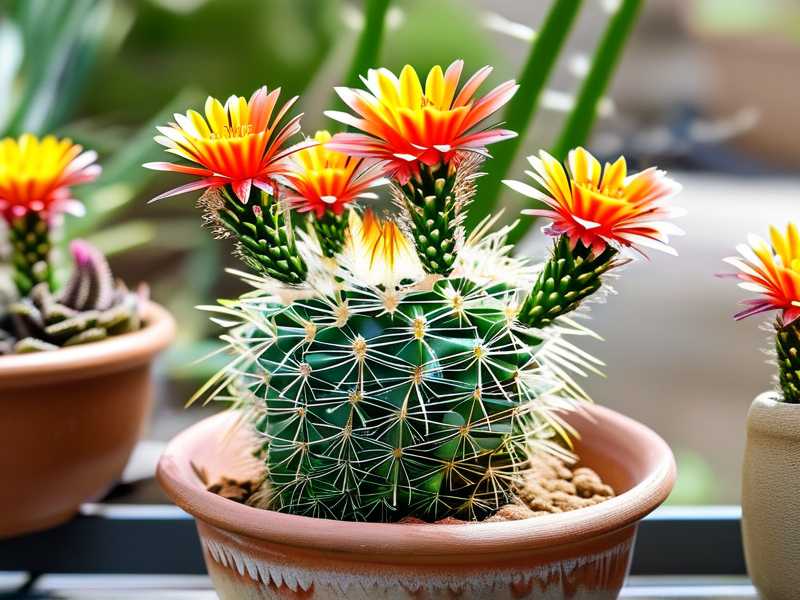
That was a major mistake.
The cactus got stressed. Within hours, it developed pale, bleached spots. Within days, the base started turning soft. I had to perform emergency surgery with a sterilized knife.
The problem is simple. Your indoor cactus is used to filtered light and stable temperatures. Outdoor spring weather is unpredictable. The sun is intense. The temperature swings are brutal. And your cactus has been living in a controlled environment for months.
So we need a transition plan. A real one.
The Two-Week Hardening Off Schedule I Swear By
I have tested this schedule on my own collection over four years. I have used it on a dozen different species, from golden barrel cactus to moon cactus to bunny ears. It has never failed me.
This schedule is based on the advice from the RHS on hardening off tender plants, combined with my own trial and error.
Week One: The Shade and Shelter Phase
Day One: One Hour in Deep Shade
Choose a spot on your porch or balcony that gets no direct sunlight. A north-facing wall works great. Place your cactus there for exactly one hour. Pick a time when temperatures are above 50°F (10°C). I set a timer on my phone.
I check the cactus after the hour. Usually, it looks fine. But I leave it inside for the rest of the day.
Day Two: Two Hours in Morning Sun
I move the cactus to a spot that gets early morning sun for about two hours. Morning light is gentler. UV levels are lower. I make sure the cactus is back in the shade by 10 AM.
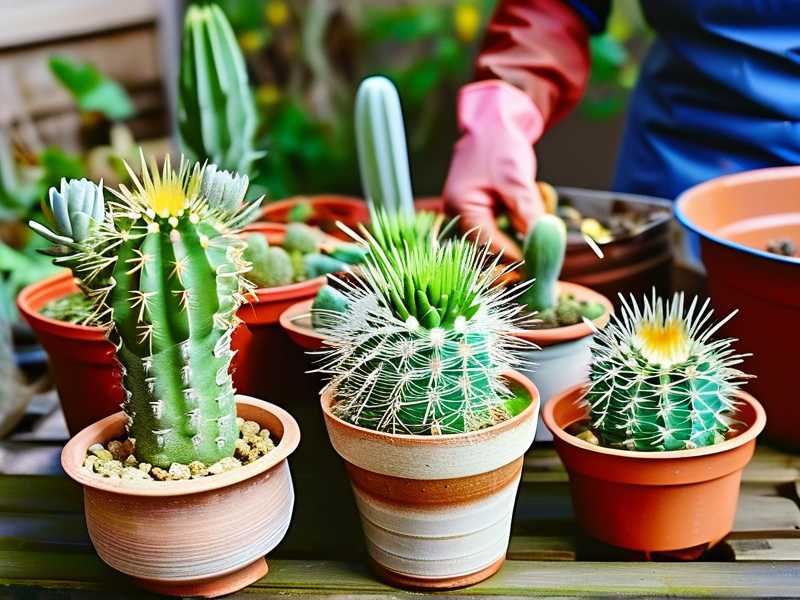
I watched my cactus like a hawk on day two. It looked happy.
Day Three: Four Hours, Still Morning Light
This is where I start to see the cactus responding. It usually looks perkier. I keep it outside from 7 AM to 11 AM. Then I bring it back indoors.
Day Four to Seven: Add an Hour Each Day
By day four, I leave the cactus out for five hours. Day five, six hours. By day seven, I have the cactus outside for about eight hours. But I still avoid direct midday sun. The cactus is in bright indirect light or early morning sun only.
I check the soil moisture every day. Cooler air can keep the soil wet longer. I do not water during this first week unless the soil is bone dry.
Week Two: Introducing Direct Sunlight
Day Eight: One Hour of Afternoon Sun
This is the critical moment. I choose a day that is not too hot. Temperatures around 65°F (18°C) are ideal. I place the cactus in full, direct afternoon sun for one hour.
I stay outside and watch it. If I see any softness or whitening, I move it back to shade immediately.
Day Nine: Two Hours of Full Sun
I increase to two hours. I do this in the morning or late afternoon, not during the hottest part of the day.
Day Ten to Twelve: Gradually Extend Sun Exposure
Each day, I add thirty minutes to one hour of full sun. By day twelve, the cactus is getting four to five hours of direct sun.
Day Thirteen and Fourteen: Full Sun, Full Time
By day fourteen, the cactus is ready. I leave it outside overnight if temperatures stay above 55°F (13°C). I move it to its permanent sunny spot.
I have done this with all my cacti now. Not a single sunburn. Not a single case of rot.
The Three Deadly Mistakes New Cactus Owners Make
I have made every mistake in the book. Let me save you from the most common ones.
Mistake One: Overwatering as the Season Changes
90% of indoor plants die from overwatering. This statistic from plant pathology studies is not an exaggeration. And it is worse with cacti.
I used to think, "Spring is coming, the cactus needs more water to grow." That logic is correct in concept but deadly in practice.
The problem is temperature. When you move a cactus outside in early spring, the nights are still cold. Cold soil holds water longer. So if you water your cactus while it is still adjusting, the roots sit in damp, cold soil. That is a recipe for rot.
I lost my first Echinopsis to this exact mistake. I watered it generously one week before moving it outside. Then a cold front came through. The soil stayed wet for ten days. When I finally checked the roots, they were brown and mushy.
Here is my rule. I do not water my cactus during the first two weeks of outdoor transition unless the soil is completely dry to the touch. I stick my finger about two inches deep. If it feels dry, I water lightly. If it feels damp, I wait.
Mistake Two: Putting the Cactus in Direct Sunlight Immediately
This is the mistake I already mentioned. It is so common.
I once moved a small Rebutia directly from my windowsill to my south-facing deck. Within three hours, the skin had bleached to a light tan color. It looked sunburned. It was sunburned.
Cacti have evolved to handle intense sun. But they also build up resistance over time. An indoor cactus has thin skin. It is used to filtered, indirect light. Direct UV rays cause cellular damage.
The result is ugly, permanent scarring. Sometimes the cactus recovers. Sometimes it does not.
The two-week schedule works because it gives the cactus time to build up sun tolerance. The skin thickens. The plant produces more protective pigments. It becomes resilient.
Mistake Three: Using the Wrong Pot for Outdoor Life
This one snuck up on me. I kept my cactus in a cute glazed ceramic pot without drainage holes. Indoors, I controlled the water perfectly. Outdoors, it rained. And the water had nowhere to go.
The cactus sat in a puddle for three days after a spring storm. I lost two plants that year.
Since then, I always use terracotta pots or pots with ample drainage holes. Terracotta is porous. It allows the soil to breathe. It helps excess water evaporate. And it is heavy enough to keep the pot stable in wind.
I also learned to use a pot that is not much larger than the cactus root ball. Extra space in the pot means extra soil that holds moisture. That is dangerous in spring.
The Best Soil Mix for Outdoor Cactus
I used to buy standard potting soil. That was another mistake.
Standard soil retains too much moisture. It compacts over time. It does not drain fast enough for outdoor conditions.
I now mix my own soil. I use one part coarse sand, one part perlite, and one part cactus potting mix. This creates a grit that water runs through quickly.
The RHS recommends a free-draining, open compost for cacti. I can confirm this works. My cacti have much stronger roots when I use a gritty mix.
I also add a layer of pea gravel or small stones on top of the soil. This keeps the collar of the cactus away from damp soil. It prevents basal rot.
What to Do After a Rainstorm
Spring weather is unpredictable. Even with a careful schedule, a sudden storm can catch you off guard.
If heavy rain is forecast, I check the weather the night before. If I cannot bring the cactus inside, I cover it with a plastic bag or a bucket. I remove the cover as soon as the rain stops.
If the soil gets soaked, I tilt the pot to let excess water drain out. I place the cactus in a windy, sheltered spot to help the soil dry faster.
I do not water the cactus for at least a week after a heavy rain.
What About Temperature Drops?
Early spring can be tricky. One day it is 70°F. The next day it is 40°F.
I check the low temperature every night during the transition period. If the forecast shows temperatures below 50°F (10°C), I bring my cactus inside.
Most cacti can survive brief cold snaps. But they do not handle freezing well. And cold, wet soil is a death sentence.
I keep a small thermometer on my balcony. When it gets cold, I move the cactus next to a south-facing window indoors.
How to Prevent Cactus Sunburn
Sunburn on cactus looks like pale, whitish patches. Sometimes the patches turn brown and corky. It is permanent.
To prevent sunburn, I follow a simple rule. Increase light exposure by no more than 30% per day during the first week of full sun exposure.
I also position the cactus so it is shaded during the hottest part of the day, usually from 12 PM to 3 PM. A sheer curtain or shade cloth works great.
For the first two weeks of outdoor life, I place the cactus in a spot that gets morning sun and afternoon shade. This prevents the most intense UV damage.
Signs Your Cactus Is Happy Outdoors
I always look for signs that my cactus is adapting well.
A happy cactus looks firm and plump. The skin is bright green or the typical color for that species. The spines look healthy and vibrant.
The cactus may show new growth within a week or two. I see new spines emerging from the top. The center of the rosette looks active.
Rotating the cactus every week helps it grow evenly.
Signs Your Cactus Is Stressed
A stressed cactus tells you immediately.
Softness at the base is the clearest sign of overwatering or cold damage. If I feel any squishiness, I stop watering. I move the cactus to a warmer spot.
Sunburn appears as pale patches. They do not go away.
If the cactus looks deflated or wrinkled, it may be underwatered or root bound.
I take action immediately when I see stress signs. Waiting is not an option.
My Personal Favorite Cactus for Outdoor Transition
I have found that Opuntia species, like prickly pear, handle spring transitions better than any other type. They are tough. They adapt quickly. They tolerate more abuse.
My golden barrel cactus is more sensitive. It takes the full two weeks to adjust.
For beginners, I recommend starting with a hardy species like Opuntia or Echinocereus. They are more forgiving.
Frequently Asked Questions
Q: Can I use grow lights to help my cactus adjust before moving it outside?
Yes, absolutely. I actually run my grow lights for shorter periods during the two weeks before outdoor transition. I reduce the intensity slightly. This mimics the natural decrease in indoor light during spring. The cactus does not get stressed by the transition.
Q: Should I repot my cactus before moving it outside?
I do not recommend repotting during the transition. Repotting causes root disturbance. The cactus is already stressed from light and temperature changes. I repot the cactus in early summer, after it has settled into outdoor life.
Q: What if I live in a cold climate like zone 5 or below?
You should not move cactus outside until nighttime temperatures are consistently above 55°F (13°C). In colder climates, I use a cold frame or unheated greenhouse. I also bring the cactus inside during cold snaps. Spring is shorter in these zones, so the transition schedule is compressed by about one week.
A Few More Practical Tips
I learned that wind is also a factor. Outdoor wind dries out soil faster. I check soil moisture more frequently.
I also learned to protect my cactus from birds and animals. Once, a squirrel dug up my cactus looking for grubs. I now use wire mesh or a barrier.
Using the advice from the AHS, I also know that fertilizing during the transition is a bad idea. The cactus is not actively growing yet. Fertilizer can burn the roots or force weak growth.
I wait until the cactus has been outside for three weeks before applying any fertilizer.
One Final Thought
Moving a cactus outside in early spring is scary the first time. But if you follow a slow, two-week schedule, you will have a happy, thriving plant. I have done this for years. It works every single time.
The key is patience. Do not rush. Let the cactus adapt at its own pace. And always watch the weather.
Your cactus will reward you with incredible growth and maybe even flowers if you treat it right. I promise, the effort is worth it.





