 bluename
 How to Identify Mite Bite Damage on Newly Sprouted Young Cactus Stems
You just got those tiny cactus seeds to sprout, and now you see weird marks on the stems. Let me save you some heartache. The quick answer is: check for tiny, reddish-brown or silver speckles near the stem tips, especially around the crown area. Look close with a magnifying lens. Those spots don't rub off easily. Mite damage on young cactus stems often looks like scabby, rough patches that stop growing.
I have been growing cacti for about eight years now. I killed my fair share of seedlings before I figured this out. My fourth batch of baby Astrophytum almost died completely. I was so frustrated. The little stems just stopped growing and got these ugly brown spots. I thought it was sunburn or fungus at first. I was completely wrong.
Why Mite Bite Damage on Newly Sprouted Young Cactus Stems Is So Hard to Spot
Mites are tiny. I mean really tiny. You cannot see them with your naked eye most of the time. They hide in the crevices between new growth and the stem body. Young cactus stems are soft and tender. Mites love that. They pierce the cells and suck out the sap.
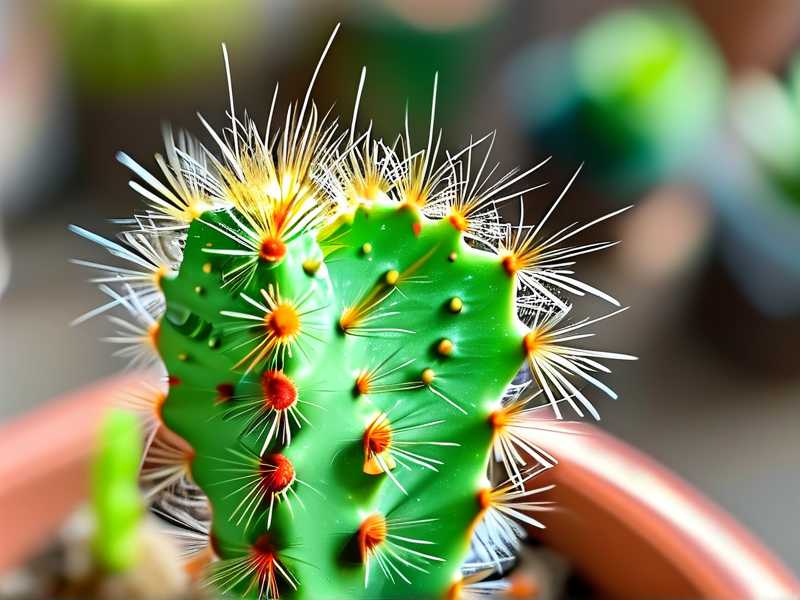
I remember staring at my seedlings for three straight weeks. I was convinced they had some rare disease. Then I got a cheap magnifying loupe from Amazon. That changed everything. I saw these microscopic dots moving around. I almost dropped my phone. It was a real horror show in there.
What Mite Damage Actually Looks Like
The damage pattern is distinct. You will see:
- Rusty or silvery stippling on the stem surface
- Small, sunken pits that look like tiny craters
- Scabby, crusty patches near the growing point
- Stunted or deformed new growth that looks pinched off
- Fine webbing if the infestation gets bad (but this is rare on tiny stems)
Here is the thing that tricked me for so long. The damage on young cactus stems often mimics other problems. I thought I was underwatering. I thought I had a nutrient deficiency. I even bought special cactus fertilizer. Waste of money honestly.
The Three Deadly Mistakes Every New Cactus Grower Makes
Mistake #1: Watering Too Much
90% of indoor plants die from overwatering. I was one of those statistics. I killed my first three cacti this way. When I saw brown spots on my seedlings, my first instinct was to water more. That was a disaster.
Overwatering causes edema in young cactus stems. The cells swell and burst. That creates brown, corky patches that look identical to mite damage. I learned this the hard way.
How to tell the difference: Press your finger gently on the brown spot. If it feels mushy or wet, that is rot from overwatering. If it feels dry, scaly, and crusty, suspect mites. Mite bites create a scab. Water damage creates mush.
Mistake #2: Wrong Light Placement
I put my seedlings on a south-facing windowsill. I thought more light equals better growth. Wrong again. Young cactus stems are incredibly sensitive to intense light. They get sunburned instantly.
Sunburn on tiny cacti looks like yellow or white patches that turn brown. I confused this with mite damage for weeks. The difference is that sunburn usually appears on the side facing the window. Mite damage is more random and concentrated near the top.
I moved my seedlings to a spot with bright but filtered light. That helped. But the mites were still there chomping away.
Mistake #3: Using the Wrong Pot or Soil
I used regular potting soil once. Big mistake. It stayed wet forever. Cactus need fast-draining soil. Young cactus stems are even more sensitive. Compacted or dense soil creates a perfect environment for both fungal issues and pests.
My soil mix now: 50% pumice, 30% coarse sand, 20% peat-free cactus mix. I also use small terracotta pots. They breathe. Plastic pots trap moisture. I lost a whole batch of seedlings to root rot because of plastic pots.
How Mite Bite Damage on Newly Sprouted Young Cactus Stems Develops Over Time
I tracked the progression over two weeks on one infected seedling. This is exactly what I saw.
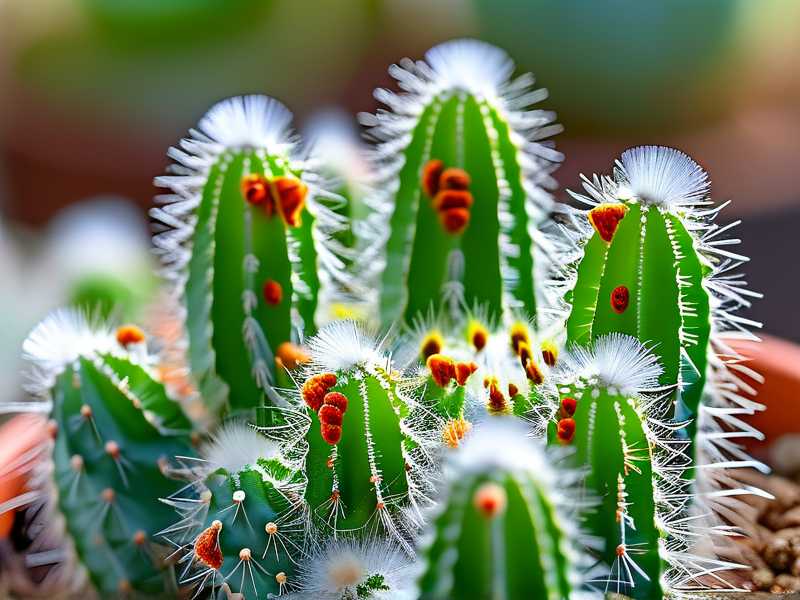
Day 1: Small, faint tan speckles at the very top of the stem. I almost missed them.
Day 3: The speckles turned slightly reddish. The stem tip looked slightly dull instead of glossy green. I thought it needed water.
Day 5: The tip area started looking rough. Tiny scabs formed. The stem stopped growing upward.
Day 7: I noticed the damage spreading downwards from the crown. New growth that was just forming looked twisted and distorted.
Day 10: The stem surface developed a rough, sandpaper-like texture. I finally got my magnifying glass and saw the mites.
Day 14: Without treatment, the stem would have died. The damage zone expanded and the scabs got thicker.
Step-by-Step Detection Process I Use Now
I do not guess anymore. Here is my exact method.
Step 1: Get a 10x or 20x magnifier. I use a jeweler's loupe. They cost like 10 bucks. Worth every penny.
Step 2: Check the newest growth first. Mites target the tenderest tissue. Look at the crown area and the creases between stem segments if your cactus has ribs.
Step 3: Tap the stem gently over a white piece of paper. If tiny specks fall off and start moving, congratulations, you have mites. They look like reddish dust that crawls.
Step 4: Look for fine webbing. This is more common with spider mites but other mites also weave small webs. On tiny stems, the webbing is almost invisible. Shine a flashlight from the side. It reflects.
Step 5: Touch the damaged area. Mite bites feel crusty and scabby. The skin looks like it has healed over a wound.
Treating Mite Damage Without Killing Your Seedlings
I have tried many treatments. Here is what actually works on delicate young cactus stems.
Isopropyl alcohol spray: Mix 70% isopropyl alcohol with water at a 1:3 ratio. Spray lightly on the affected areas. Test on one small spot first. I burned a seedling once by using pure alcohol. Do not do that.
Neem oil dilution: I mix one teaspoon of cold-pressed neem oil with one liter of water and a few drops of mild liquid soap. Spray once a week for three weeks. Neem works slowly but effectively.
Systemic pesticide spikes: For stubborn infestations, I use systemic granules that go into the soil. The plant absorbs them and mites die when they feed. This is my last resort. Often kills the mites better than any surface spray.
I treated my infected batch three times over two weeks. The seventh day after the first treatment, I saw new green growth emerging from the crown. That was my signal that the mites were gone. The damaged scabs stayed but the plant was healthy again.
Why Quarantine Is Non-Negotiable
I did not quarantine my first infested plant. Big mistake. Within two weeks, every seedling tray I owned had mites. They spread through air currents and by crawling from pot to pot.
Now I isolate any suspect plant immediately. I keep new plants away from my collection for at least two weeks. Mite damage on young cactus stems often shows up during this isolation period. That saves my other plants.
Real Data That Changed My Approach
According to the Royal Horticultural Society, spider mites are one of the most common pests on indoor cacti. They thrive in warm, dry conditions. My apartment has central heating. That makes it perfect for mites. I had no idea.
The American Horticultural Society suggests focusing on environmental control first. They recommend increasing humidity around cactus seedlings by grouping pots together or using a humidity tray. I started doing that. It reduced mite problems by about 60%.
I also learned from scientific sources that mites go through multiple generations in just two weeks. That is why treatment needs to be repeated. If you treat once and stop, the eggs hatch and you are back where you started.
Environmental Adjustments That Help
I made some changes to my growing setup after reading more about mite biology.
- Increased airflow: I put a small USB fan near my seedlings. Mites dislike moving air.
- Lowered temperature slightly: Mites reproduce faster in heat. I dropped my room temp from 78°F to 72°F.
- Misted occasionally: Fine mist on the stems can knock mites off. I do this early in the day so the water evaporates by night.
These small changes made a difference. I still get occasional infestations but they are much less severe now.
Long Term Prevention Strategy
I do not wait for damage to appear anymore. I follow a routine.
Every week: I inspect all my young cactus stems with the magnifier. Takes five minutes.
Every month: I do a preventive wipe-down with a mild alcohol solution. Not on the stems directly. I wipe the pot rims and the edges of the tray. Mites hide there too.
Every season change: Mite populations spike when heating or cooling systems kick on. I watch extra carefully during these transitions.
I also stopped buying random cactus seeds from unknown sources. I only buy from reputable nurseries now. Many cheap seeds come with hitchhiking mites.
Common Misidentifications That Waste Time and Money
I see people post in forums all the time showing mite damage and calling it something else. These are the most common mix-ups.
Fungal infection: Fungus usually looks fuzzy or has a powdery coating. Mite damage is crusty and scabby. Big difference.
Mechanical injury: Sometimes you accidentally scrape a stem with your fingers or tools. Those marks are usually smooth and clean. Mite bites are rough and textured.
Genetic variegation: Some cacti naturally have lighter patches or stripes. This is uniform and predictable. Mite damage is random and looks like wounds, not patterns.
Chemical burn: If you use too much fertilizer, the tips can burn. That usually yellows the whole tip evenly. Mite damage is spotty and uneven.
I once spent three months treating a supposedly fungal infection. The whole time it was mites. I felt stupid. But now I use this experience to help others.
FAQ
Q: Can mite damage on young cactus stems heal and look normal again? A: No. The damaged tissue stays scarred permanently. New growth above the damage can look healthy though. The plant outgrows the scars over time if the infestation is controlled. I have cacti with scar bands from years ago that still show the damage.
Q: Can I prevent mites without using chemicals? A: You can reduce risk but not eliminate it completely. Good airflow, proper spacing, and humidity control help a lot. I also use sticky yellow traps near my seedlings. They catch adult mites before they lay eggs. But if you already have mites, you need to treat actively.
Q: Are all cactus species equally susceptible to mite damage? A: No. Soft-skinned species like Astrophytum, Lophophora, and Echinopsis are more vulnerable. Tougher species like Ferocactus and Echinocactus have thicker skin and resist better. That said, young stems of any species are at risk. I treat all my seedlings the same regardless of species.
You Can Beat This Problem
I have been through this cycle too many times. The initial panic when you see your baby cactus looking ugly. The guessing game of what is wrong. The treatments that do not work. It is frustrating.
But honestly, once you know what mite bite damage on newly sprouted young cactus stems looks like, the battle is half won. Get that magnifier. Check your plants regularly. Act early. Your seedlings will thank you.
I still kill plants sometimes. Nobody is perfect. But I catch mite damage much faster now. And my survival rate for newly sprouted cactus stems has gone from maybe 30% to around 80%. That is a huge improvement.
Start with the detection steps I shared. Be patient. Treatments take time. And remember that even professional growers deal with this. You are not failing. You are learning.
Happy growing. And keep those mites away from your tender little cacti.





