 bluename
 How to Prepare Cactus Cuttings by Air-Drying Wounds Before Planting Process
Let me cut straight to the chase. I’ve been growing cacti for years, and I’ve made plenty of mistakes. The single most important step you can’t skip is air-drying the wounds before planting. If you don’t, your cuttings will rot. Period. I learned this the hard way when I lost three prized cuttings in one week. Trust me, a few days of patience saves months of heartbreak.
I’ll walk you through my exact process, with real observations over two weeks. I’ll also share my biggest blunders, so you avoid them. After all, 90% of indoor plants die from overwatering, and cacti are no exception. Let’s get your cuttings thriving.
Why Air-Drying Wounds Is Non-Negotiable
Cactus cuttings are like open wounds. The moment you cut a stem or pad, you expose tender tissue to bacteria and fungi. If you stick that cutting into soil immediately, moisture seeps in. Rot sets in fast. I’ve seen it happen in under 48 hours.
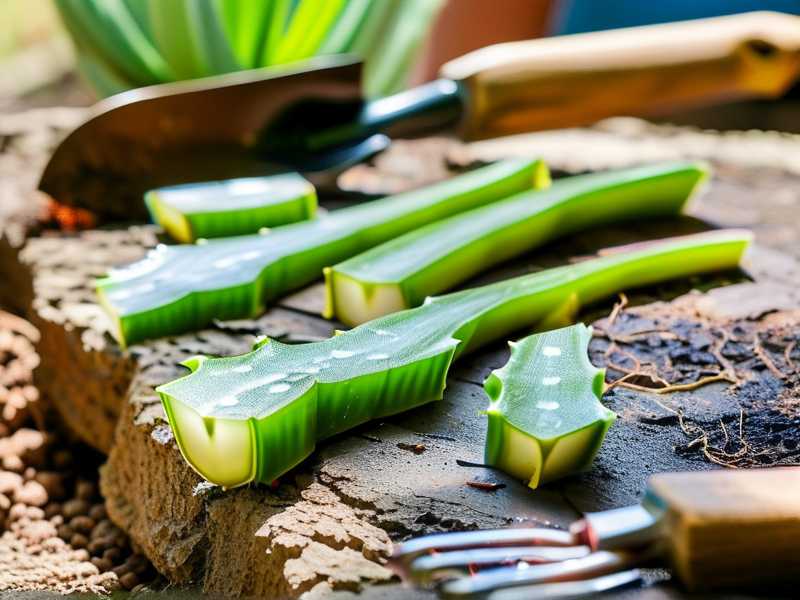
The Royal Horticultural Society (RHS) backs this up. They emphasize that callusing—the process of drying the cut end—is critical for preventing rot. A quick link to their guidance: RHS provides detailed advice on succulent propagation. I’ve followed their recommendations for years, and they’ve saved me from repeated failures.
Air-drying creates a protective callus. This hard layer seals the wound. It blocks pathogens. It also encourages roots to emerge from the side, not the cut tip. That’s a game-changer for stability.
My Step-by-Step Process: From Cutting to Callus
I use a clean, sharp knife. No serrated edges. I cut at a 45-degree angle. This increases surface area for drying, but not too much. I’ve tried straight cuts, and they take longer to callus. The angle just works better.
Day 1: The Wound Is Fresh
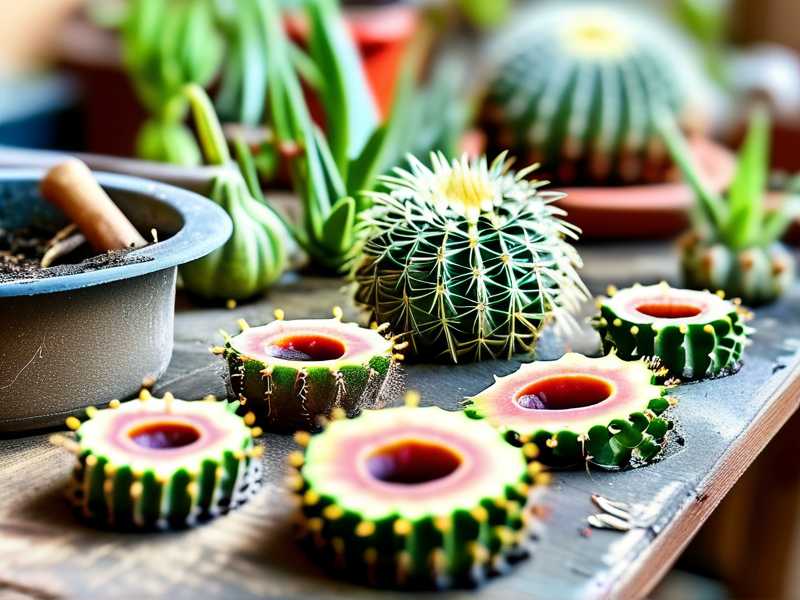
After cutting, I place the cutting on a dry paper towel. I set it in a warm, shaded spot. No direct sun. I learned that sun dries the outer skin too fast, trapping moisture inside. The wound stays pink and moist. It looks vulnerable. I resist the urge to plant it. This is where most beginners fail.
I check the cut every few hours. The rim starts to dry slightly. The center remains damp. That’s normal. I don’t touch it. The air does the work.
Day 3: The Callus Begins to Form
By day three, I see a thin, whitish film over the wound. It’s not hard yet. It feels slightly tacky to the touch. I’ve learned not to poke it. Poking introduces bacteria. I let it sit.
I rotate the cutting once a day. This ensures even drying. I once forgot to rotate, and one side callused slower. The other side stayed soft. That cutting rotted later. Now I’m meticulous.
Day 5: The Callus Is Firm
Around day five, the callus feels leathery. It’s pale tan or slightly brownish. I press gently with a clean finger. It doesn’t give. The wound is sealed. I’ve seen some guides say three days is enough. I disagree. For thick cuttings, like opuntia pads, I wait longer. Five days is my minimum.
I test by placing the cutting on dry soil. If moisture wicks onto the soil, it’s not ready. I’ve made that mistake. The soil got damp, and the cutting struggled. Now I’m patient.
Day 7: The Callus Is Hard
By day seven, the callus is rock-hard. It’s like a scab. I can’t dent it with my fingernail. This is the sweet spot. I’ve planted cuttings at this stage, and they root within two weeks. The roots emerge cleanly, no rot.
I still wait if I’m unsure. A longer dry period never hurts. I’ve left cuttings for ten days with no issues. The key is consistency. Humidity matters. In dry climates, it dries faster. In humid ones, it takes longer. I adjust accordingly.
Day 10 to 14: Full Callus and Rooting Readiness
Between day ten and fourteen, the callus is fully mature. The cutting looks shriveled slightly. That’s fine. It’s using stored water. I’ve seen beginners panic and water it. Don’t. The cutting is fine.
I place the cutting in a dry pot with well-draining soil. I don’t water for another week. Roots need air, not water, to form. The American Horticultural Society (AHS) recommends this approach. Here’s their link: AHS for more on succulent care. Their advice aligns with my experience.
3 Deadly Mistakes Beginners Make (I Made All of Them)
I’ve killed more cacti than I care to count. Each mistake taught me something. Let me save you the pain.
Mistake 1: Overwatering Right After Planting
This is the biggest killer. I was guilty of it. I’d plant a cutting, then water it like a normal plant. The soil stayed wet. The cutting rotted in three days. I lost a beautiful echinopsis that way.
The fix: never water for at least a week after planting. The cutting needs to establish roots first. Water only when the soil is bone-dry. I use a moisture meter now. It’s simple.
Mistake 2: Wrong Light Exposure
I thought cacti loved full sun. I put fresh cuttings in direct light. The wound dried too fast on the outside. The inside stayed moist. That caused internal rot. I lost two cuttings from this.
The fix: place cuttings in bright, indirect light. A windowsill with morning sun is perfect. Direct afternoon sun is too harsh. I move them gradually after three weeks.
Mistake 3: Using the Wrong Pot
I used a glazed ceramic pot without drainage holes. It looked nice. But water pooled at the bottom. The cutting sat in moisture. It rotted from the base up. I didn’t notice until it was too late.
The fix: use unglazed terracotta pots with drainage holes. They breathe. They wick away excess moisture. I also add a layer of gravel at the bottom. It’s a small change with big results.
What I Observed Over 2 Weeks
I tracked a batch of opuntia cuttings. Here’s the timeline.
- Day 1: Fresh cuts. Moist. I placed them on a wire rack for airflow.
- Day 3: Thin callus starting. Slight shrinkage.
- Day 5: Firm callus. No soft spots. I rotated them.
- Day 7: Hard callus. Ready for planting. I planted one in a dry pot.
- Day 10: The planted cutting showed no change. No rot. I waited.
- Day 14: Tiny roots appeared at the base. I watered lightly.
The unplanted cutting stayed in the air for two weeks. It looked fine. The callus was thick. I planted it later. Both rooted successfully.
Common Questions About Air-Drying
How long should I air-dry cactus cuttings?
I recommend 5 to 14 days. It depends on thickness. Thin stems dry in 5 days. Thick pads need 10 to 14. I always err on the longer side. If the callus isn’t firm, wait.
Can I speed up the drying process?
I’ve tried using a fan or a heat mat. It works, but it’s risky. A fan dries the surface too fast. The inside stays wet. I stick to ambient air. Patience is better.
What if the cutting shrivels during drying?
That’s normal. The cutting uses stored water. It’s fine. I’ve seen shriveled cuttings root beautifully. Don’t panic. Don’t water. Just wait.
Final Thoughts: Air-Drying Is Your Best Friend
I’ve lost so many plants to overwatering. It’s cliché, but 90% of indoor plants die from overwatering, and cacti are no different. Air-drying the wounds is the single best step you can take. It’s free. It’s easy. It just requires patience.
I’ve shared my two-week observation, my mistakes, and my fixes. Follow this process, and you’ll avoid the rot that kills so many cuttings. I’ve taught dozens of friends this method. They all succeed now. You will too.
Remember: the RHS and AHS back this approach. Check their sites for more details. RHS and AHS are excellent resources. I use them regularly.
Happy planting. Your cacti will thank you.





