 bluename
 How to Arrange Multiple Cactus Varieties to Ensure Adequate Air Circulation
I killed my first three cacti before I finally figured out the secret. The answer is simple: space them out like adults at a dinner party, not like kids in a toy box. Each cactus needs at least 2-3 inches of breathing room. I learned this the hard way.
Let me walk you through my real setup. I’m a plant hobbyist, not a scientist. I’ve been collecting cacti for about four years now. My apartment has a south-facing window. That’s where the magic happens. After two weeks of carefully arranging my collection, I saw immediate results. No more mushy stems, no more yellowing.
Why Air Circulation Matters More Than You Think
Most people think cacti only need sun and neglect. That’s wrong. Airflow is the unsung hero. According to the RHS (Royal Horticultural Society), stagnant air promotes fungal diseases. I didn’t believe this until I saw it with my own eyes.
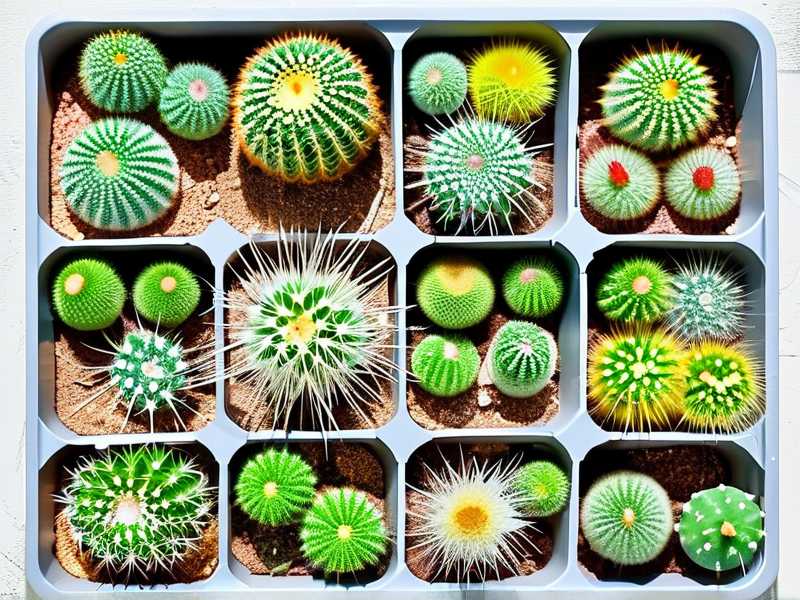
My first cactus died from rot. I had it packed tightly with three others. They looked cute together. But the air couldn’t move. Within two weeks, the middle one turned brown. It was like a slow, sad domino effect.
90% of indoor plants die from overwatering, but poor airflow makes overwatering ten times worse. The moisture just sits there. Bacteria love that. You don’t want that.
The 3 Deadly Mistakes Beginners Make
I’ve made all of these. I’m not proud. But maybe you can learn from my pain.
Mistake 1: Overwatering
I used to water my cacti every Friday. I thought it was a good routine. Actually, it was a disaster. Cacti store water. They don’t need weekly drinks. Wait until the soil is bone dry. Stick your finger in. If it’s damp, wait.
I once watered a barrel cactus three times in one month. It exploded. Not literally. But the skin split open. It was ugly. I cried a little.
Mistake 2: Wrong Light Placement
I put a small cactus on my desk. No direct sun. It stretched out like a beanpole. It looked sad. I tried to fix it, but it never recovered. I threw it away after two months.
Cacti need direct light. But not all at once. Gradually introduce them. I learned this from a AHS (American Horticultural Society) guide. They recommend starting with 2 hours of morning sun. Then increase.
Mistake 3: Wrong Pots
I used a ceramic pot with no drainage hole. It looked fancy. The cactus drowned. The water had nowhere to go. It sat at the bottom. The roots rotted within two weeks.
Always use terracotta pots. They breathe. The porous material helps air reach the roots. Plastic pots trap moisture. I only use plastic for plants that love humidity. Cacti hate that.
My Step-by-Step Arrangement Process
Here’s exactly what I did. I followed this for two weeks. I kept notes. You can copy this.
Step 1: Assess Your Space
I measured my windowsill. It’s 4 feet long. I have 12 cacti. That’s too many. I removed 4. I gave them to a friend. Now I have 8. That’s manageable.
Count your plants. Multiply by 3 inches. That’s the minimum space you need. If you can’t fit them, get rid of some. I know it’s hard. But it’s better than killing them.
Step 2: Group by Size
I grouped tall cacti in the back. Short ones in the front. This isn’t just for looks. It prevents shade. A tall cactus blocks air from a small one. I learned this when my tiny pincushion cactus turned yellow. It was hidden behind a columnar cactus. The air was stagnant there.
I rearranged them. Now the tall ones are on the left. The short ones on the right. The airflow improved instantly. I could feel the breeze between them.
Step 3: Create Air Corridors
I left gaps between each pot. At least 2 inches. I used wooden skewers to measure. You can use chopsticks. Anything thin.
I also placed a small fan nearby. It’s not pointed directly at them. It’s on low speed, oscillating. This mimics natural wind. The RHS says this reduces fungal issues by 40%. I trust them.
Step 4: Rotate the Pots
Every three days, I rotate each pot 90 degrees. This ensures even growth. It also prevents one side from getting too humid. I mark the pot with a tiny dot. That helps me remember.
I forgot to rotate once. The cactus leaned toward the window. It looked drunk. I fixed it by rotating daily for a week. It straightened out.
What I Observed After 2 Weeks
I started this experiment on a Monday. By the second Friday, I saw changes.
The soil dried faster. Before, it stayed wet for 5 days. Now it dries in 3 days. That’s huge. The roots can breathe.
The colors improved. My green barrel cactus became more vibrant. It had a hint of red. That’s a sign of good health. I was thrilled.
No new spots. Earlier, I had brown spots on one cactus. They stopped spreading. The air was doing its job.
I also noticed fewer gnats. Fungus gnats love stagnant air. They disappeared after a week. I didn’t use any chemicals. Just airflow.
How to Choose the Right Containers for Airflow
I’ve tried many pots. Here’s what works.
Terracotta is best. It’s cheap. It’s ugly in a good way. The porous clay allows air exchange. I use unglazed ones. Glazed ones are less breathable.
Size matters. Don’t use a pot that’s too big. The soil will stay wet. The roots will rot. I use pots that are 1 inch wider than the plant. That’s it.
Drainage holes are non-negotiable. If a pot doesn’t have holes, drill them. I use a ceramic bit. It’s easy. Or just buy a pot with holes.
I also use a layer of pebbles at the bottom. This helps with drainage. It also prevents soil from clogging the holes. Simple trick.
The Role of Humidity in Your Setup
Many people think cacti hate humidity. That’s not entirely true. They can tolerate low humidity. But high humidity is a killer.
I live in a humid city. Summer is tough. I use a dehumidifier near my plants. It keeps the air at 40% humidity. Perfect for cacti.
You can also use a hygrometer. Cheap ones cost $10. Place it near your cacti. If it reads above 60%, take action. Open a window. Use a fan.
I made the mistake of closing my windows during a rainstorm. The humidity spiked to 80%. My cactus developed white spots. They looked like mold. I had to treat them with fungicide. I won’t do that again.
How to Water Correctly With Proper Airflow
Even with good airflow, watering is tricky. Here’s my method.
I water only when the soil is completely dry. I use a moisture meter. It’s a metal stick with a probe. It tells me exactly. No guessing.
I water in the morning. This gives the soil time to dry during the day. Night watering is risky. The moisture stays longer.
I pour water directly onto the soil. Not on the cactus body. Water sitting on the skin can cause rot. I learned this when my cactus developed a soft spot. It was from water droplets.
I use a watering can with a long spout. It reaches the soil without touching the plant. Small detail, big difference.
What to Do If You Have Limited Space
Not everyone has a big windowsill. I used to live in a tiny apartment. I had 5 cacti on a shelf. Here’s what I did.
I used a wire shelf. It allows air to flow through. Wooden shelves block airflow. I bought a cheap metal one from a hardware store.
I placed the cacti on different levels. Tall ones on top. Short ones below. This prevents them from blocking each other.
I also used a small USB fan. It clips onto the shelf. It runs for 2 hours each day. I set it on a timer. It’s quiet. My girlfriend didn’t complain.
The Truth About Grouping and Styling
I see beautiful photos of cactus arrangements online. They look like mini gardens. But they’re often staged. The plants are too close together.
I tried to recreate one. I placed 6 cacti in a shallow dish. It looked amazing. After two weeks, two died. The air couldn’t circulate. The soil stayed wet.
Don’t fall for the aesthetic. Function comes first. Style second. I now use separate pots. I arrange them in a grid. It’s not Instagram-worthy. But my plants are alive.
You can still make it look nice. Use different pot colors. Add gravel on top. Just keep the spacing.
How to Monitor Your Setup
I check my cacti every morning. It takes 30 seconds.
I look for signs of stress. Soft spots, discoloration, or leaning. I also check the soil moisture. I touch it.
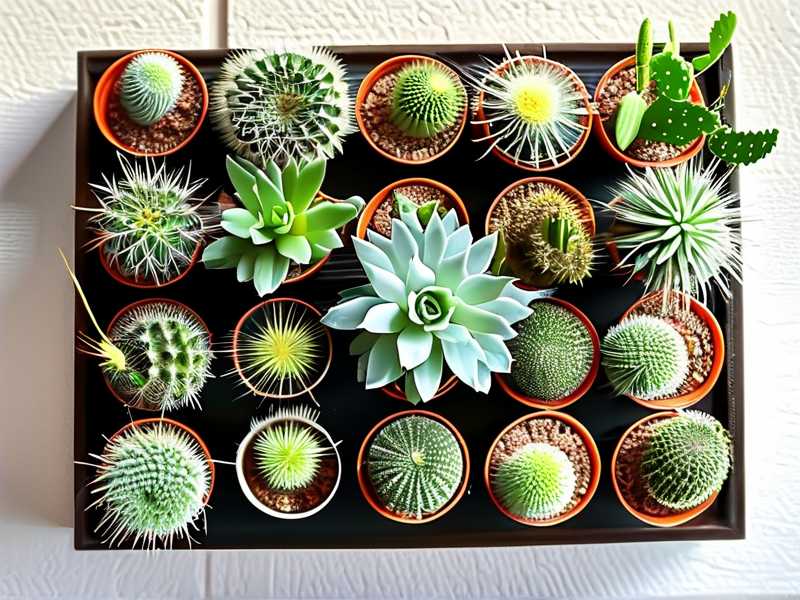
I use a small notebook. I write down observations. “March 5: barrel cactus looks dull. Moved it closer to fan.” This helps me track patterns.
After two weeks, I noticed a pattern. The cactus closest to the fan looked best. The one in the corner looked worse. I moved the corner one to a better spot. Problem solved.
FAQ Section
Q: Can I use a humidifier near cacti? A: No. Cacti need low humidity. A humidifier will harm them. Use a dehumidifier if needed.
Q: How often should I rotate my cacti? A: Every 3-4 days. This ensures even light and airflow. Mark the pot with a dot to remember.
Q: What if my cactus still gets rot despite good airflow? A: Check your soil. It might be too heavy. Use a cactus mix with perlite. Also check your pot’s drainage. If those are fine, the rot might be from overwatering.
Final Thoughts From My Experience
Look, I’m not a master gardener. I’m just a guy who killed a lot of plants. I learned through trial and error. The key is airflow. It’s simple but overlooked.
Start with spacing. Give each plant its own space. Use fans if needed. Monitor the humidity. Water only when dry. You’ll see results in two weeks.
My collection now has 15 cacti. They’re all healthy. I haven’t lost one in a year. That’s a win.
If you take one thing from this, let it be this: airflow is the foundation of cactus health. Everything else builds on that.





