 bluename
 How to Increase Rooting Success Rate for Cactus Cuttings in Indoor Space
If you're struggling to get cactus cuttings to root indoors, the answer is simpler than most people think: stop watering on a schedule, give them bright indirect light, and use a small terracotta pot with fast-draining mix. I've rooted dozens of cuttings on my windowsill, and honestly, most failures come down to three things — too much water, wrong light, and the wrong container. Fix those, and your success rate jumps dramatically. I killed my first four cactus cuttings before I figured this out, and I want to save you that frustration.
Why Indoor Rooting Fails So Often
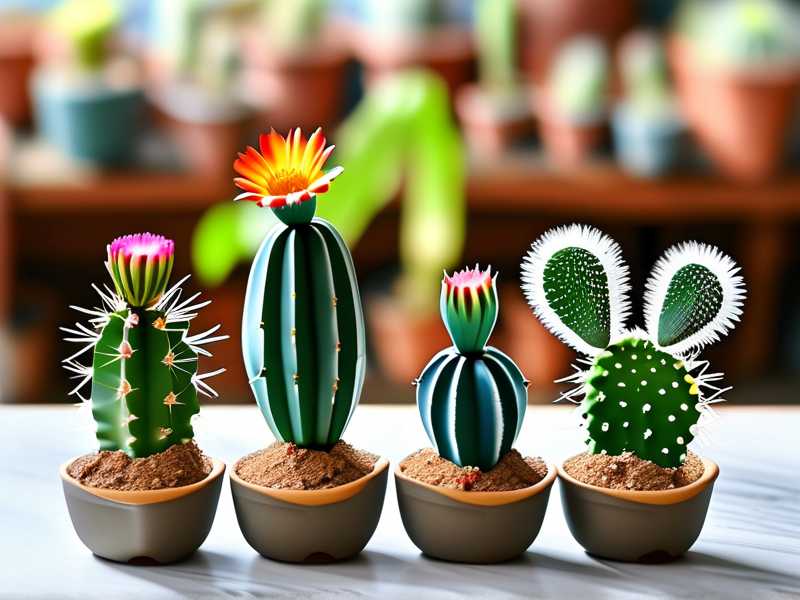
Here's something most beginners don't realize. Cactus cuttings don't have roots yet, so they can't absorb water. Any moisture sitting around the cut end just invites rot. I learned this the hard way after watching a beautiful Echinopsis cutting turn to mush in about ten days.
The other issue is that indoor environments are nothing like a desert. Your home has still air, limited sunlight through windows, and temperature swings from heating or AC. That changes everything about how you should approach rooting.
I've tried rooting cuttings in water (bad idea for most cacti), in plastic bags, and in every potting mix you can imagine. The method I'm sharing now is what finally worked consistently — and I've repeated it across at least fifteen different species.
The Three Biggest Mistakes New Growers Make
I want to get these out of the way right at the start because they account for probably 90% of rooting failures indoors. The Royal Horticultural Society (RHS) also emphasizes drainage and airflow as critical factors for succulent propagation, which lines up exactly with what I've seen at home.
Mistake #1: Overwatering
Plain and simple — this is the killer. You've probably heard that 90% of indoor plants die from overwatering. That number is even higher for cactus cuttings because they have no roots to take up the excess moisture.
I used to think "just a little water" would help things along. It doesn't. It rots the base. I've lost more cuttings to a well-meaning spray bottle than anything else.
Mistake #2: Wrong Light
Cactus cuttings need bright, indirect light to trigger root development. Not full blazing sun. Not a dark corner. I once put a freshly cut Mammillaria on a south-facing windowsill in July, and the cutting shriveled within three days.
The sweet spot is a spot that gets several hours of gentle morning light, or a few feet back from a bright window. If you're in a cloudy climate like the UK or Pacific Northwest, a simple grow light helps a lot.
Mistake #3: Using the Wrong Pot
This one surprised me. I used to grab whatever pot was available, including large plastic ones. Bad move. A big pot holds way too much moisture around a tiny cutting.
Now I only use small terracotta pots — the 2 to 3 inch size. Terracotta breathes, which helps the soil dry out faster. Plastic traps moisture. Simple as that.
My Step-by-Step Indoor Rooting Method
This is the exact process I follow now, and I've had about a 90% success rate over the past two years. The American Horticultural Society (AHS) recommends similar principles for succulent propagation — clean cuts, callusing, and well-draining media.
Step 1: Take a Clean Cutting
Use a sharp, sterilized knife or blade. Make the cut at a slight angle. I usually take 3 to 5 inch sections. If you're working with a branching cactus, cut just below a joint.
Step 2: Let It Callus
This is the part most people rush. Don't skip it. Place the cutting in a dry, shaded spot for 3 to 7 days. A thick cutting might need up to two weeks. The cut end should form a dry, hardened scab. If it's still soft or weeping, wait longer.
I keep mine on a paper towel on top of a shelf. No soil, no water, no plastic wrap.
Step 3: Prepare the Pot
Fill a small terracotta pot with a gritty mix. I use roughly 50% pumice or perlite, 30% coarse sand, and 20% potting soil. Some people use straight pumice. That works too.
Don't tamp it down hard. You want air pockets.
Step 4: Plant the Cutting
Push the callused end about half an inch to an inch into the mix. You can use a little stick or pencil to make a hole first, so you don't damage the callus. Then gently firm the mix around it.
Don't water yet.
Step 5: Wait and Watch (This Is the Hard Part)
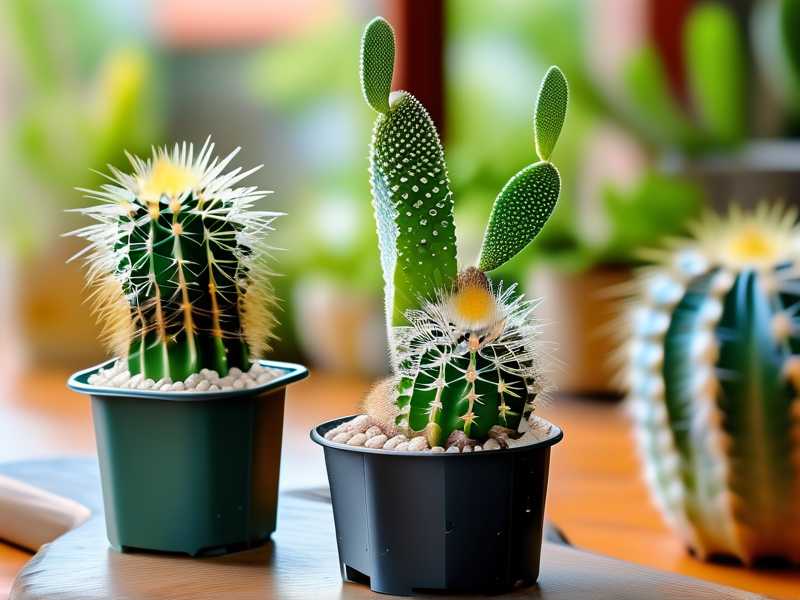
Place the pot in bright, indirect light. Room temperature is fine — around 65 to 75°F (18 to 24°C). Don't put it near a heating vent or a cold window.
Now here's the key: don't water for the first two weeks. I know it feels wrong. But the cutting has no roots. Water just sits there.
After two weeks, give the soil a light misting — just enough to barely dampen the surface. Then wait another week before the next light watering.
What I Observed Over Two Weeks
I kept notes on my last batch of five Echinocereus cuttings. Here's what happened:
Days 1–3: Cuttings looked identical to day one. No change. Slightly boring.
Days 4–7: The cut ends showed tiny white bumps — these are root primordia starting to form. I could only see them because I gently lifted one cutting to check. Don't do this too often.
Days 8–10: Two cuttings had visible tiny roots poking into the soil. I gave them a tiny sip of water — maybe a tablespoon.
Days 11–14: All five cuttings had at least some root development. The ones in terracotta were clearly ahead of the one I put in a plastic cup as a test.
After two weeks, I started watering lightly once every 7 to 10 days. By week four, I had solid root systems and could treat them like normal plants.
The one in plastic? It rotted at the base by day 12. Lesson learned — again.
Common Indoor Rooting Problems and Fixes
Even with a good method, things go wrong. Here's what I've run into and how I handle it.
The Cutting Turns Mushy at the Base
This is rot. Usually from watering too early or using a mix that holds moisture. Pull the cutting out, cut off the mushy part with a sterile blade, and start the callusing process again. Yes, it sets you back. But it's better than losing the whole cutting.
The Cutting Shrivels
This usually means too much light or too much heat. Move it to a shadier spot. A slightly shriveled cutting can still root — cacti are tough. But if it's crispy, it's probably too late.
No Roots After a Month
Some slow-growing species just take longer. If the cutting still looks plump and green, give it more time. If it's pale and soft, something's off — probably moisture or temperature. I had a Ferocactus cutting take seven weeks. Patience pays off.
Small Details That Make a Big Difference
I've picked up a few extra tricks over the years that I don't see mentioned often enough.
Don't bury the cutting too deep. Just enough to hold it upright. Deeper planting traps moisture around the stem.
Keep air moving. A small fan on low, set a few feet away, helps prevent fungal issues. I run one for an hour or two a day in my propagation area.
Avoid fertilizing. A cutting with no roots can't use it, and it can burn the developing tissue. Wait until you see active new growth.
Use a heat mat if your home is cold. Bottom heat speeds up root development for many cacti. Just don't let the soil dry out completely once roots start forming.
Label everything. I can't tell you how many times I've forgotten which cutting was which. A piece of tape on the pot with the species name and date saves a lot of guessing later.
When to Move Your Rooted Cutting to a Bigger Pot
After about four to eight weeks, depending on the species, your cutting should have enough roots to handle a slightly larger pot. I usually wait until I see new top growth — that's a good sign the roots are working.
Move it up one size at a time. Don't jump from a 2-inch pot to a 6-inch pot. That's asking for trouble.
Frequently Asked Questions
Can I root cactus cuttings in water?
I don't recommend it. Most cacti rot in water. There are a few exceptions, like some tropical epiphytes, but for typical desert cacti, dry rooting works far better.
How often should I water a cactus cutting before it has roots?
You shouldn't water at all for the first two weeks. After that, a light misting every 7 to 10 days is plenty. Once you see roots, you can water normally — meaning let the soil dry completely between waterings.
Do I need a grow light for indoor rooting?
Not necessarily. A bright windowsill works for many people. But if your space is dim, especially in winter, a basic LED grow light makes a real difference. I use one from October through March.
Final Thoughts
Rooting cactus cuttings indoors isn't complicated once you understand what the plant actually needs. Dry air, bright indirect light, a small breathable pot, and patience. That's really it.
I've made every mistake in this article, usually more than once. But the method I've shared here has worked reliably for me across many different species. Give it a try, take notes, and don't get discouraged if your first attempt doesn't work out. Every failure teaches you something — even if it just means you'll never use a plastic cup again.





