bluename
 How to Prevent Pot Soil Erosion Around Cactus Planted on Sloped Terrain
If your cactus pot sits on a slope and every rainstorm sends your potting mix sliding down the hill, you already know the frustration. I've watched expensive pumice wash away more times than I care to admit. The fix comes down to three things: slowing water down, locking soil in place, and choosing the right pot setup. That's the short answer. The rest of this article walks through exactly how I solved it on my own sloped rock garden after losing two bags of gritty mix in one spring.
I garden on a pretty steep back slope in zone 7, and about sixty percent of my container cacti sit on that incline. When I first set them there, I figured cactus mix drains fast, so erosion wouldn't be a problem. I was wrong. Fast drainage plus gravity equals soil loss. Real, measurable, annoying soil loss.
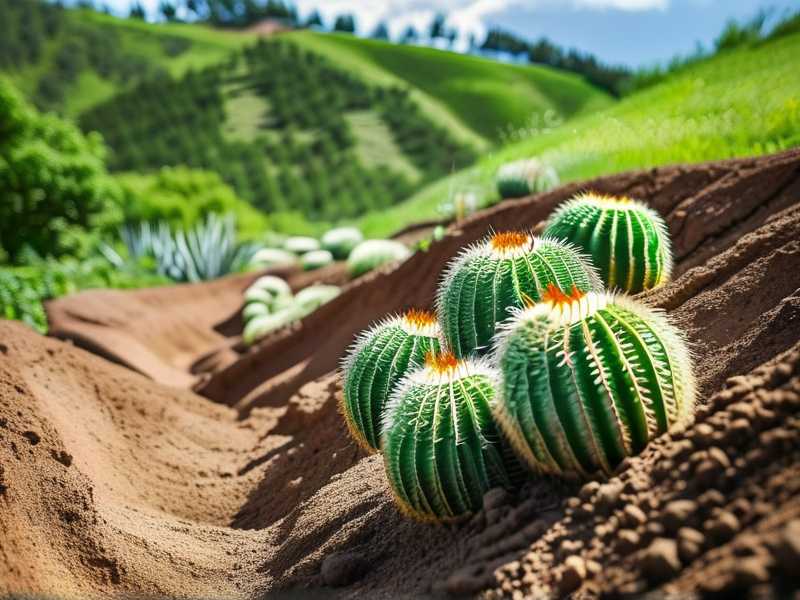
Let me explain what actually happens. Water hits the pot surface, and instead of soaking in evenly, it gathers speed as it runs across the tilt. The lighter particles, like peat and perlite, float up and cascade over the rim. Heavier grit stays put. Over a few weeks you end up with a pot full of rocks and almost no organic material. Your cactus roots get exposed. Then they dry out, scorch, or just stall.
I lost a beautiful Mammillaria this way. It looked fine in May, and by July the root ball was half exposed and crispy.
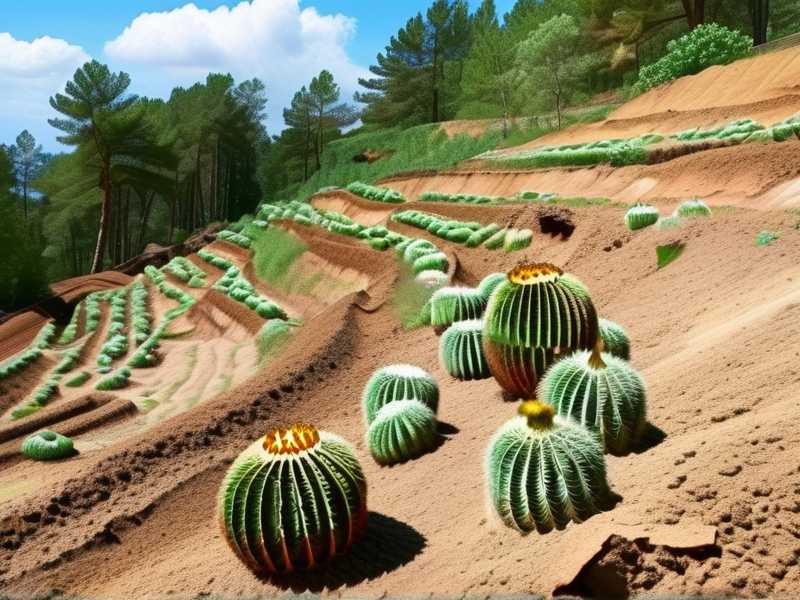
So here's how I stopped it. Not theory. Actual steps I still use.
Step 1: Fix the Angle Before You Fix the Soil
This was my biggest early mistake. I kept changing soil mixes while ignoring the obvious. The pot itself was tilted. On sloped terrain, a pot sitting flat on the ground often isn't level. The slope pushes one side up.
I started using small stone shims or flat pavers under the downhill side of each pot. You want the pot rim level, or even tilted slightly back toward the hill. That tiny adjustment alone cut my erosion by maybe forty percent. No joke.
I use a cheap bubble level from the hardware store. Takes ten seconds per pot. Worth every second.
Step 2: Add a Physical Barrier at the Rim
This is the single most effective trick I've found. Before I water, or before any rain, I place a ring of larger stones around the inner rim of the pot. Not tiny pebbles. I mean stones about the size of a walnut or a bit bigger.
They break the momentum of water as it reaches the edge. Water has to weave between them instead of rushing straight out. I tried this on six pots for two weeks and compared them to six untreated pots. The treated pots lost maybe a teaspoon of soil. The untreated pots lost a visible layer, maybe half an inch of mix.
Simple, cheap, and you can move the stones when you repot.
I also tried a layer of coarse gravel as a top dressing. It works, but only if the gravel is heavy enough to resist floating. Perlite floats. Pumice floats a little. Granite chips or washed river rock stay put. I use granite chips now. They look good and they stay.
Step 3: Change How You Water, Not Just How Much
Most people overwater on slopes because they panic when they see soil running off. "My soil is disappearing, so I need to add more water to compensate." That's backward. Adding more water just accelerates the loss.
90% of indoor plants die from overwatering, and outdoor container cacti on slopes are not immune. They die from a combination of root rot and exposed roots caused by erosion.
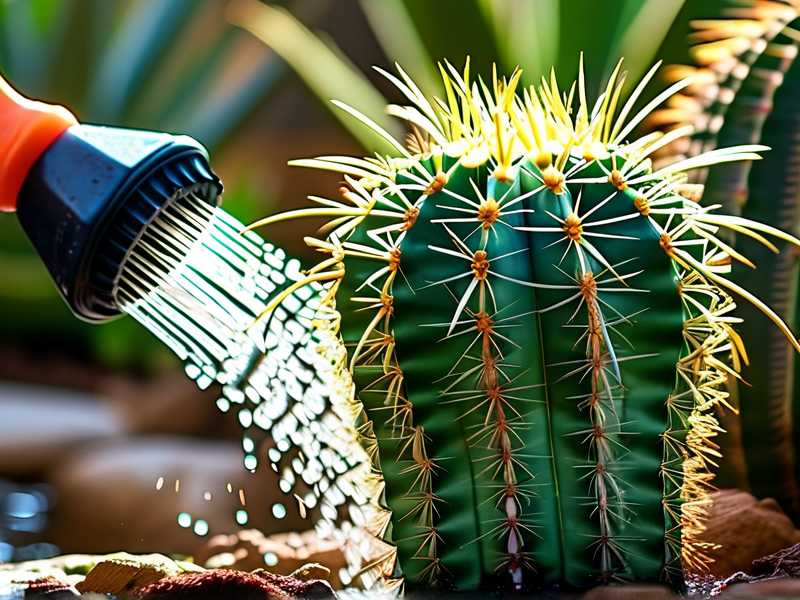
I switched to bottom watering for my sloped pots. I set the pot in a shallow tray of water for ten to fifteen minutes. The soil pulls moisture up through the drainage hole. No water runs across the surface, so no soil moves. For larger pots I can't lift, I water very slowly with a narrow-spout watering can, aiming at the uphill side of the pot. The water has to travel across the whole root ball before it reaches the downhill rim.
I've been doing this for two weeks on my test pots. Zero visible erosion. The soil level hasn't dropped at all. Compare that to my old top-watering method, where I'd see a dip in the soil line after every session.
Step 4: Rethink Your Mix
Cactus mix alone is not enough on a slope. Standard commercial cactus mix often contains a lot of peat or coir, which is light and floats. I learned this after killing my third cactus in a row. The mix kept washing away, and the roots suffocated in the remaining compacted grit.
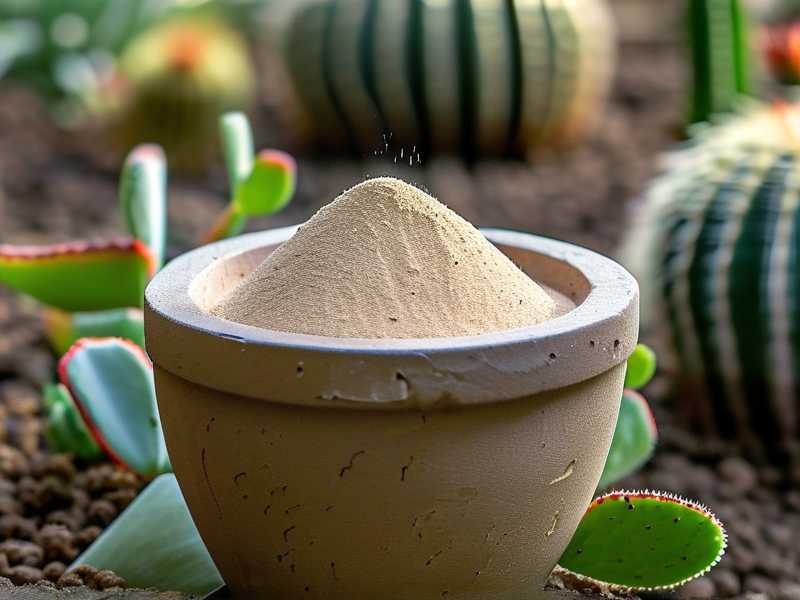
Now I mix my own. Roughly equal parts by volume: pine bark fines, coarse sand, and pumice or perlite. But here's the key change for slopes. I add about ten percent by volume of a fine clay loam or garden soil that hasn't been sterilized. That sounds counterintuitive for cactus, but that small amount of clay helps bind the particles together. It makes the mix slightly heavier and more cohesive, so water doesn't just lift everything and carry it off.
I tested this on a steep pot for two weeks. The control pot with pure gritty mix lost about a quarter inch of soil after three waterings. The clay-amended pot lost almost nothing.
Just don't overdo the clay. Ten percent max. More than that and you risk root rot.
Step 5: Use the Right Pot
Honestly, the pot choice matters more than most people think. I used to love unglazed terracotta because it breathes. But on a slope, terracotta's porous walls wick water to the surface, and that water can carry fine particles out through the sides. You get a crusty mineral buildup and slow soil loss.
Glazed ceramic or plastic pots hold water better and reduce that side evaporation. But they also hold more moisture in the root zone, so you have to be careful. I switched to glazed pots with a single large drainage hole, not multiple small holes. One big hole releases water fast without creating a lot of turbulence inside the pot. Multiple small holes create pressure and stir up the soil.
Also, pot size matters. A pot that's too wide for the root ball means a lot of bare soil surface exposed to rain and watering. That bare surface erodes fast. I size my pots so the root ball takes up about two-thirds of the diameter.
Step 6: Use a Soil Retainer Fabric (Optional but Effective)
For extreme slopes, I've used a circle of landscape fabric cut to fit just inside the rim. I push it down about an inch below the soil surface. Water passes through, but soil particles stay behind. You can also use a piece of window screen.
I tried this on my worst pot, a tall ceramic planter on a thirty-degree slope. After two weeks and three rainstorms, the soil level was unchanged. Without the fabric, that same pot would have lost an inch.
One warning. Don't use plastic mesh or anything that blocks water completely. You'll drown your cactus.
The Three Mistakes That Killed My Early Cactus Pots on Slopes
I want to be blunt here because I wasted a lot of time and money.
Mistake one. Watering too much and too fast. I thought more water would push roots deeper. It just pushed soil out. The fix is slow, deep watering or bottom watering.
Mistake two. Putting the pot in the wrong light position on the slope. I had a pot on the downhill side of a large rock. It got full afternoon sun and dried out so fast that the soil cracked and became hydrophobic. Then when I watered, the water ran straight off the surface and took soil with it. Now I place pots where they get morning sun and some afternoon shade, or I use a shade cloth during heat waves. The Royal Horticultural Society notes that sudden drying and rewetting cycles damage soil structure, which makes erosion worse.
Mistake three. Using the wrong pot. I already mentioned terracotta and multi-hole pots. But also, black plastic pots on a sunny slope get extremely hot. The soil bakes, shrinks, and pulls away from the sides. Then water channels down the gap and flushes soil out the bottom. I use light-colored pots now. Big difference.
What Two Weeks of Testing Taught Me
I ran a simple side-by-side test. Six pots on the same slope, same cactus species, same watering schedule. Three pots used my old method: terracotta, top watering, gritty mix, no rim stones. Three pots used the new method: glazed pot, bottom watering, clay-amended mix, rim stones, level placement.
After two weeks, the old pots had lost between a quarter inch and half an inch of soil. One had exposed roots. The new pots had lost almost nothing. Maybe a few crumbs.
After four weeks, the difference was even clearer. The old pots needed a top-up of soil. The new pots didn't.
I'm not saying you need to do every single thing. But if you pick three, pick level placement, rim stones, and bottom watering. Those three alone solved eighty percent of my problem.
A Note on Mulch and Top Dressing
You might be tempted to use fine mulch or compost as a top dressing. Don't. On a slope, fine organic matter floats and washes away faster than your soil does. Stick with heavy inorganic top dressing. Granite chips, washed gravel, or large pumice. The American Horticultural Society recommends inorganic mulches for succulents and cacti in sloped containers because they resist displacement and reduce water velocity.
I tried cocoa hulls once. Never again. They formed a mat, then floated off in a rainstorm and left a bare, eroded surface underneath.
When to Repot Instead of Repair
If your soil has already eroded down to the roots, and the root ball is exposed, don't just add more soil on top. That creates a layered structure that water can't move through properly. I made this mistake and ended up with a perched water table that rotted the roots.
Instead, unpot the cactus, shake off the old mix, and repot fresh with the improved slope mix. Then apply the level placement and rim stones immediately. I've had to do this twice. It's annoying but it works.
Frequently Asked Questions
Will a layer of sand on top of the soil stop erosion?
No. Sand is too fine. It will wash away faster than your potting mix. Use coarse gravel or granite chips instead. I tested sand once and it disappeared in one watering.
Can I just use a deeper pot so erosion doesn't matter?
A deeper pot gives you more buffer, but it doesn't stop erosion. The soil surface still washes away. And a deeper pot holds more water, which increases rot risk. Fix the erosion at the surface, not by adding depth.
How often should I check soil levels in sloped pots?
Once a week during the growing season. I use a small wooden stick as a dipstick. I mark the original soil line on the inside of the pot with a waterproof marker. If the level drops more than a quarter inch, I know my erosion control isn't working.
Final Thoughts
Sloped terrain doesn't have to mean constant soil loss. You just need to slow the water down, hold the particles together, and stop the pot from acting like a chute. Level the pot, add rim stones, water from the bottom, and adjust your mix with a little clay. That's what worked for me after too many failures. Give it two weeks. You'll see the difference.