bluename
 How to Grow Edible Prickly Pear Cactus Species at Home: My Complete Guide to a Bountiful, Spiny Harvest
I’ve always been fascinated by resilient plants, but the idea of growing my own food with minimal water seemed like a distant dream. That changed when I discovered how to grow edible prickly pear cactus species at home. For years, I struggled with keeping thirsty vegetable gardens alive in the summer heat. The constant watering, the pests, the disappointment of wilted plants—it was exhausting. If you’re like me, yearning for a low-maintenance, drought-tolerant edible plant that’s both stunning and productive, you’ve found the right guide. This isn't just theory; it's the story of my two-year journey, condensed into a practical roadmap for your success.
Why Choose Edible Prickly Pear Cactus for Your Home Garden?
Before we get our hands dirty (with gloves on!), let’s talk about why this plant is a superstar. Edible prickly pear, primarily from the Opuntia genus, offers two incredible harvests: the sweet, colorful fruit (called tunas) and the tender, young pads (called nopales). According to the Arizona-Sonora Desert Museum, these cacti are not just survivors; they are keystone species in their native habitats, supporting wildlife and preventing erosion. For us home gardeners, they translate to a water-wise source of vitamins, fiber, and antioxidants. The Royal Horticultural Society (RHS) notes their exceptional adaptability, making them suitable for containers and gardens in a surprising range of climates.
Getting Started: Selecting Your Perfect Prickly Pear
My first mistake was grabbing the first prickly pear I saw. Not all are created equal for home cultivation and taste.
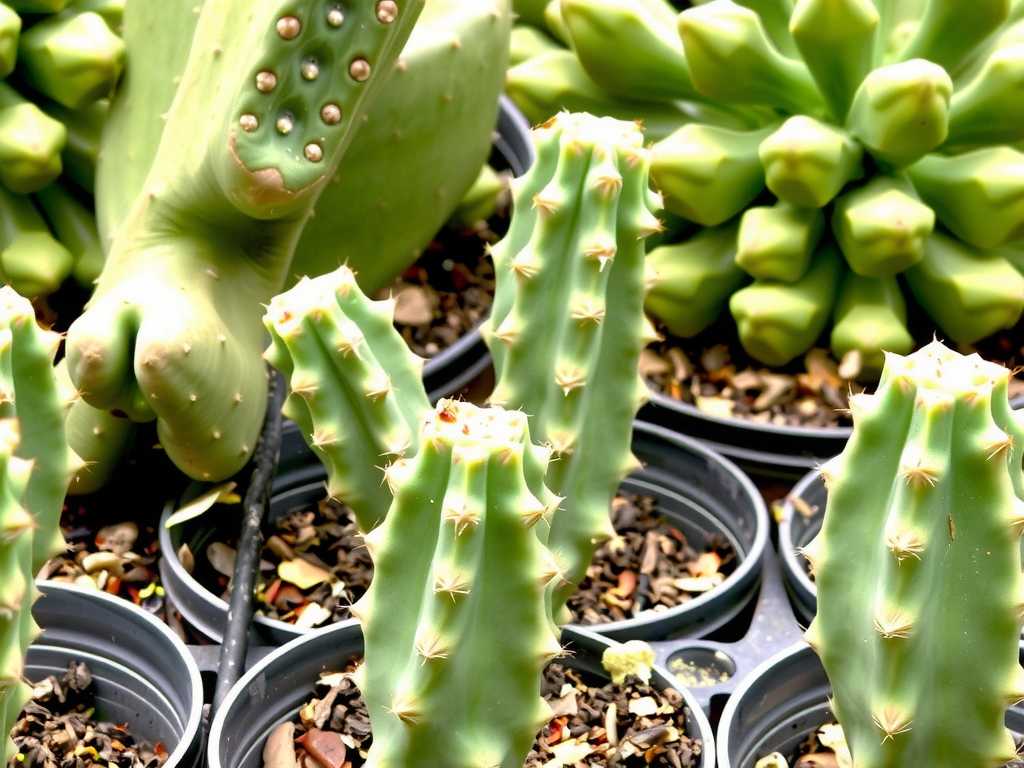
Choosing the Right Species and Variety For beginners, I highly recommend starting with Opuntia ficus-indica, the Indian fig. It’s one of the most widely cultivated for fruit and has fewer, larger spines (but still has glochids—those tiny, devilish hairs!). Another excellent, cold-hardy option is Opuntia engelmannii. I sourced a young Opuntia ficus-indica pad from a reputable native plant nursery. Avoid taking cuttings from wild stands without permission, and always choose a healthy, plump, unblemished pad.
Sourcing Your Plant: Cuttings vs. Seeds I tried both. Growing prickly pear cactus from a cutting is infinitely faster and guarantees the traits of the parent plant. Seeds are a fun, long-term experiment but can take years to fruit. For a tangible harvest, start with a pad cutting. Ensure your cutting has calloused over completely in a dry, shady spot for 1-2 weeks before planting. This prevents rot—a lesson I learned the hard way with my first mushy attempt.
The Essential Planting Process: A Step-by-Step Walkthrough
This is where the real fun begins. Let me walk you through exactly what I did.
1. Soil and Pot Preparation: Drainage is Everything Prickly pear cactus despises wet feet. I use a commercial cactus/succulent mix, but to supercharge it, I add extra perlite or pumice (about a 1:1 ratio). For pots, terra cotta is ideal because it breathes. Choose a pot just slightly larger than the pad’s base; a too-large pot holds excess moisture. Ensure there are ample drainage holes.
2. The Planting Technique Once my pad had formed a thick callus, I planted it. I filled the pot with my gritty mix, placed the pad callus-side down, and buried it just deep enough to stand upright—about one-third of the pad's height. I did not water it yet. I placed it in bright, indirect light. The key here is patience. The plant needs to focus on growing roots, not on absorbing water from soggy soil.
3. Initial Placement and Light Acclimation For the first month, I kept it in a spot with morning sun and afternoon shade. After it showed firm, new growth (a sign of established roots), I gradually moved it to its permanent, full-sun location. Most edible Opuntia species crave at least 6-8 hours of direct sun for optimal fruiting.
My Two-Week Observation Log: The First Critical Period
I documented the start of my latest pad’s journey meticulously. Here’s what happened:
- Days 1-3: The planted pad looks unchanged, slightly dusty. No watering.
- Days 4-7: The pad still looks the same. I resist the overwhelming urge to water. This is the hardest part for any plant lover!
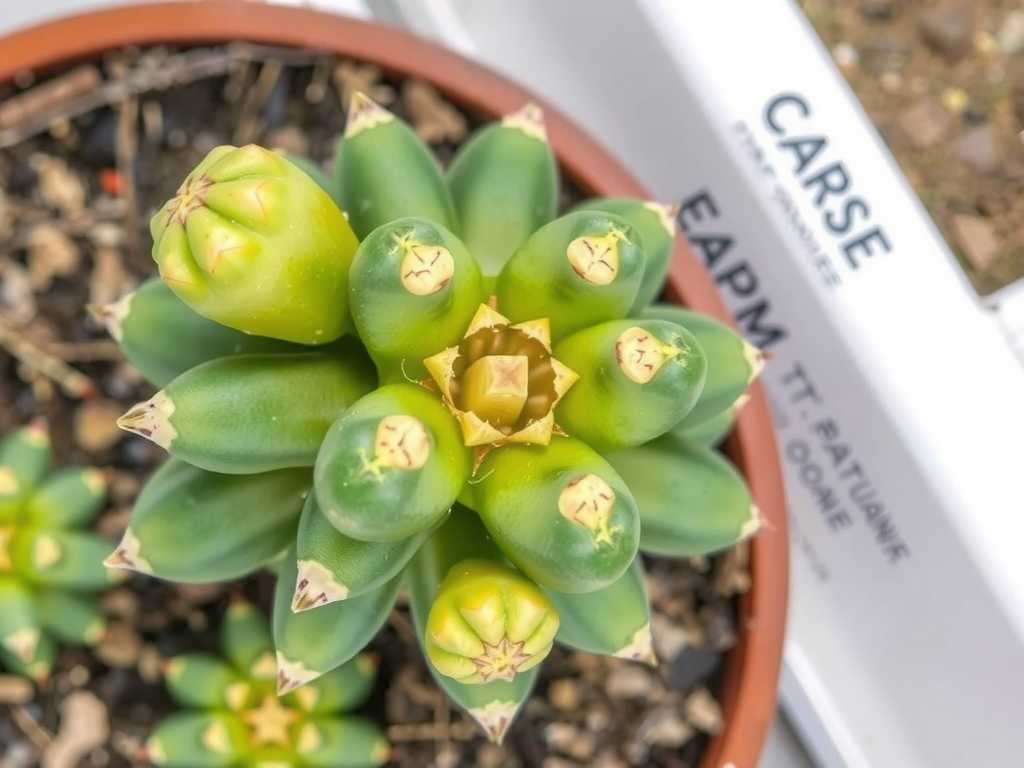
- Days 8-10: I notice the very top of the pad looks slightly fuller, greener. A tiny, bright green nub is visible at the areole (the spot where spines grow). This is the first sign of new growth!
- Days 11-14: The nub has elongated into a small, new pad! It’s about the size of my thumbnail. This confirms roots are actively growing below. Only now, on Day 14, do I give it its first thorough watering. I soak the soil until water runs freely from the drainage holes, then let it dry out completely again.
This two-week window taught me more than any book: inaction is often the best action. Overwatering before root establishment is the number one killer of cactus cuttings.
Ongoing Care: Watering, Feeding, and Winter Strategies
The Art of Watering a Drought-Tolerant Plant My watering mantra is “Soak and Dry.” In the hot growing season (spring-fall), I water only when the soil is completely dry, then drench it. In winter, I withhold water almost entirely, especially if temperatures drop below freezing. This dormant period is crucial for flower and fruit set the following year.
Fertilizing for Flowers and Fruit To encourage my cactus to produce fruit, I feed it. I use a low-nitrogen, high-potassium fertilizer (like a tomato feed) diluted to half-strength. I apply it once in early spring as new growth emerges and again just as flower buds appear. Over-fertilizing, especially with nitrogen, leads to excessive, weak pad growth and fewer flowers.
Winter Care and Cold Protection Many edible prickly pears are surprisingly cold-hardy. My Opuntia engelmannii can handle brief dips to 15°F (-9°C). The key is dry roots. A wet cactus in freezing soil is a dead cactus. In rainy winter climates, I move potted specimens under an eave or cover in-ground plants with a breathable frost cloth. The American Horticultural Society’s (AHS) heat zone map is a useful tool alongside the hardiness zone map, as these cacti also need summer heat to thrive.
Troubleshooting: The Pitfalls I Encountered (And How I Fixed Them)
The Rot Dilemma: As mentioned, my first cutting rotted. Solution: Always allow a full, firm callus. If rot appears on a planted pad, cut it away well above the rot line, let it callus again, and re-plant in fresh, dry mix.
The Elusive Flower: For two years, my cactus grew pads but no flowers. Solution: I realized it needed more sun and a stricter winter drought. I relocated it to the sunniest spot in my garden and stopped all winter watering. The following spring, it was covered in stunning yellow blooms.
Glochid Management – The Itchy Reality: Those nearly invisible hairs are the biggest nuisance. Solution: I now keep a roll of duct tape in the garden. If I get glochids in my skin, pressing tape on and pulling it off removes most. When handling pads, I use thick leather gloves and grip with tongs or folded newspaper.
Harvesting and Enjoying Your Homegrown Bounty
Harvesting Nopales: Use a sharp knife to remove young, tender pads in spring or summer. I look for pads that are about hand-sized and still have a bright green, thin skin. I use the tongs-and-gloves method.
Harvesting Prickly Pear Fruit: The tunas are ready in late summer/fall when they turn a deep, solid color (red, purple, or orange, depending on variety) and come off with a gentle twist. Crucial step: I singe off the glochids by quickly passing the fruit over a gas flame or using a kitchen torch before handling.
Simple Preparation Ideas: For nopales, I dice and sauté them with onions and eggs—a classic Mexican scramble. The fruit makes a brilliant, vibrant syrup for cocktails or a refreshing sorbet. The taste of success is incredibly sweet.
How long does it take for a prickly pear cutting to bear fruit? With optimal care, a pad cutting can produce its first flowers and fruit in 2-3 years. Plants grown from seed can take 4-5 years or more. Patience is non-negotiable.
Can I grow edible prickly pear indoors? Yes, but fruiting will be challenging. They need the highest light possible—a south-facing window is a must. Consider supplementing with a strong grow light for 12-14 hours a day during the growing season to have any hope of flowers.
Are the spines and glochids dangerous? They are a significant irritant but not poisonous. The primary risk is infection from not properly removing glochids. Always handle with extreme care, using the right tools, and clean any wounds thoroughly.
Growing edible prickly pear cactus at home has been one of my most rewarding gardening adventures. It transformed my perspective on what a productive garden can be—less about constant input and more about strategic patience. From that first callused pad to the triumphant harvest of my own sun-ripened fruit, the journey teaches resilience, observation, and deep respect for a remarkable plant. Start with a single pad, master the “soak and dry” rhythm, and you’ll unlock a world of unique, sustainable bounty right in your own backyard or on your sunniest windowsill. The wait is worth every single, glorious spine.