 bluename
 How to Care for Grafted Cactus Species to Ensure Survival and Thriving Growth
I’ve killed my fair share of plants. But few failures stung as much as watching a vibrant, colorful grafted cactus slowly fade, soften, and collapse. That initial burst of color from the store turned into a mushy, heartbreaking mess. If you’ve ever brought home one of these fascinating “mutant” cacti—a colorful Gymnocalycium mihanovichii (the “scion”) perched atop a sturdy green rootstock like a Hylocereus—only to see it struggle, you know the pain. The central question, the one that brought you here, is simple yet critical: how to care for grafted cactus species to ensure survival beyond the first few weeks. Through trial, error, and a dedicated two-week rescue mission on a failing specimen, I’ve pieced together a practical guide that works.
The unique beauty of grafted cacti is also their vulnerability. The scion, often lacking sufficient chlorophyll, depends entirely on the rootstock for sustenance. This creates a fragile partnership where care mistakes are amplified. My goal here is to walk you through the exact steps, born from both research and hands-on experience, to transform that delicate novelty into a resilient, long-term resident of your plant collection.
Understanding the Grafted Partnership: Why It’s So Delicate
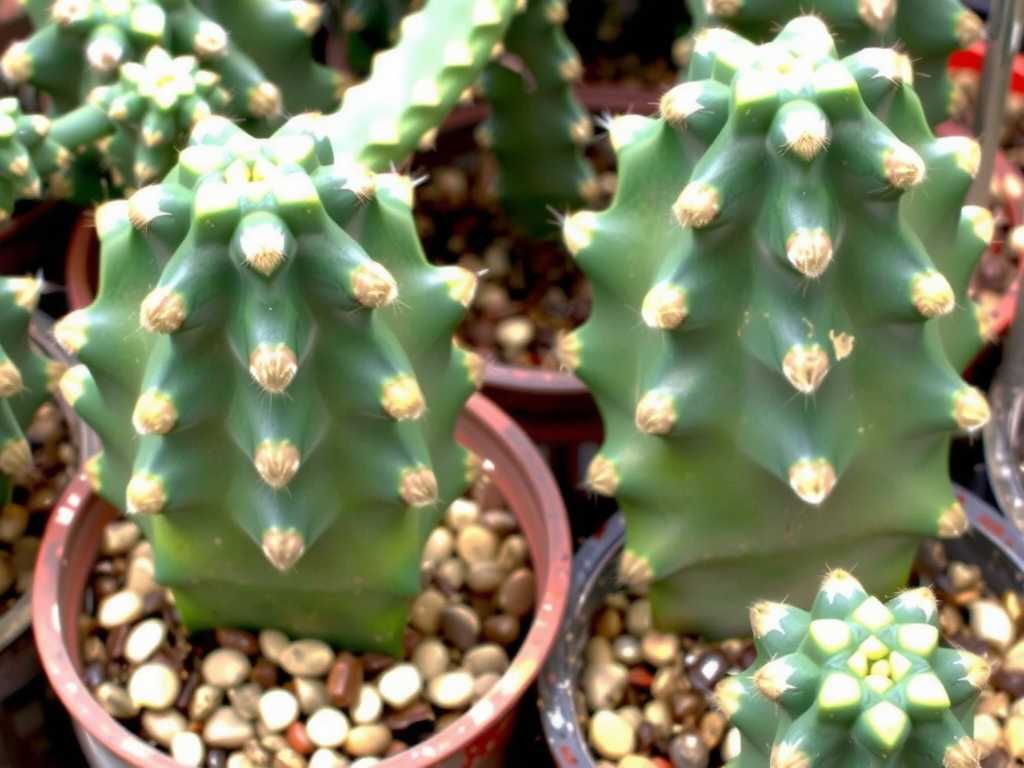
Before we dive into care, knowing why these plants are special is key. A grafted cactus isn’t a single organism; it’s a horticultural marriage. The top (scion) is chosen for its stunning colors—vivid reds, bright yellows, deep purples—but these hues often mean it has little to no chlorophyll. The bottom (rootstock), typically a fast-growing, chlorophyll-rich cactus like Dragon Fruit (Hylocereus), acts as the engine room. It photosynthesizes and pumps water and nutrients up to the dependent scion.
This symbiosis dictates all care rules. Overwatering? The rootstock rots, severing the lifeline. Insufficient light? The rootstock weakens, starving the scion. It’s a balance where both partners’ needs must be met through one set of roots.
My Two-Week Rescue Protocol: A Step-by-Step Journey
I purchased a clearly distressed grafted cactus from a big-box store. The red Gymnocalycium scion was slightly shriveled, and the Hylocereus rootstock had a pale, yellowish tinge. The soil was soggy. This became my patient for a 14-day intensive care plan.
Step 1: The Critical Initial Assessment and Repotting
The first 48 hours are diagnostic. I gently removed the cactus from its plastic pot. The roots were dark, damp, and had a faint musty smell—early root rot. This is the most common killer.
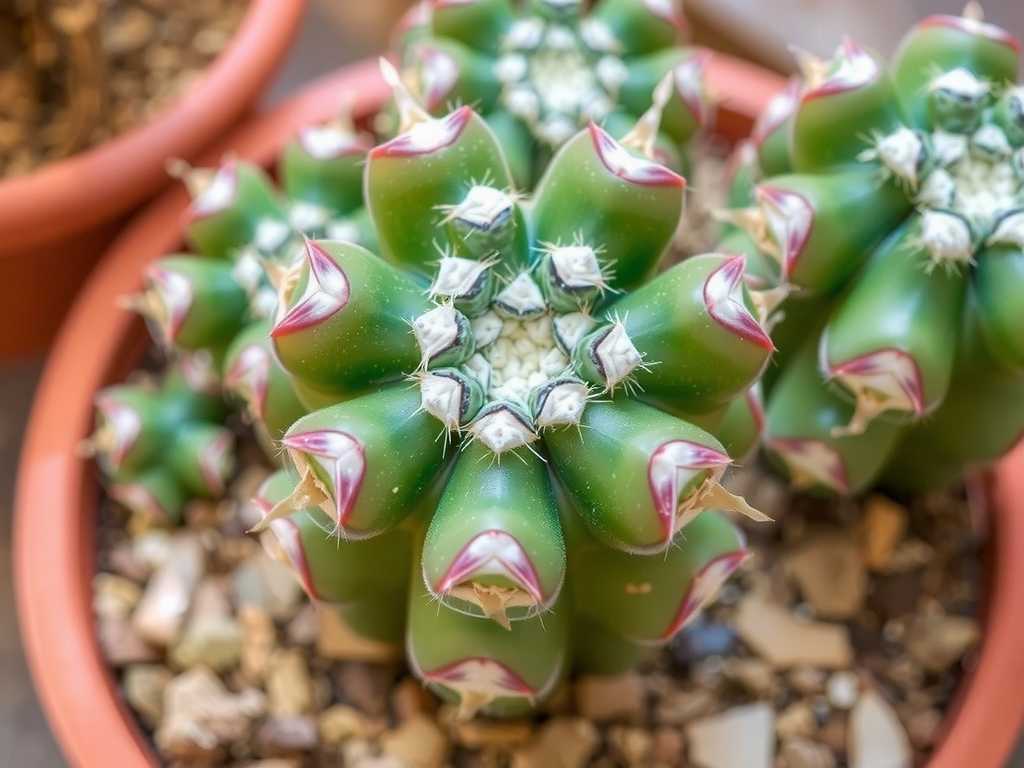
- Action Taken: I allowed the root ball to dry on a paper towel for a full day in bright, indirect light. Then, I carefully brushed away the old, peaty soil. Using sterile tweezers and scissors, I removed any blackened, mushy roots.
- The Right Soil Mix: Experts at the Arizona Cactus and Succulent Society (ACSS) emphasize drainage above all else. I mixed a gritty blend: 50% commercial cactus potting mix, 30% perlite, and 20% small-grain gravel. This ensures water flashes through, mimicking their natural arid environment.
- Pot Selection: I chose an unglazed terracotta pot only slightly wider than the root ball. Terracotta “breathes,” wicking away moisture. A deep pot holds wet soil longer; a shallow one is better. I ensured it had a large drainage hole.
Step 2: Mastering the Watering Rhythm
This is where I’ve failed most often. The “soak and dry” method is gospel, but for grafts, the “dry” part is longer.
- My Method: After repotting, I waited a full seven days before the first watering. This allowed any root damage to callus. I then placed the pot in a shallow dish of water for 15 minutes, allowing moisture to soak up from the bottom (bottom-watering). I immediately removed it and let it drain completely.
- The Finger Test is Law: I don’t water on a schedule. I insert my finger into the soil up to the second knuckle. If it’s completely dry, I wait another 2-3 days, then water. In my cool, indoor environment, this meant watering only once during the entire two-week observation period.
- The Result: By Day 10, the yellowish tinge on the rootstock began to recede, reverting to a healthier green. The slight shrivel on the scion plumped up noticeably. This was the first sign the lifeline was functioning.
Step 3: Providing Optimal Light and Temperature
Light fuels the rootstock. Insufficient light leads to etiolation—the rootstock stretching thin and weak—which directly starves the scion.
- My Setup: I placed the pot on a south-east facing windowsill where it received about 4-6 hours of direct morning sun, followed by bright indirect light. According to the Royal Horticultural Society (RHS), most cacti require high light levels to maintain compact, healthy growth.
- Avoiding Sunburn: If your plant came from low light, acclimate it slowly. I used a sheer curtain for the first few days to filter the strongest rays. A sudden move to full sun can scorch both the scion and rootstock.
- Temperature Consistency: Grafted cacti prefer stable, warm temperatures (70-80°F / 21-27°C). I kept it away from drafty windows and heating vents. A consistent environment prevents stress.
Step 4: The Long-Term Nutrition Plan
Fertilizing is minimal but crucial. The rootstock is doing double duty and needs support.
- What I Use: A balanced, water-soluble fertilizer diluted to 1/4 strength. A formula like 5-10-5 is often recommended.
- When I Apply: Only during the active growing season (spring and summer) and only after a thorough watering with plain water first. I fertilize at most once a month. In fall and winter, I stop completely. Over-fertilizing salts the soil and burns roots.
Common Pitfalls I Encountered and How I Fixed Them
- The Squishy Scion: Midway through Week 1, one side of the colorful top felt softer. Panic set in. I isolated the plant and reduced ambient humidity by moving it away from other plants. The softness was localized, not rot. I realized it was a scar from physical damage, not disease. I dusted it with cinnamon (a natural antifungal) and monitored. It callused over and firmed up by Day 12.
- The Wobbly Graft: The union point felt slightly loose. A firm graft union is non-negotiable. I used soft gardening tape to very gently provide external support, tying it to a small stake, ensuring not to constrict growth. This stabilized the joint while the plant recovered.
- Pest Alert: I noticed tiny white specks (mealybugs) at the base of the scion—a common issue. Using a cotton swab dipped in 70% isopropyl alcohol, I dabbed each bug. I repeated this every 3 days for a week. Early, manual intervention prevented an infestation.
Ensuring Long-Term Health and What to Expect
After the two-week rescue, the plant was stable. The rootstock was green and firm, the scion was plump and brightly colored, and new, healthy white root tips were visible at the drainage hole. The key takeaway? Grafted cactus care is about proactive neglect: providing intense light, infrequent but deep water, and then mostly leaving it alone.
Remember, the rootstock (Hylocereus) has a finite lifespan, typically several years. Eventually, it may decline or the scion may outgrow it. Advanced hobbyists then re-graft the scion onto a new rootstock. But for now, with proper care, you can enjoy this unique plant for a long time.
Why did my grafted cactus suddenly collapse? Sudden collapse is almost always due to root rot from overwatering or soil that retains too much moisture. The rootstock rots internally, cutting off all water to the scion, leading to a rapid, mushy demise. Immediate inspection of the roots and repotting into dry, gritty mix is the only chance, but prevention through perfect watering is key.
Can I plant my grafted cactus in regular garden soil? Absolutely not. Garden soil compacts, suffocates roots, and retains far too much water. It is a guaranteed death sentence for both the rootstock and the scion. They require a specialized, sharply draining succulent mix, as outlined above.
How much sunlight is truly enough for a grafted cactus to survive? They need a minimum of 4-6 hours of direct sunlight daily. Bright indirect light alone is insufficient in the long term. Without enough direct light, the rootstock will become weak, thin, and pale (etiolated), ultimately failing to support the scion. A south or east-facing window is ideal. If natural light is low, a strong grow light for 12-14 hours a day is a necessary substitute.
Caring for a grafted cactus is a rewarding lesson in precision. It teaches you to read the subtle signs—the firmness of the stem, the color of the rootstock, the weight of the pot. By understanding the dependent relationship between the scion and rootstock, and providing the stark conditions they both evolved to thrive in, you move from hoping for survival to ensuring vibrant, sustained growth. The vibrant colors are no longer a fleeting novelty, but a testament to your successful stewardship of this remarkable horticultural creation.





