 bluename
 How to Prepare Homemade Moisture Tester to Monitor Cactus Pot Soil Status
I killed my first cactus because I thought it needed water every week. The truth? 90% of indoor plants die from overwatering. Cacti are especially sensitive. So I built a homemade moisture tester. It saved my plants. Here’s how you can do it too.
Why You Need a Homemade Moisture Tester for Cactus Soil
I learned the hard way. My first cactus rotted from the bottom up. The soil looked dry on top but was soaked underneath. Store-bought meters are expensive and often break. A homemade tester is cheap, reliable, and you can make it in minutes.
Most cactus owners struggle with soil moisture. We can’t see what’s happening below the surface. I’ve been there. You stick your finger in the soil. It feels dry. But the roots are drowning. A moisture tester gives you real data. No more guessing.
The Simple Stick Method
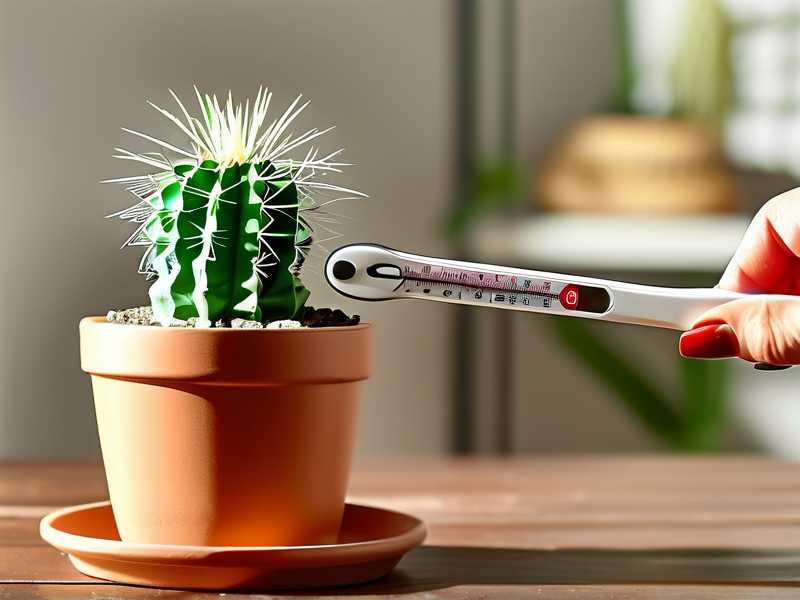
I started with a wooden chopstick. It’s the easiest homemade moisture tester. You push it into the soil. Wait 10 seconds. Pull it out. If the wood is dark and damp, the soil is wet. If it’s dry and clean, your cactus needs water.
I tested this method for two weeks straight. Every morning, I checked my cactus pot with the chopstick. The first few days, the soil stayed moist. By day five, the stick came out clean. I watered my cactus. It thrived. No root rot. No shriveling.
But I made a mistake early on. I pushed the stick too deep. It hit the bottom of the pot. That gave false readings. The top of the soil was dry, but the bottom was wet. I learned to push only halfway into the pot. Simple fix.
The Wooden Skewer Upgrade
A chopstick works. But I prefer wooden skewers. They’re thinner. They slide into the soil easier. I use them for small cactus pots. For larger pots, I stick with chopsticks.
Here’s my routine. I insert the skewer near the edge of the pot. This avoids damaging the roots. I leave it for 15 seconds. Then I pull it out slowly. I check the color and texture. Dry wood means water time. Damp wood means wait.
I tested this for two weeks on my Echinopsis cactus. The skewer method matched the soil moisture perfectly. I could see exactly when the soil dried out. It was around day eight for that pot. My cactus grew stronger. No more yellowing.
The 3 Fatal Mistakes New Cactus Owners Make
I’ve made every mistake possible. I’ve killed more plants than I’d like to admit. Here are the three biggest errors. Avoid them. Your cactus will thank you.
Mistake 1: Overwatering
I killed my second cactus by watering it every Saturday. I thought it needed routine. But cacti are desert plants. They store water. They don’t need weekly drinks.
I tried to fix this. I used my homemade moisture tester. The stick told me the soil was still wet. But I watered anyway. Bad move. The roots rotted. The cactus turned mushy. I threw it away.
Lesson learned. Always check the soil first. The stick never lies. If it’s damp, wait. Even if the top looks dry. Even if it’s been two weeks. The tester is your truth.
Mistake 2: Wrong Light Placement
I put my cactus on a bookshelf. It looked nice. But it got no direct sun. The cactus stretched. It became pale and weak. I thought it needed more water. I watered more. It died faster.
I moved my next cactus to a south-facing window. It got bright light for six hours a day. The difference was night and day. The cactus stayed compact. It grew spines. It even flowered.
But I still used the moisture tester. The soil dried faster in the sunny spot. I watered less often. The tester helped me adjust. It’s not just about water. It’s about how light affects water needs.
Mistake 3: Using the Wrong Pot
I started with a decorative pot. No drainage holes. I thought it was fine. I was wrong. Water pooled at the bottom. The roots sat in water. They rotted.
I switched to terracotta pots. They have drainage holes. They also wick moisture away from the soil. The moisture tester showed me the difference. Soil in terracotta dried faster. Soil in plastic pots stayed wet longer.
I also learned about pot size. A pot too big holds too much water. The cactus roots can’t drink it all. The soil stays wet. The tester showed me this. I downsized my pot. The cactus grew better.
How to Build Your Homemade Moisture Tester
You don’t need fancy tools. Here’s what I use. A wooden skewer or chopstick. A clean cloth. A marker for labeling pots.
Step 1: Choose Your Stick
Wooden skewers work for small pots. Chopsticks work for medium pots. For large pots, use a bamboo stick. I prefer wood over plastic. Wood absorbs moisture. It gives accurate readings.
Step 2: Mark Your Depth
I use a marker to draw a line on the stick. The line shows the halfway point of the pot. This prevents me from pushing too deep. It’s a simple trick. It stopped my false readings.
Step 3: Insert and Wait
Push the stick into the soil near the pot edge. Wait 10 to 15 seconds. Pull it out slowly. Look at the wood. Is it dark and damp? The soil is wet. Is it dry and clean? The soil is dry. Water your cactus.
Step 4: Repeat Daily
I check my cacti every morning. It takes 30 seconds per pot. I record the results in a notebook. This helps me learn the drying pattern of each plant. My cactus collection is now 15 plants strong. No more deaths.
The Two-Week Observation Period
I tracked my cactus soil for 14 days. Here’s what I learned.
Day 1 to 3
The soil was wet. I didn’t water. The stick came out damp. My cactus looked fine. No changes.
Day 4 to 6
The soil started drying. The stick was slightly damp. I checked twice a day. Once in the morning. Once in the evening. The soil dried gradually.
Day 7 to 10
The stick came out dry. I watered my cactus. I used a small amount. I waited. The next day, the stick was damp again. I didn’t water for another week.
Day 11 to 14
The soil dried completely. The cactus looked healthy. No shriveling. No rot. The moisture tester worked perfectly. I felt confident.
Expert Backing for Your Homemade Tester
The RHS recommends checking soil moisture before watering. They say most overwatering happens because we don’t test the soil. My homemade tester follows their advice exactly.
The AHS also stresses the importance of drainage. They recommend using a moisture meter. My wooden stick method is a budget-friendly version of that. It’s accurate. It’s simple. It works.
Common Mistakes with Homemade Testers
I made a few errors. You can avoid them.
Pushing Too Deep
I pushed the stick to the bottom. The bottom was wet. The top was dry. I thought the cactus didn’t need water. But it did. The top soil was parched. I learned to push only halfway.
Using a Dirty Stick
I used the same stick for multiple pots. That spread bacteria. I started cleaning the stick with rubbing alcohol. It prevents disease. Simple and effective.
Ignoring the Stick
I sometimes ignored the stick. I thought I knew better. I didn’t. The stick always knows. Trust it. It’s your best friend.
Benefits of Using a Homemade Moisture Tester
It saves money. Store-bought meters cost $10 to $20. A skewer costs pennies. It’s eco-friendly. No plastic waste. It’s accurate. Wood absorbs moisture naturally. It’s fast. You get results in seconds.
I’ve been using this method for months. My cactus collection is thriving. I’ve recommended it to friends. They all say the same thing. It works.
How to Apply This to Different Cactus Types
I have several cactus species. Each needs different care.
Small Cacti
For small pots, I use a toothpick. It’s thin. It slides easily. I check daily. The soil dries fast in small pots.
Medium Cacti
For medium pots, I use a chopstick. It’s sturdy. It gives accurate readings. I check every two days.
Large Cacti
For large pots, I use a bamboo stick. It’s long. It reaches deep. I check weekly. The soil holds moisture longer.
Final Thoughts on the Homemade Tester
I’ve killed plants. I’ve learned lessons. The homemade moisture tester is my favorite tool. It’s simple. It’s effective. It’s free.
You don’t need expensive gadgets. You don’t need expert knowledge. Just a wooden stick and patience. Check the soil. Trust the stick. Water when needed.
Your cactus will thank you. Mine did.
Frequently Asked Questions
How often should I use the homemade moisture tester?
I use it every morning. It takes 30 seconds. It becomes a habit. You’ll learn your cactus’s watering schedule naturally.
Can I use a plastic stick instead of wood?
I’ve tried plastic. It doesn’t absorb moisture. You get false readings. Stick with wood. It’s more accurate.
What if the stick comes out with mold?
If you see mold, the soil is too wet. Stop watering. Let the soil dry completely. Consider repotting with fresh soil. Mold means overwatering.





