bluename
 How to Prepare Cactus for Gradual Outdoor Transition in Early Spring
If you've ever watched a cactus you babied all winter turn into a sunburned, mushy mess two days after moving it outside, you're not alone. I killed my first two barrel cacti that exact way. The fix is what growers call "hardening off" — a slow, deliberate transition that usually takes about two weeks. Get it right, and your cactus starts spring with a huge head start. Rush it, and you'll spend the next month nursing scars.
Why a Gradual Transition Matters So Much
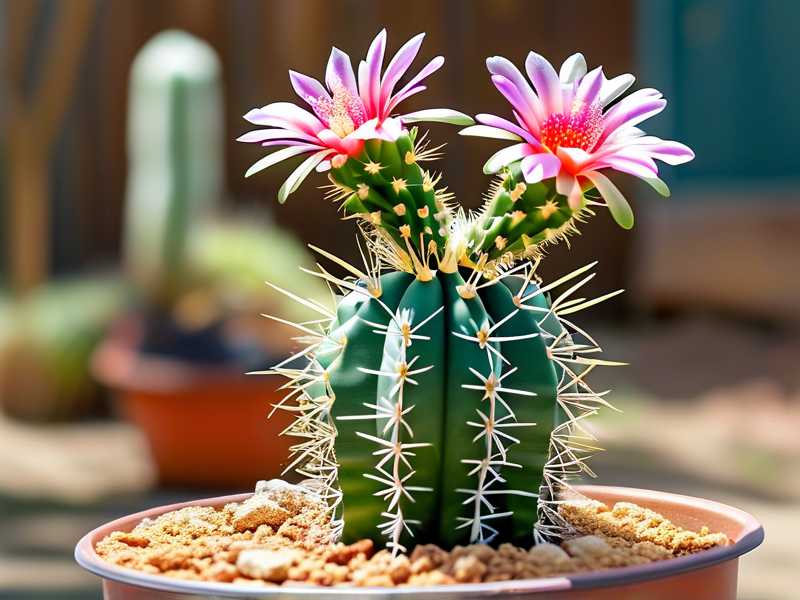
Indoor cacti live in a soft world. Steady temperatures. Filtered light through a window. No wind, no rain, no UV intensity worth mentioning.
Outdoor conditions in early spring hit them like a brick. Even a mild April afternoon can push light levels 10 to 20 times higher than a south-facing windowsill.
The plant's skin hasn't built up protective pigments yet. That's why you see pale, bleached patches or crispy brown spots just days after the move.
There's also a cold factor. Early spring nights still dip near freezing in most of the US, Canada, and the UK. A cactus that's been cozy at 68°F all winter can suffer chill damage well before an actual frost.
So the goal is simple: toughen the plant up in small doses. Give it time to thicken its cuticle, adjust its stomata, and build UV tolerance.
When to Start Hardening Off Your Cactus
Timing depends on where you live, but the rule I follow is this: start when daytime highs are reliably above 50°F and nighttime lows stay above 40°F.
For most of the US and southern Canada, that's mid to late March. In the UK, I'd wait until early to mid April. Australia flips the calendar — if you're in a temperate zone there, think September.
One more thing: check your last expected frost date. I use the local extension service data, and the RHS also has solid guidance on frost timing for UK gardeners. If a late freeze is still possible, don't start yet. A single night at 30°F can undo two weeks of progress.
The Two-Week Hardening Off Schedule I Actually Use
This is the exact routine I've settled on after a lot of trial and error. It assumes you're moving plants in and out, or using a sheltered spot like a covered porch.
Days 1 to 3: One Hour of Shade
Put the cactus outside in full shade — under a tree, on a north-facing porch, or behind a wall. One hour only.
I set a phone timer. Seriously. It's easy to forget a plant sitting on the patio.
Bring it back inside afterward. If the plant looks slightly dull the next morning, that's normal — it's adjusting.
Days 4 to 6: Two to Three Hours, Morning Sun Only
Now shift to a spot that gets early morning sun but is shaded by 10 or 11 a.m. Morning light is gentler, and the plant handles it far better than afternoon sun.
I usually aim for east-facing exposure here.
Two to three hours is plenty. If you see any pink or reddish tint on the skin, that's actually a good sign — it means the plant is producing protective pigments.
Days 7 to 9: Four to Five Hours, Morning Plus Late Afternoon
Extend the time. Add a bit of late afternoon light if you can.
Avoid the brutal 11 a.m. to 3 p.m. window for now. That's when UV peaks, and even hardened cacti can scorch.
I check the soil at this stage too. Outdoor air dries pots out faster than indoor air, so you may need to water slightly more often.
Days 10 to 12: Six to Seven Hours, Mostly Full Sun
By now the plant should look normal — no bleaching, no soft spots. Move it into a spot that gets six to seven hours of direct sun.
I still pull it back under cover if a cold night is forecast. It's not fully acclimated yet.
Days 13 to 14: Full Outdoor Exposure
Leave it out overnight for the first time. Check the low temperature first. If it's above 45°F, you're fine.
After two full days and nights outside with no damage, the cactus is officially hardened off. You can pot it into its summer spot or leave it where it is.
What I Noticed Over Two Weeks
I tracked one of my golden barrel cacti through this exact schedule last spring. Here's what changed.
Day 1: Slight dulling of the green. Nothing alarming.
Day 4: A faint pink ring appeared around the top. Normal UV response.
Day 7: Pink faded, green deepened. Skin felt firmer to the touch.
Day 10: New growth was visibly plumping up at the crown.
Day 14: Fully outdoor-ready. No scars, no sunburn, no transplant shock.
Compare that to a mammillaria I rushed outside in one afternoon three years ago. It took four months to recover from the burns, and it never looked quite the same.
The Three Mistakes That Kill Most Cacti in Spring
I've made all of these. Learn from my pain.
Mistake 1: Watering Like It's Summer
Here's a number every cactus owner should memorize: 90% of indoor plants die from overwatering. For cacti, that figure is honestly even higher during the spring transition.
The plant isn't actively growing yet. Its roots are barely drinking. If you soak the pot the day you move it outside, you're basically inviting rot.
Water lightly the day before you start hardening off. Then leave it alone for at least a week.
Mistake 2: Assuming "Full Sun" Means Full Sun
"Full sun" on a plant tag does not mean "throw it into the brightest spot on day one." That's a marketing phrase, not a graduation certificate.
A cactus that's been indoors all winter has the equivalent of office-worker skin. It needs time in the shade before it can handle a UV index of 8.
I've seen people put a $60 trichocereus in direct afternoon sun and lose it in 48 hours. Don't be that person.
Mistake 3: Using the Wrong Pot for the Move
If your cactus is in a glazed ceramic or plastic pot, it holds moisture longer. That's risky during the transition because outdoor temperatures swing and roots sit wet.
Terracotta is your friend here. It breathes. It wicks moisture. It dries out faster, which is exactly what you want in early spring.
I switched all my transition pots to unglazed terracotta last year and haven't lost a single plant since.
Soil, Pots, and Repotting During the Transition
Should you repot during hardening off? Usually no. Wait until the two weeks are done.
Moving a plant and repotting it at the same time stacks two stresses on top of each other. The cactus will stall.
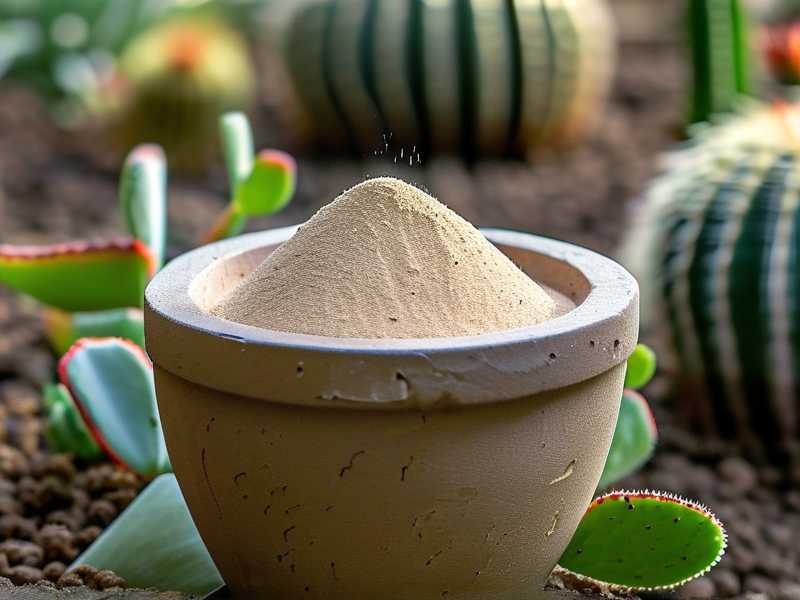
Once hardening off is complete, that's a good window to repot if needed. Use a mix that drains fast: roughly 50% pumice or perlite, 30% coarse sand, 20% potting soil. Some growers add a handful of worm castings. I do, and it works well.
Choose a pot only slightly wider than the root ball. Cacti hate swimming in wet soil.
Watering Rules During and After the Transition
Think of early spring as a re-entry period. Less is more.
Water lightly the day before hardening off starts. Then skip water for the first week outdoors.
In week two, water once — and only if the soil is bone dry two inches down.
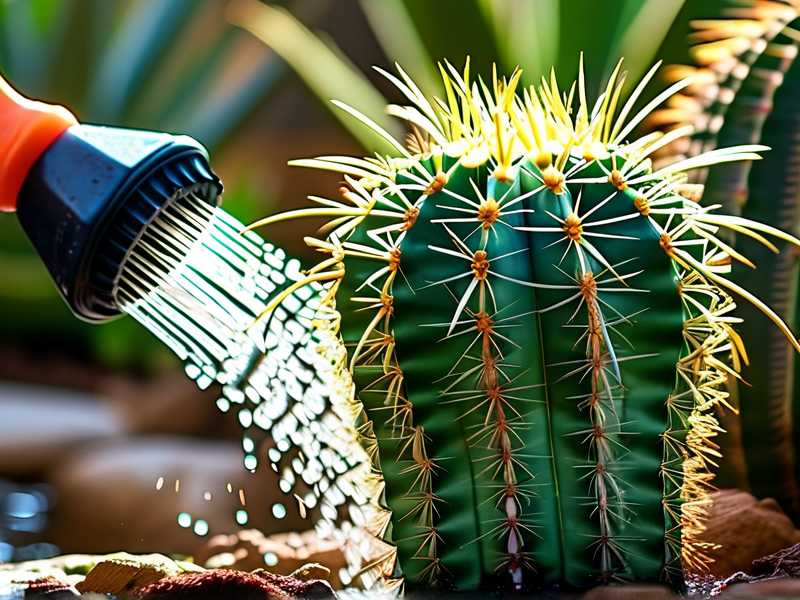
Once fully outdoors and actively growing, shift to a soak-and-dry pattern. Soak the pot until water runs out the bottom. Then wait until the soil is completely dry before watering again.
Never leave the pot sitting in a saucer of water. That's how root rot starts.
Fertilizing: Wait, Then Go Light
Don't fertilize during the two-week transition. The plant isn't growing fast enough to use it, and salts can build up in dry soil.
After hardening off, wait another week. Then feed with a diluted cactus fertilizer — half strength. I use a 2-7-7 ratio, which is low nitrogen and supports root and flower development.
The AHS recommends feeding cacti only during active growth, which for most species means late spring through summer. That aligns with what I've seen.
Avoid fertilizing if the plant looks stressed, if temperatures are below 60°F, or if the soil is dry. Fertilizer on dry roots burns them.
Spring Care After the Transition
Once your cactus is outdoors and stable, spring growth kicks in fast.
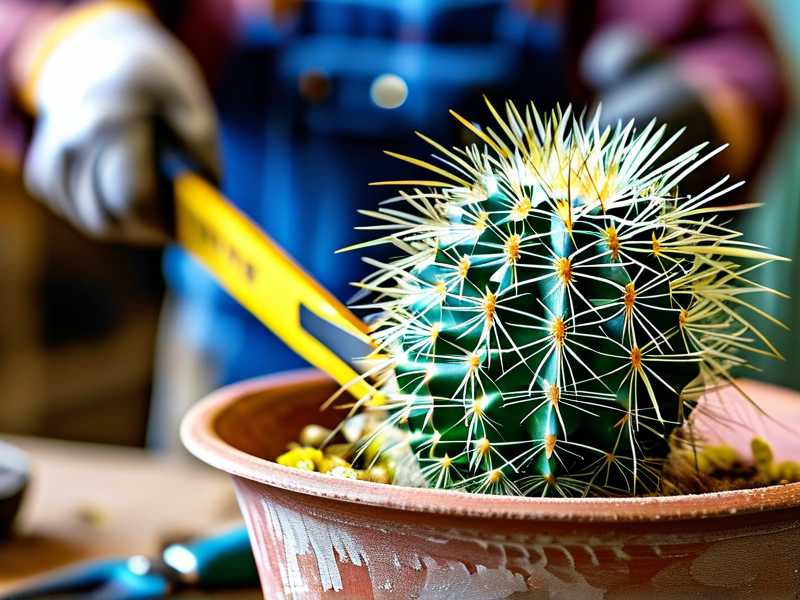
Trim any dead or shriveled tips with clean shears. Don't cut into healthy green tissue.
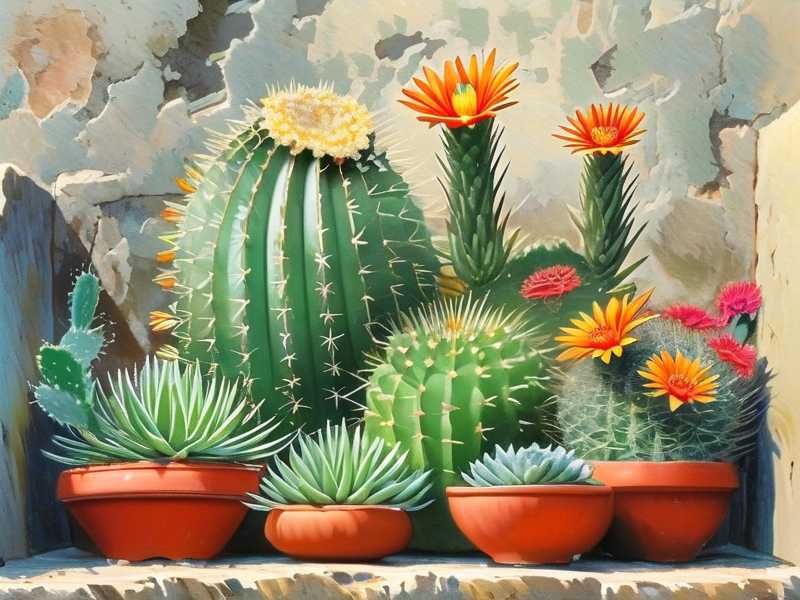
Check for pests — mealybugs and scale love the spring warm-up. I wipe them off with a cotton swab dipped in rubbing alcohol.
If the plant is root-bound, repot now using the mix and pot guidelines above.
Start light watering and hold off on heavy feeding until you see new growth.
A Quick Word on Summer, Fall, and Winter
Summer is about sun management and airflow. Some cacti need 30% shade cloth in July and August. Water in the early morning. Watch for spider mites in hot, dry weather.
Fall is when you taper. Reduce water, stop fertilizing by mid-September, and let the plant slow down naturally.
Winter is dormancy. Keep the cactus cool — ideally 45 to 55°F — and water only once every four to six weeks. No fertilizer at all. If you can't provide cool temps, at least cut water drastically.
Common Problems and What They Mean
Yellowing at the base usually signals overwatering. Stop watering and let the soil dry completely.
Brown, crispy patches on the sunny side are sunburn. Move to shade and let new growth cover the damage.
Soft, mushy spots anywhere mean rot. Cut away the affected tissue with a sterilized knife and let the wound callous.
White cottony fuzz is mealybugs. Treat with alcohol or insecticidal soap.
Shriveled but firm skin often just means the plant is thirsty. Water lightly and check again in a few days.
Frequently Asked Questions
Can I skip hardening off if my cactus is already outdoors?
No. Unless it's been outside continuously through winter, it still needs a transition. Even a plant that spent fall outdoors loses some tolerance during indoor months.
What if it rains during the two-week period?
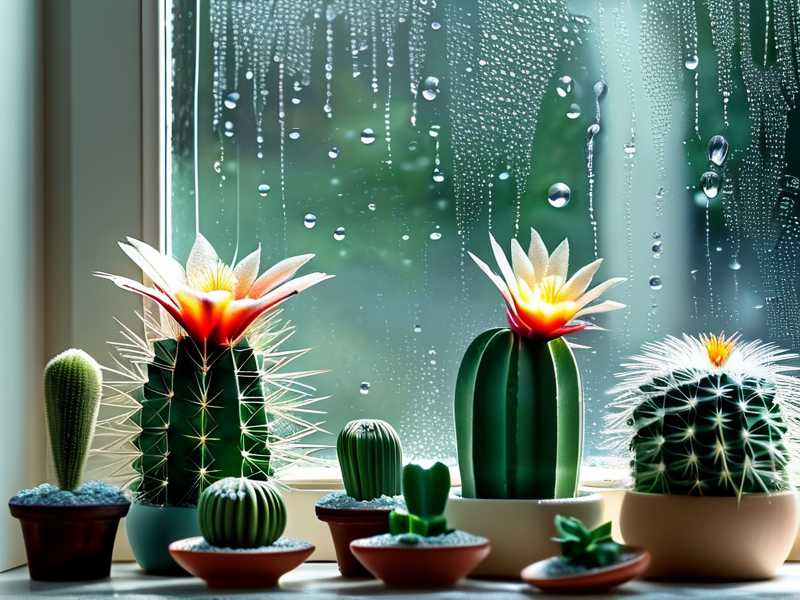
Move the cactus under cover. Rain plus cool spring temperatures is a rot risk. If you can't move it, make sure the pot drains freely and skip your next scheduled watering.
How do I know the transition is complete?
No sunburn, no soft spots, and the plant stays outside overnight without stress. Two full days and nights outdoors with stable appearance means you're done.
Wrapping It Up
Hardening off a cactus isn't complicated, but it does require patience. Two weeks of small steps saves you months of damage control. Start with shade, build up sun slowly, water sparingly, and resist the urge to rush. Your cactus will thank you with steady growth all summer.