bluename
How to Treat Bacterial Rot Starting at the Base of Potted Cactus Plants
That soft, dark, mushy patch right at the soil line of your cactus? I've been there. More than once, honestly. If you're reading this, you've probably spotted the same thing and your stomach just dropped a little. Here's the straight answer: bacterial rot at the base of a potted cactus is treated by cutting away all infected tissue with a sterilized blade, letting the wound callus in open air, and repotting into fresh, fast-draining mix in a clean pot. You also need to stop watering immediately and fix whatever caused the moisture to sit there in the first place. I've saved cacti this way, and I've also lost a few by waiting too long. The difference almost always comes down to how fast you act.
Cacti are those spiky, architectural plants that make a sunny windowsill look like a tiny desert. They're generally low-maintenance, which is why so many of us bring them home. But "low-maintenance" doesn't mean "ignore it forever." The moment water sits against the base of the plant, bacteria and fungi get to work. And cactus rot moves faster than most people expect.
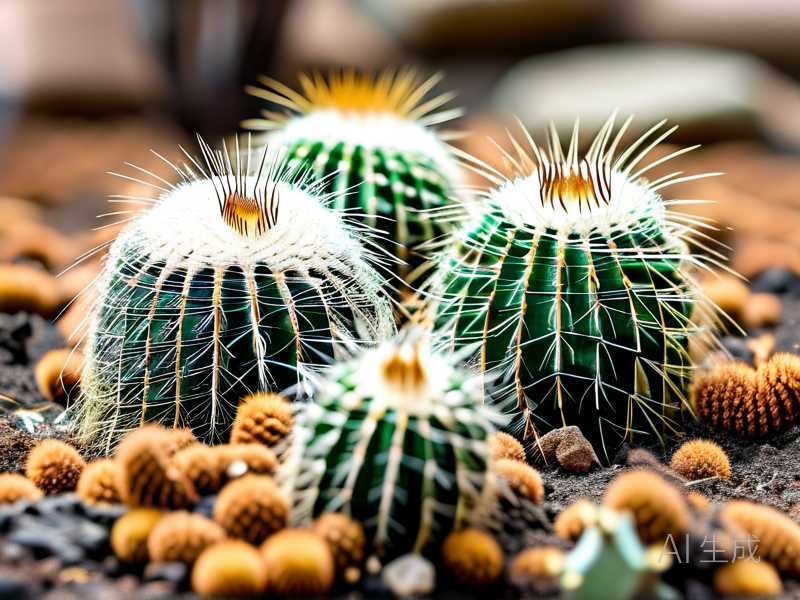
I've killed my fair share of cacti learning this. The first one I lost was a little golden barrel that I watered "just a little" every few days because it looked dry on top. Spoiler: the soil underneath was soaked. By the time I noticed the base going soft and discolored, it was already too late. That was the plant that taught me the hard way. I'm hoping this guide saves you from that same lesson.
Why Bacterial Rot Attacks the Base of Potted Cacti
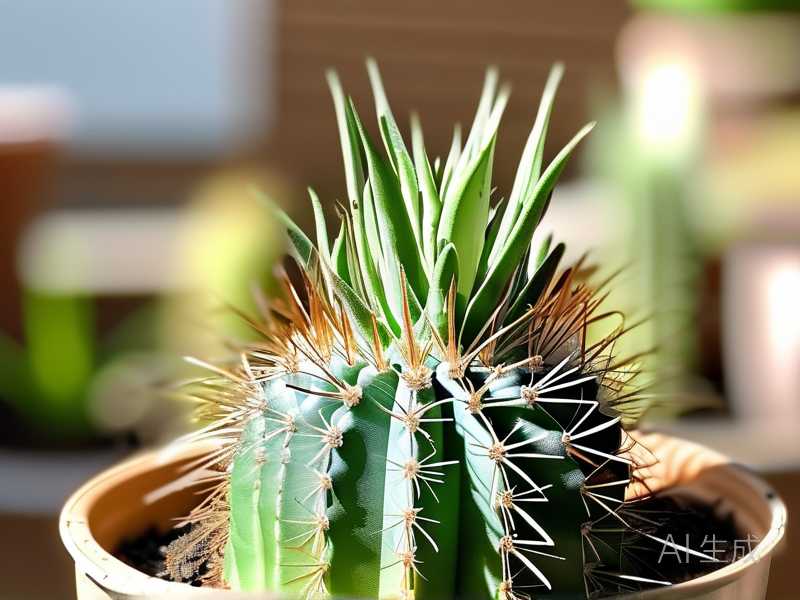
Bacterial rot usually starts where moisture lingers longest. In a pot, that's the base of the plant right at the soil line. Water pools there, airflow is poor, and the tissue stays damp. Bacteria like Erwinia and various soft-rot organisms thrive in exactly those conditions.
It's not just about overwatering, either. I've seen rot start after a humid stretch with no fans running. I've seen it happen when someone topped off the soil right up against the plant body. And I've seen it in pots with no drainage hole, which is a recipe for disaster no matter how careful you are.
According to the RHS, good drainage and airflow are the two biggest factors in preventing base rot in container-grown succulents. The AHS makes a similar point: cacti in containers are far more vulnerable to moisture-related disease than those in the ground, simply because water has nowhere to go in a pot.
Spotting the Problem Early (This Part Matters Most)
The earlier you catch it, the better your odds. Here's what I look for now, every time I water:
- Soft, mushy tissue at the base. Gently press with a clean finger. Healthy cactus flesh is firm. If it gives, that's a red flag.
- Discoloration. Brown, black, or yellowish translucent patches spreading upward from the soil line.
- A bad smell. Bacterial rot has a distinct sour, funky odor. Once you smell it, you won't forget it.
- Shriveled or collapsing base. If the plant looks like it's sinking into itself, the internal tissue is already breaking down.
- Yellowing that starts low and moves up. Not all yellowing is rot, but yellowing combined with softness usually is.
I check the base of my cacti every couple of weeks, especially in humid months. It takes ten seconds and it's saved me twice now.
Step-by-Step: How I Treat Base Rot (My Actual Process)
This is the exact sequence I follow. I've refined it over several years and a few too many lost plants.
Step 1: Isolate and Assess
Move the affected cactus away from your other plants immediately. Bacterial rot can spread through shared water, contaminated tools, or splash. I keep a small "quarantine shelf" away from my main collection for exactly this reason.
Then assess how far the rot has spread. If it's a small spot at the base, you have a good chance. If the entire base is mushy and the rot is climbing fast, you may need to take more drastic action, like cutting above the rot and rooting the top.
Step 2: Sterilize Your Tools
Use a sharp, clean knife or blade. I wipe mine down with rubbing alcohol before and between cuts. Don't skip this. Dirty tools push bacteria deeper into healthy tissue.
Step 3: Cut Away All Infected Tissue
This is the part that feels brutal, but you have to be ruthless. Cut into healthy, firm, clean-colored tissue. If you leave even a small pocket of rot behind, it will spread again. I slice in thin layers until I see nothing but healthy green or white flesh.
For a cactus with a small base infection, I've sometimes had to remove a good chunk of the lower body. It looks scary. The plant recovers better than you'd think.
Step 4: Let It Callus
Do not put the cut plant back in soil right away. Place it somewhere dry, out of direct sun, with good airflow. Let the wound callus over and dry out. This usually takes a few days to a week, depending on the size of the cut and the humidity.
I made the mistake once of skipping this step. I potted a freshly cut cactus straight back into moist soil. It rotted again within days. Lesson learned.
Step 5: Repot in Fresh, Sterile Mix
Throw away the old soil. It's contaminated. Use a fresh, gritty cactus mix. I use a blend of roughly 60% pumice or perlite, 30% coarse sand, and 10% organic matter. Some people use more organic matter, but I've found that cacti in my climate do better with a leaner, faster-draining mix.
Use a clean pot, ideally one size smaller than you think you need. A too-large pot holds too much moisture around the roots.
Step 6: Wait Before Watering
After repotting, don't water for at least a week. Longer is better. Let the plant settle and let any remaining wound heal. I know it's tempting to give it a drink. Resist.
Step 7: The 2-Week Observation Window
This is where I watch closely. For the first two weeks after treatment, I check the base every day or two. Here's what I observed during my own recent recovery case with a small Mammillaria:
- Days 1–3: The cut surface dried and formed a pale callus. No new softness.
- Days 4–7: The callus hardened further. The plant looked a bit deflated but stable.
- Days 8–10: I gave the first light watering, just enough to moisten the top inch of soil.
- Days 11–14: No new rot appeared. The base stayed firm. I noticed a tiny bit of new growth at the top by around day 12, which felt like a win.
That timeline is typical when you catch it early. If you're still seeing softness or spread after two weeks, the infection may not have been fully removed. You might need to cut again.
The Three Mistakes That Kill Most Cacti
Every cactus owner I know has made at least one of these. I've made all three. Let's name them plainly.
1. Watering Too Much
This is the big one. You've heard it before, and you'll hear it again: 90% of indoor plants die from overwatering. Cacti are not exempt. They may tolerate it longer than a fern, but they still die from it.
The problem usually isn't how often you water. It's how much and how long the soil stays wet. In my early cactus days, I watered a little every few days because the surface looked dry. The soil beneath was a swamp.
Now I water thoroughly and then let the soil dry completely. In summer, that might mean every 10–14 days. In winter, it might mean once a month or less.
2. Light in the Wrong Place
I've seen cacti placed in shady corners because someone thought they "like it dry and dim." They don't. Cacti need bright light, often direct sun for several hours a day, depending on the species.
But here's the flip side: a cactus that's been in lower light and then suddenly gets blasted with direct afternoon sun can scorch. I've burned a few that way. Acclimate gradually. A week or two of morning sun only, then increasing exposure.
Weak, stretched-out growth from too little light is another sign of trouble. A cactus that's stretching and pale is more vulnerable to rot because its tissue is less sturdy.
3. The Wrong Pot
I cringe thinking about the first cactus pot I ever used. It was a glazed ceramic pot with no drainage hole and a saucer glued on. I loved how it looked. The plant was doomed.
Now I use unglazed terracotta or pots with generous drainage holes. I also size up carefully. A pot that's too big holds moisture that the small root system can't use. A pot that's too small can crowd the roots, but honestly, I'd rather slightly underpott than overpot with cacti.
Watering: The Full Picture
Let's dig into watering because it's the root of most problems. Pun intended.
The core principle is simple: water thoroughly, then let it dry completely before watering again. For most cacti in typical home conditions, that means letting the top half to two-thirds of the soil dry out. In winter, let it dry almost entirely.
How do you know when to water? I use the pot weight method. Lift the pot right after watering. It's heavy. Lift it a week later. When it feels light, it's probably time. I also use a wooden skewer pushed into the soil, like testing a cake. If it comes out dry, I water.
Water deeply enough that water runs out the drainage holes. This flushes salts and ensures the entire root zone gets moisture. Shallow, frequent watering is the worst pattern for cacti.
In winter, reduce watering drastically. Many cacti are dormant and barely use water. I've gone six weeks without watering in cold months, and my plants were fine. I'd rather they wrinkle slightly than rot.
Soil, Pots, and Repotting
The right soil makes watering mistakes less catastrophic. I've experimented with a lot of mixes. My go-to for cacti is a gritty, fast-draining blend. Garden center "cactus soil" can work, but I usually add extra perlite or pumice to improve drainage.
Repot every two to three years, or when the plant outgrows its pot. Spring is the best time. I use a pot with drainage holes, never glazed ceramic without drainage. Terracotta is my favorite because it breathes.
When repotting, handle the cactus with thick gloves or a folded newspaper. Knock off the old soil gently, inspect the roots, and trim any dead or mushy ones before potting in fresh mix. Don't water for a week after repotting.
Fertilizing (Less Is More)
Cacti don't need much fertilizer. I feed with a diluted cactus fertilizer once a month during active growth, usually from spring through midsummer. I use half the recommended strength. Overfertilizing causes soft, weak growth that's more prone to rot.
Never fertilize a sick plant, a newly repotted plant, or a dormant plant. And don't fertilize in winter. I've made that mistake. The plant can't use the nutrients, and they build up in the soil.
Seasonal Care That Prevents Rot
Cacti have different needs through the year. Matching your care to the season is one of the best rot prevention strategies.
Spring: Wake-Up Time
Spring is when growth resumes. Clean up the plant, remove dead bits, and check the base for any softness. It's the ideal time to repot and to begin watering more regularly. I start with a light watering, then increase as growth picks up. I also fertilize for the first time in early spring.
Trim any damaged or clearly rotting bits now, before the heat sets in. And acclimate your cactus to stronger sun gradually if it's been indoors through winter.
Summer: Sun, Heat, and Vigilance
Summer is growth season, but it's also when rot can sneak in if you're not careful. Watch for scorching if you move plants outside. Keep pots elevated so water drains freely. I check my cacti weekly in summer, especially during humid spells.
If your area gets hot, humid summers like mine, ventilation matters. I keep a small fan running near my indoor plants during muggy stretches. It sounds fussy, but I noticed a clear drop in rot problems after I started doing it.
Fall: Wind-Down
As growth slows, I cut back on watering and stop fertilizing by mid-fall. I inspect the plants one more time and adjust their positions for lower light levels. I also bring outdoor cacti in before the first cold snap.
Any damaged tissue gets cleaned up now so it doesn't become an overwintering problem.
Winter: Rest and Protection
Winter is dormancy for most cacti. Keep them cool but above freezing, water very sparingly, and don't fertilize at all. I check the base once a month and keep my plants near a bright window but away from drafts.
Overwintering indoors in a dry, cool spot is key. If your home gets very warm in winter, the plant may not go fully dormant, and it'll want more light than winter provides indoors.
Common Problems and How I Handle Them
Beyond bacterial rot, here are the issues I've dealt with most often:
- Yellowing: Usually overwatering or poor drainage. Check the soil and the base first.
- Shriveling: Often underwatering, but can also be root loss from past overwatering. Check the roots before assuming it's thirsty.
- Stretched growth: Not enough light. Move it gradually into brighter conditions.
- Pests: Mealybugs and scale are common. I wipe them with alcohol on a swab and keep the plant isolated until clean.
The base inspection habit is what keeps me ahead of most problems. A ten-second check every couple of weeks has saved me more plants than any single product ever has.
Three Questions I Get Asked Most
How often should I water a cactus in regular potting soil?
Probably less often than you think. In standard potting soil, cactus roots can stay wet for weeks. That's why I recommend repotting into a gritty mix. If you're stuck with regular soil for now, water only when the soil is dry several inches down.
Can I save a cactus that's soft at the very bottom?
Sometimes. If you cut above the rot and the healthy tissue is firm, you can callus it and reroot it. If the rot runs through the whole base, the plant is usually past saving. Acting fast is everything.
Is bacterial rot contagious to my other cacti?
Yes, through shared water, dirty tools, and contact. Isolate the affected plant and sanitize everything. I cannot stress this enough. It is worth keeping a dedicated pair of gloves and a separate watering can for sick plants.
If you take one thing from this, let it be this: look at the base of your cactus every two weeks. That tiny habit is the simplest way to catch bacterial rot before it becomes a plant funeral. I wish someone had told me that years ago, back when I was watering my first barrel cactus every three days and wondering why it kept looking sad.