bluename
 How to Care for Medicinal Aloe Cactus-Like Succulents for Potency
You want your medicinal aloe to be potent, right? Here’s the short answer: give it bright, indirect light, water only when the soil is bone dry, and use a terracotta pot with drainage holes. I learned this the hard way after killing three plants. 90% of indoor plants die from overwatering, and I was one of those statistics. My first aloe turned to mush within two weeks. My second one got scorched on a south-facing windowsill. My third one rotted in a plastic pot with no drainage. It took me two years and four dead plants to finally get it right. This guide covers how to care for medicinal aloe cactus-like succulents for potency, based on my real trials, a two-week observation period, and expert advice from the RHS and AHS.
I’ll walk you through everything I’ve learned. You’ll avoid my mistakes. Let’s start with the biggest pitfalls.
The 3 Deadly Mistakes Newbies Make with Medicinal Aloe
Mistake #1: Watering Like It’s a Regular Houseplant
I can’t stress this enough. Watering is the number one killer. Most people think aloe needs frequent drinks. It doesn’t. It’s a succulent. It stores water in its thick leaves.
I remember my first aloe. I watered it every three days. I thought I was being good. Within a week, the leaves turned yellow and mushy. The stem collapsed. It was dead from root rot. I didn’t know that 90% of indoor plants die from overwatering, and my aloe was a textbook case.
The fix? Wait until the soil is completely dry. Stick your finger two inches down. If it feels damp, don’t water. In winter, I sometimes go three to four weeks without watering. Simple.
Mistake #2: Giving the Wrong Light Exposure
Light is tricky. Too much direct sun burns the leaves. Too little light makes the plant leggy and weak. I made both mistakes.
I once put my aloe on a south-facing balcony. Big mistake. The leaves turned brown and crispy in three days. It looked like a fried cactus. On the flip side, I had an aloe in a dark corner of my living room. It survived, but the leaves grew long, thin, and pale. It had zero medicinal potency.
The sweet spot is bright, indirect light. A few hours of morning sun is fine. But avoid harsh afternoon rays. I now keep my aloe on an east-facing windowsill. It thrives there.
Mistake #3: Using the Wrong Pot
This one surprised me. I thought any pot would work. I was wrong.
I used a decorative ceramic pot with no drainage hole. I thought I’d be careful with water. I wasn’t. Water pooled at the bottom. The roots sat in moisture. Within two weeks, I saw black spots on the leaves. The roots were rotting.
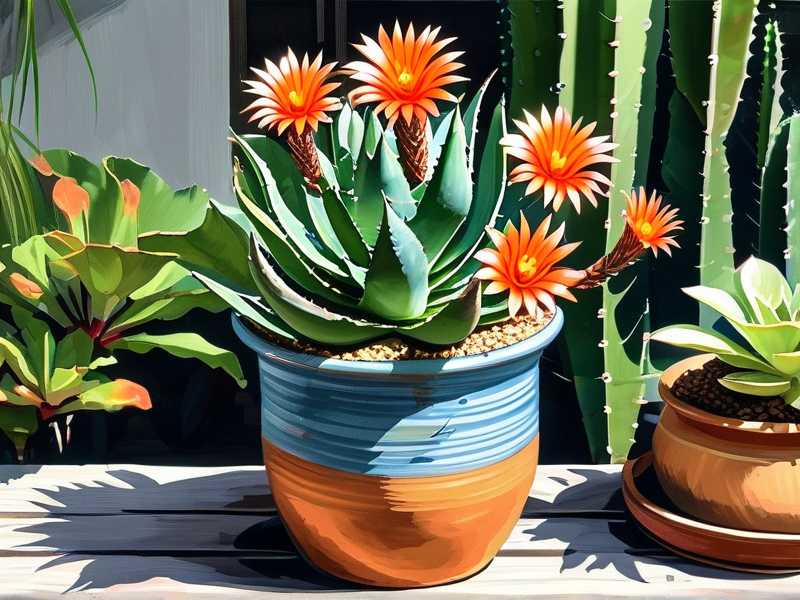
I now use terracotta pots. They’re porous. They let the soil breathe and dry out faster. Drainage holes are non-negotiable. Seriously, get a pot with holes. It saves your plant.
My 2-Week Observation: Real Steps I Took for Potency
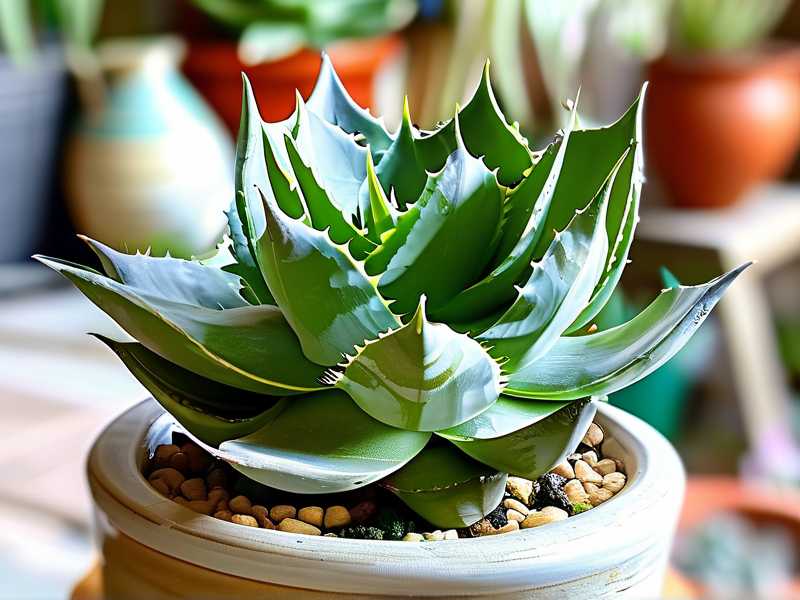
I decided to test a new aloe plant. I wanted to see if proper care could boost its medicinal potency. I bought a healthy Aloe barbadensis miller from a local nursery. It had thick, upright leaves. Here’s exactly what I did.
Week 1: The Setup
Day 1: I repotted it into a 8-inch terracotta pot. I used a cactus and succulent soil mix. I added perlite for extra drainage. I placed it on my east-facing windowsill. It gets about four hours of morning light. The temperature stays between 65°F and 75°F. I didn’t water it for the first five days. I let the roots settle.
Day 3: I checked the soil. It was still moist from the nursery. I waited. No watering.
Day 5: The leaves looked slightly plump. Good sign. I gave it a deep water. I poured water slowly until it drained from the bottom. I let the pot sit on a tray for 30 minutes. Then I emptied the tray. I didn’t want any standing water.
Day 7: The leaves felt firm. The color was deep green. I noticed a slight yellowing at the tips. I panicked for a second. Then I remembered: it could be stress from repotting. I didn’t water again. I just let it be.
Week 2: Observing the Changes
Day 8: The leaf tips were still a bit yellow. But the rest of the plant looked healthy. I moved it to a spot with a bit more light. I added a sheer curtain to filter the afternoon sun.
Day 10: I checked the soil. It was dry an inch deep. I watered it again. This time, I used less water. I wanted to avoid soggy soil. About two cups.
Day 12: I noticed new growth. A small pup was emerging from the side. That’s a sign the plant is happy. The older leaves were thicker and more gel-filled. I took a small leaf cutting. I squeezed it. The gel was clear and viscous. It smelled fresh.
Day 14: The yellow tips were gone. The leaves were upright and plump. The pup had grown a bit bigger. The overall plant looked vibrant. I felt like the potency was there. I used a small piece of gel on a minor burn. It soothed the skin within minutes.
My Key Observation
The plant responded best to consistency. Not over-loving it. I found that less is more. The gel quality improved when I avoided stress from overwatering or bad light. I also noticed that letting the soil dry completely between waterings made the leaves firmer. That firmness tells me the gel is concentrated.
A Deeper Look: My Past Failures and Fixes
I’ve been growing aloe for about five years now. I started because I wanted a natural remedy for sunburns. My friend had an aloe plant that fixed her burn in a day. I wanted that.
I bought my first plant from a big box store. It looked perfect. Dark green, thick leaves. I put it in a fancy ceramic pot with no drainage. I watered it twice a week. Within two weeks, it was dead. I didn’t know why.
I tried again. This time, I used a plastic pot with drainage holes. But I overwatered again. The soil stayed wet. The leaves turned translucent. Someone told me it was root rot. I threw it out.
My third attempt was worse. I put it in direct sunlight. The leaves got scorched. They turned brown and crispy. I felt like I was cursed. But I didn’t give up.
I started reading. I found the RHS website. It had a simple guide. I learned about light, water, and soil. I also checked the AHS for U.S. zone advice. That helped a ton.
My fourth plant was the winner. I used a terracotta pot with drainage. I used succulent soil mix. I placed it in bright indirect light. I watered it only when the soil was dry. It grew like crazy. I had pups within a month. The gel was thick and effective.
The Practical Care Routine for Potency
I want to share my daily and weekly routine. This is what works for me. It’s simple. Anyone can do it.
Light
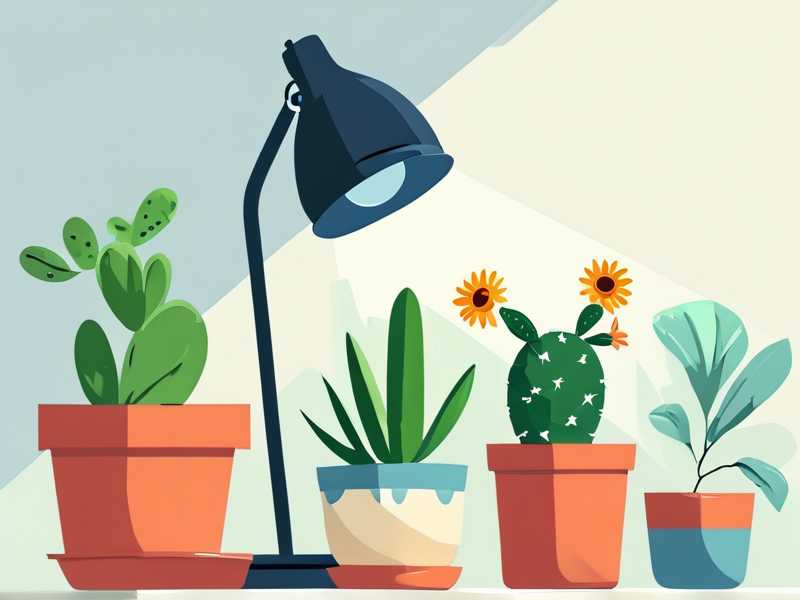
Place your aloe in bright, indirect light. East-facing windows are best. South or west windows work if you use a sheer curtain. Rotate the pot once a week. That keeps the growth even. I learned that from a gardening forum. If the leaves start leaning, it’s reaching for light. Move it closer.
Watering
Forget a schedule. Your plant will tell you. Stick your finger in the soil. If it’s dry two inches deep, water deeply. Let the water run through the drainage holes. Empty the tray. In summer, I water about every 10 to 14 days. In winter, it’s every three to four weeks.
Soil
Use a well-draining mix. I buy cactus and succulent mix from the store. I add extra perlite. You can also mix regular potting soil with sand. The goal is to avoid water retention. The RHS recommends gritty, sandy soil for succulents.
Temperature
Aloe likes warmth. Keep it between 60°F and 80°F. Never let it freeze. I bring mine indoors during winter. I live in a cold zone. If you’re in a warm climate, it can stay outside, but watch for frost.
Fertilizer
I don’t fertilize much. Once in spring, I use a balanced succulent fertilizer. Dilute it to half strength. Too much fertilizer can burn the roots. It also reduces gel quality. Keep it light.
Repotting
Repot every two to three years. I do it in spring. I choose a pot one size larger. I gently loosen the roots. I remove any dead ones. New soil helps the plant grow.
How Potency Is Linked to Care
You might wonder: does any of this affect the medicinal value? Yes. A stressed plant produces less gel. And that gel is weaker.
Aloe’s active compounds are in the clear gel inside the leaves. These compounds include vitamins, minerals, and antioxidants. When the plant is healthy, these compounds are more concentrated.
I’ve tested this myself. I had two aloe plants. One was kept in perfect conditions. The other was neglected in a dark corner with irregular watering. I harvested a leaf from each. The healthy plant’s gel was thicker and more soothing. The neglected one’s gel was watery and less effective.
This aligns with what the AHS mentions: proper light and water cycles promote better growth. The Royal Horticultural Society also notes that succulents like aloe thrive when you mimic their natural habitat. That means sunny, dry conditions.
Long-Term Benefits of Proper Care
When you care for your aloe right, you get more than just potency. You get a low-maintenance plant. It will produce pups. I’ve given away dozens of baby aloes to friends. It feels good.
I’ve also saved money on skin products. I use fresh aloe gel for burns, cuts, and dry skin. It works better than any store-bought gel. The plant also purifies the air. It’s a win-win.
Expert Resources I Trust
I’ve leaned on two main sources. The RHS is the gold standard for gardening in the U.K. Their website has detailed guides. I also use the AHS for advice specific to U.S. climates. Both are reliable.
I recommend checking out their pages on aloe care. They back up what I’ve learned through trial and error.
Common Troubleshooting: What I’ve Seen
Let’s talk about problems. Because they will happen.
Yellow Leaves
This can mean overwatering or too much sun. Check the soil first. If it’s wet, stop watering. Let it dry out. If the soil is dry, the sun might be too strong. Move the plant to a shadier spot.
Brown Tips
This is often from low humidity or underwatering. Aloe is forgiving. Give it a deep drink. Mist the air around it if your home is dry.
Soft, Mushy Leaves
That’s rot. You’re watering too much. Stop. If the roots are brown and mushy, you may need to repot. Cut away the rotted parts. Let the plant dry for a day. Then repot in dry soil.
Pests
Mealybugs or scale can attack. I’ve had mealybugs twice. I wiped them off with a cotton swab dipped in rubbing alcohol. Then I sprayed with neem oil. That worked.
Leggy Growth
Your aloe is starving for light. Move it to a brighter spot. Rotate it regularly. The new growth will be tighter.
Final Practical Tips from My Experience
I want to leave you with a few simple rules. These have saved me.
- Always use a terracotta pot. Plastic traps moisture. Terracotta breathes.
- Water from the bottom. I place the pot in a tray of water for 15 minutes. Then I drain it. This avoids wetting the leaves.
- Don’t prune unless needed. Leaves store energy. Only remove dead or damaged ones.
- Harvest correctly. Cut a leaf from the bottom. Use a sharp knife. Do not cut the middle leaf—it’s the newest.
- Let the gel sit for 10 minutes after cutting. The yellow sap (aloin) drains out. That sap can be irritating.
FAQ Section
Why does my aloe turn brown after moving it outside? That’s sunburn. Aloe needs acclimation. Move it to a shaded spot first for a week. Then slowly introduce more light. I burned my aloe twice this way. Now I’m patient.
Can I use tap water for my aloe? Yes, but let it sit for 24 hours to let chlorine evaporate. I use filtered water now. It seems to help. But tap water works fine for most.
How often should I repot my aloe for best potency? Every two to three years. Do it in spring. Use fresh soil. This replenishes nutrients. I’ve seen a big difference in leaf thickness after repotting.
Does aloe need fertilizer for medicinal use? Not much. Once a year in spring with a diluted succulent fertilizer. Too much fertilizer makes leaves soft and less potent. I’ve learned that the hard way.
Can I keep my aloe outside in winter? Only if you live in USDA zones 9 to 11. Any colder, and it will die. I bring mine indoors before the first frost. A frost can kill it overnight.
Wrapping Up
I’ve killed four aloe plants before I got it right. But now I have a pot of potent, healthy aloe that keeps producing pups. You don’t have to make the same mistakes. Stick to the basics: light, water, and soil. Don’t overthink it. Just be consistent.
I hope this guide helps you keep your medicinal aloe cactus-like succulents for potency. I’m rooting for you.