bluename
 How to Harvest Outer Mature Cactus Stems Safely for Propagation Work
If you want to turn one healthy cactus into several without killing the mother plant, the trick is knowing how to harvest outer mature cactus stems safely for propagation work. I learned this the hard way after rotting three pads on an old opuntia because I rushed the cut and watered too soon. The good news is that the process is simple once you understand the timing, the tools, and the two-week waiting game that follows. This guide walks you through exactly how I do it now, with the mistakes I made along the way spelled out so you can skip them.
Why Mature Outer Stems Beat Young Growth Every Time
A lot of people grab the newest, plumpest growth at the tip of the cactus. I did that for years. The problem is that soft new growth holds too much water, and it tends to shrivel or rot before it ever roots.
Mature outer stems are firmer. They have thicker skin, more stored energy, and they callus over faster. In my experience, a stem that has been on the plant for at least one full growing season roots roughly twice as fast as a fresh tip.
The outer stems are also easier to reach. You are not digging into the crown of the plant, so you disturb less of the main structure. That matters if you are working with a cactus you actually care about keeping.
What You Need Before You Cut Anything
I keep a small kit ready. It saves me from running inside with sap on my hands.
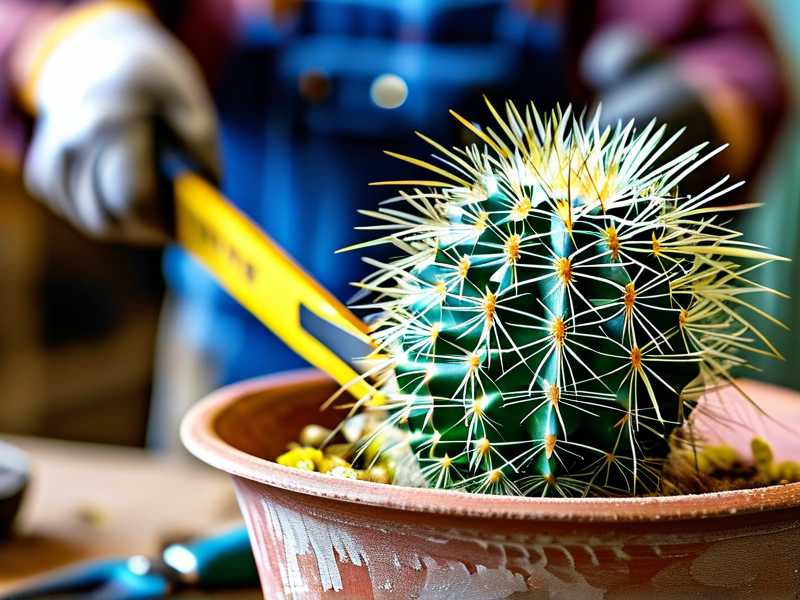
A sharp, clean knife or bypass pruners. I wipe the blade with rubbing alcohol between every cut. Dirty tools are how you spread rot.
Thick gloves. Leather rose gloves work well. Folded newspaper or a strip of cardboard also helps you hold the stem without spines digging in.
A clean surface for drying. I use a baking tray lined with paper towel. It keeps the cut stem off damp soil while it calluses.
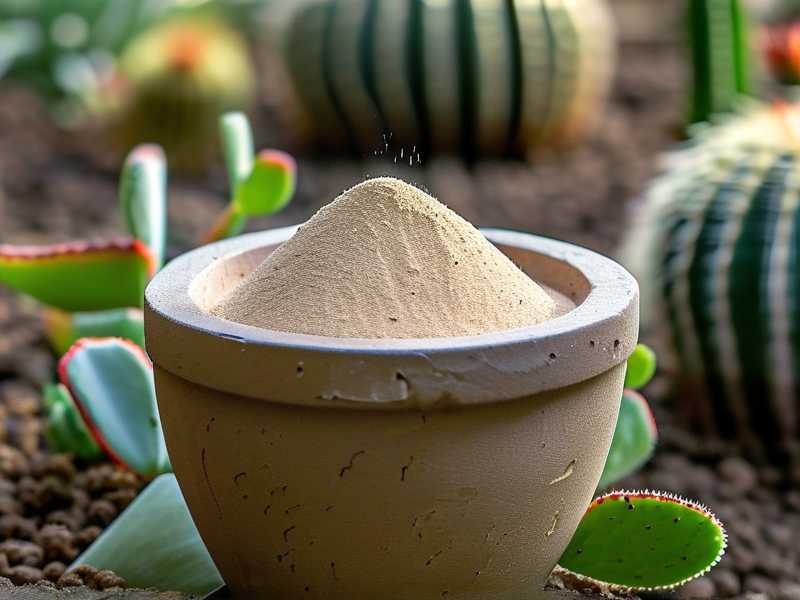
Sulfur powder or cinnamon. This is optional, but I dust the cut end lightly. It has cut down on fungal issues for me, especially in humid summers.
A pencil or plant label. You will want to mark the date. Trust me, you will forget.
The Safe Harvest Method, Step by Step
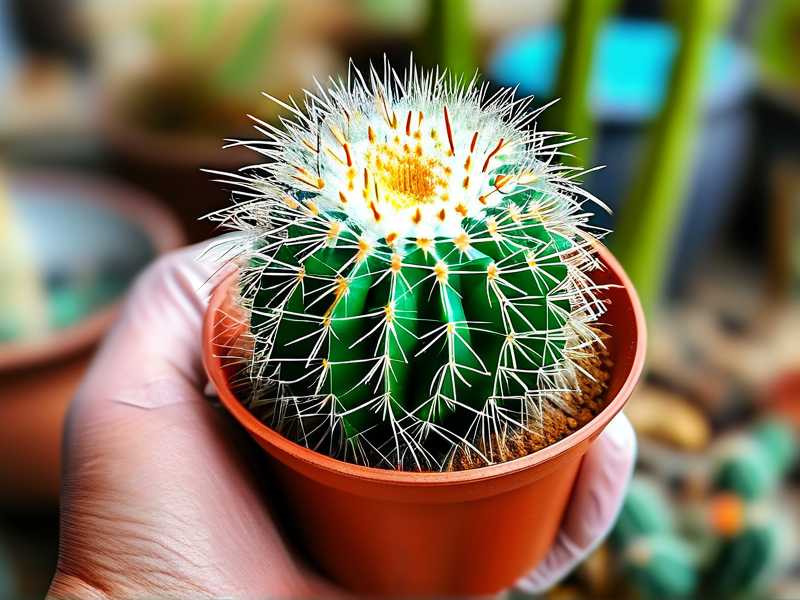
Step one is picking the right stem. Look for an outer stem that is firm, evenly colored, and free of soft spots. If it wobbles when you nudge it, leave it alone.
Step two is the cut itself. I make one clean slice at the joint where the stem connects to the main body. Do not saw back and forth. A jagged cut takes longer to heal. The Royal Horticultural Society notes that clean cuts reduce the risk of infection in succulents, and I have found that to be true in my own garden.
Step three is the twist-and-lift. Once you are most of the way through, a gentle twist usually separates the stem. If it does not come free, make one more shallow cut rather than yanking it. I ripped a pad once doing this and left a wound on the mother plant that took months to scar over.
Step four is dusting the cut. Light dusting only. Too much powder cakes up and holds moisture, which is the opposite of what you want.
Step five is the callus phase. This is the part most beginners skip. Place the stem in a dry, shaded spot with good airflow. Not in direct sun. Not on wet soil. I leave mine for seven to fourteen days. The cut end should feel dry and leathery, like a scab. If it still looks wet or shiny, give it more time.
My Two-Week Observation Window
I started tracking this properly after a batch of cuttings rotted on me. Here is what I actually see over fourteen days.
Days one to three: the cut surface looks wet and slightly glossy. Do not touch it. Do not water it.
Days four to seven: the surface starts to dry and pull inward. The color goes from bright green to a duller, paler tone. This is normal.
Days eight to eleven: a hard callus forms. It feels like a dry corn kernel. If you press it lightly with a clean finger, there is no give.
Days twelve to fourteen: the callus is fully set. This is my green light to plant. If I still see any softness, I wait another three or four days. Rushing this stage is the single biggest reason cuttings fail.
How to Plant the Callused Stem
Once the callus is ready, I use a gritty mix. Equal parts potting soil, perlite, and coarse sand works for me. You can also add a handful of pumice if you have it.
I plant the stem upright, burying only the bottom inch or so. I do not water right away. I wait another three to five days, then give a light watering around the base, not over the top of the stem.
From there, I keep the soil barely moist. Not wet. Not bone dry. I check with a wooden skewer. If it comes out clean, I water lightly. If it comes out dark and damp, I wait.
The Three Mistakes That Kill Most Cuttings
First, overwatering. Ninety percent of indoor plants die from overwatering, and cactus cuttings are no exception. A freshly cut stem has no roots to drink with. Water sits in the soil and rots the base. I killed two beautiful opuntia pads this way before I understood the callus rule.
Second, bad light placement. New cuttings need bright, indirect light. Direct afternoon sun will cook a callused stem that has no root system yet. I once left a tray on a south-facing windowsill in July and came back to shriveled, sunburned pads.
Third, the wrong container. A big pot holds too much soil, and too much soil holds too much moisture. I use small terracotta pots now, two to three inches across. Terracotta breathes, which helps. Plastic works too if you are careful, but I find it less forgiving.
The Soil and Pot Setup I Actually Use
My mix is simple. One part cactus potting soil, one part perlite, one part coarse builder's sand. I sift out any big bark chunks because they hold water.
For pots, I always choose one with a drainage hole. I know that sounds obvious, but I have seen people use decorative ceramic pots with no hole and wonder why their cactus rots. Drainage is not optional.
I also top-dress with a thin layer of small gravel. It keeps the base of the stem dry and stops soil from splashing up when I water.
Watering After Roots Form
Once I see new growth, usually around three to six weeks, I know roots have formed. That is when I start watering more normally.
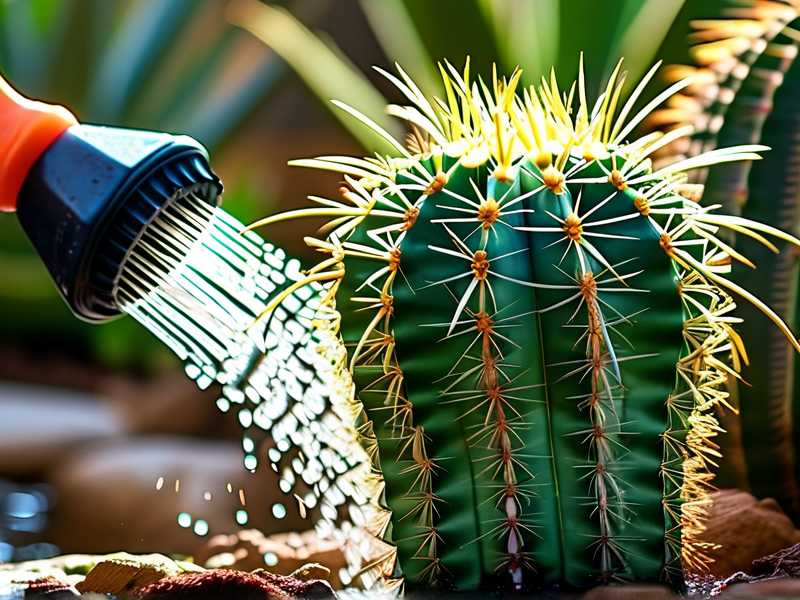
In summer, I water deeply but infrequently. I let the soil dry completely, then soak it. In winter, I cut back to once every three or four weeks, sometimes less.
The American Horticultural Society recommends letting succulents dry out between waterings to mimic their natural habitat. I follow that rule year-round, adjusting only the frequency.
Light and Temperature for Propagated Stems
Bright, indirect light is ideal for the first month. After that, most cactus stems can handle a few hours of direct morning sun.
If you live somewhere with harsh summers, like parts of Australia or the southern United States, use a sheer curtain or move the pot to an east-facing spot.
Cold is the other issue. Anything below 50°F will slow root growth. If you are in Canada or the UK, keep your cuttings indoors until spring.
Fertilizing New Cuttings
I do not fertilize until I see active growth. That usually means four to eight weeks after planting.
When I do feed, I use a diluted cactus fertilizer at half strength. Once a month in spring and summer. Nothing in fall or winter.
Feeding too early is a common trap. The stem has no roots to absorb nutrients, so the salts just build up in the soil and burn the base.
Seasonal Care After Propagation
Spring is when I repot and take new cuttings. The plant is waking up, and it heals fast.
Summer is about airflow and shade. I move pots under a tree or onto a shaded porch during heat waves.
Fall is when I stop fertilizing and reduce water. This helps the plant prepare for dormancy.
Winter is hands-off. I keep everything dry and cool. If you are overwintering indoors, a bright windowsill away from radiators works well.
A Real Mistake I Made With a Big Batch
Two summers ago, I cut twelve stems from a large trichocereus and left them on a tray in my garage. I thought the garage was dry enough. It was not. A humid spell rolled in, and six of the twelve developed black spots at the cut end.
I salvaged the rest by increasing airflow with a small fan and spacing them out. Since then, I always check humidity before leaving cuttings to callus. If it is above 60 percent, I bring them inside near a fan. Sounds fussy, but it saved me a whole batch last year.
Common Problems and Fixes
Soft, mushy base: too much water. Unpot, cut above the rot, let it callus again, and replant in fresh dry mix.
Shriveled stem: not enough moisture or too much direct sun. Move it to indirect light and give a light watering.
No roots after two months: the callus may have been incomplete, or the soil stayed too wet. Start over with a fresh cut.
Pests: mealybugs and scale are the usual suspects. I dab them with a cotton swab dipped in rubbing alcohol.
Frequently Asked Questions
Can I root a cactus stem in water? I do not recommend it. Cactus stems rot easily in standing water. Dry callusing and soil planting is far more reliable.
How long before I see new growth? Usually four to eight weeks in warm weather. In cooler months, it can take longer. Be patient.
Do I need rooting hormone? Not for most cactus species. A clean cut and a proper callus are enough. Hormone powder can sometimes trap moisture and cause rot.
Final Thoughts
Harvesting outer mature cactus stems is not complicated, but it does reward patience. The two-week callus window is the part that separates success from rot. Get that right, keep the soil gritty and dry, and you will have new plants before you know it. I still lose a cutting now and then, and that is fine. Every failure teaches you something the next batch will thank you for.