How to Care for Seed-Grown Cactus Species in Their First Year: A Grower’s Journey
I remember the excitement of scattering those tiny, dust-like seeds across the soil, full of hope for a forest of spines. And I remember the panic two weeks later when my first seedlings started to look translucent and vanish. If you’re trying to nurture seed-grown cactus species from their fragile beginnings, you know the anxiety. That first year is a critical, delicate dance. It’s not just about keeping them alive; it’s about guiding them from microscopic specks into robust, independent plants. Through trial, error, and careful observation, I’ve developed a system that works. Let me walk you through the exact steps, including the mistakes I made and how I fixed them, to give your cactus seedlings the best possible start.
Understanding the Unique Needs of a Cactus Seedling
Most cactus care advice is for mature plants. But a seedling is a different creature entirely. For the first few months, it has almost no water-storing capacity and relies on constant surface moisture. According to the Arizona-Sonora Desert Museum, the establishment phase for desert seedlings often occurs in rare, sheltered microclimates with higher humidity—a concept we must replicate. My goal wasn’t just germination; it was to shepherd them through the treacherous first 12 months.

Phase 1: The Foundation – Sowing and Germination
Getting this stage right sets the trajectory for everything that follows.
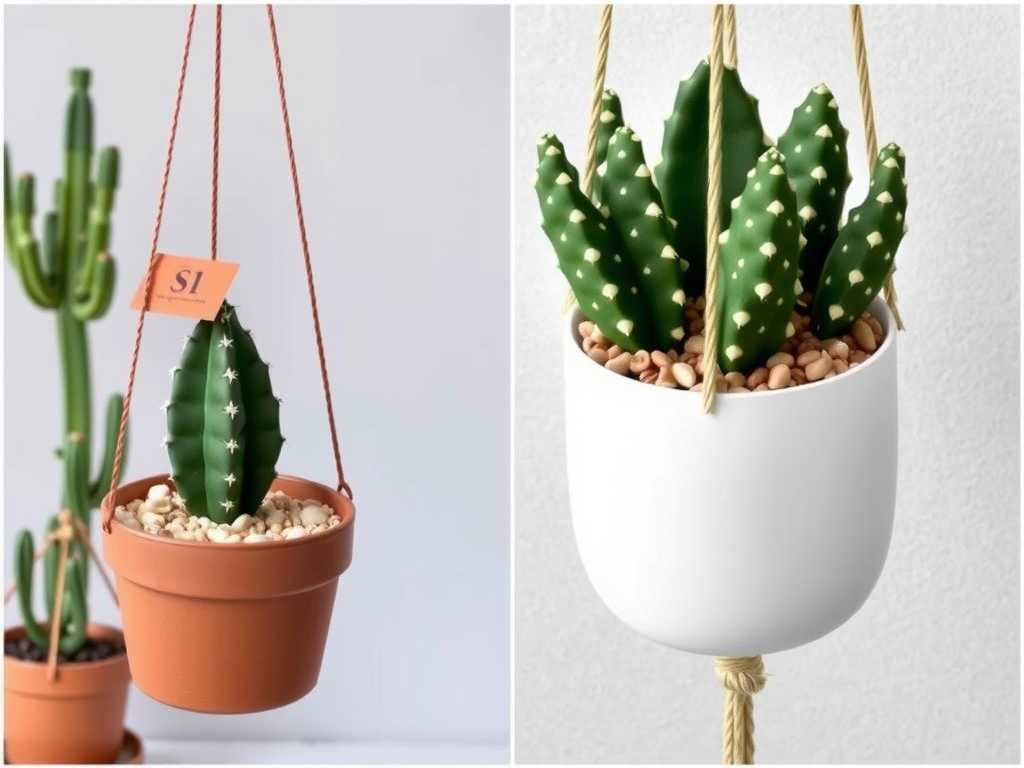
Choosing Your Materials I use a sterile, soilless mix. My recipe is 50% fine horticultural pumice or perlite and 50% sieved coconut coir. This ensures sharp drainage while retaining the gentle moisture seeds need. A shallow terracotta pot or plastic seedling tray works perfectly.
The Sowing Process
- I fill the container, water the mix thoroughly from below by setting it in a tray of water, and let it drain.
- I scatter the seeds sparsely on the surface, never burying them. Cactus seeds need light to germinate.
- Here’s the crucial part: I seal the container inside a clear plastic bag or cover it with a humidity dome. This creates a miniature greenhouse, maintaining near-100% humidity.
- I place it under bright, indirect light or a weak grow light. A windowsill can work if it’s not too hot.
My First Mistake and Fix My first batch sat on a south-facing windowsill. Within days, the sealed container cooked in the sun, and the seeds were sterilized. The fix? I moved the setup to a spot with consistent, gentle light—under a 20W LED grow light set 12 inches away, on a 14-hour timer. Germination rates soared.
Phase 2: The Critical First Weeks – Post-Germination Care
You’ll see tiny green dots, then miniature cacti. Now, the real work begins.
The Two-Week Observation Period After germination, I conducted a close, two-week observation of my Mammillaria gracilis and Echinopsis seedlings. For 14 days, I tracked their color, growth speed, and substrate moisture at 8 AM daily.
- Days 1-4: Seedlings were vibrant green, plump. Condensation on the dome was heavy.
- Days 5-10: I noticed the first signs of a green algal film on the soil surface—a common issue signaling too much stagnant moisture. A few seedlings looked slightly pale.
- Days 11-14: The pale seedlings hadn’t progressed. This was my signal to act.
Managing Humidity and Airflow The Royal Horticultural Society (RHS) advises gradually acclimatizing seedlings to less humid conditions to prevent rot and encourage sturdy growth. My algal bloom was the warning. I began by propping open the humidity dome for one hour on day 11, increasing to three hours by day 14. This slowly introduced airflow without shocking them. The algae growth halted immediately.
Early Watering Technique At this stage, I never water from above. A heavy droplet can crush a seedling. I continue bottom-watering by placing the container in a shallow tray of water for 10-15 minutes, allowing the soil to wick moisture upward. The goal is consistently damp, never soggy, soil.
")
Phase 3: The First Six Months – Growth and Thinning
This is where you build their strength.
The Art of the First Year Cactus Care Schedule Your cactus seedling care guide must be flexible. I water when the surface just starts to look dry, which in my environment, is about every 7-10 days. The sealed humidity is gone, so monitoring is key.
Providing Adequate Light As they grow, their light needs increase. I gradually moved my seedlings closer to the grow light, ending up about 6 inches away after 3 months. Signs of sufficient light are compact, green growth. Stretching or etiolation means they’re reaching for more.
Thinning and Transplanting If seedlings are overcrowded, they’ll compete and fail. When they developed their first few tiny spines (around 3-4 months old), I gently thinned them using tweezers, removing the weakest to give the strong ones space. Their first true transplant, into a similar mix, came at around 6 months.
Phase 4: Navigating Common First-Year Problems
You will face challenges. Here’s how I dealt with mine.
The Dreaded Damping Off This fungal disease causes seedlings to collapse and die. I lost a cluster to it. The solution was three-fold: better air circulation (a small oscillating fan in the room, not directly on them), using a sterile cinnamon powder dusting on the soil surface as a natural fungicide, and ensuring my water was at room temperature, not cold.
Pest Patrol: Fungus Gnats Fungus gnats love moist seedling mix. Sticky yellow traps caught the adults. To kill the larvae in the soil, I switched to bottom-watering with a 1:4 dilution of 3% hydrogen peroxide and water for one session. It oxygenates the soil and eliminates the gnat larvae without harming the cacti.
When Growth Stalls If your seedlings stop growing, check three things: temperature (they prefer warmth), light (likely needs more), and nutrition. After 4 months, I began using a diluted, balanced liquid fertilizer at 1/8 strength, once a month during the growing season. The difference in growth rate was noticeable within weeks.
Building Resilience: Preparing for Year Two
By month 10, your seedlings should look like recognizable, tiny cacti. Now, we start hardening them off.
Reducing the Watering Frequency I began extending the time between waterings, allowing the top quarter of the mix to dry out. This encourages the roots to seek water and builds their drought tolerance.
Introducing More Direct Light I started giving them an hour of gentle morning sun, gradually increasing the exposure. This thickens their skin and develops proper coloration. The American Horticultural Society (AHS) emphasizes that acclimation to sun must be incremental to avoid fatal scorching.
What should I do if my cactus seedlings turn red or purple? This is usually a sign of light stress. While some color change is normal with sun exposure, a deep red or purple, especially if growth has stopped, means it’s too intense. Move them to a spot with slightly less direct light, and they should revert to a green hue.
How often should I really fertilize my first-year cactus seedlings? Less is more. For the first 3-4 months, they need no fertilizer at all. After that, a monthly, highly diluted dose of a balanced (like 10-10-10) or low-nitrogen fertilizer is sufficient. Over-fertilizing will force weak, susceptible growth.
When is it safe to treat my seed-grown cactus like an adult plant? The one-year mark is a major milestone, but the transition isn’t instant. After 12 months, you can begin using a grittier “adult” cactus mix, water less frequently (only when the soil is completely dry), and provide full, direct sun according to the species’ needs. Consider them “teenagers”—hardier than babies but still needing a watchful eye.
Nurturing seed-grown cactus species from scratch is an exercise in patience and attentive care. That first year demands a balance of constant moisture and vigilant airflow, gentle light and careful nutrition. By mimicking the protective microclimates of the desert floor and gradually introducing the harsh realities of the adult world, you don’t just grow cacti—you build resilient survivors. The pride of seeing a cactus thrive, knowing you guided it from a speck of dust, is worth every minute of that careful, two-week observation and every lesson learned from a mistake. Start with the right foundation, watch closely, adjust patiently, and you’ll be rewarded with a unique collection that’s truly your own.


发表评论