How to Propagate Cactus Species by Offset Division: A Complete Step-by-Step Guide
You've nurtured your cactus collection for years, watching with pride as your spiky companions thrive. But now, you notice something new: small, identical pups or clusters growing right at the base of your favorite specimens. A wave of questions hits. Should you remove them? Will they harm the mother plant? Most importantly, how can you successfully separate and grow these offsets into independent, healthy cacti without causing damage or inviting disease? The process can seem daunting, filled with risks of rot, failed roots, and unnecessary stress on your plants.
This comprehensive guide is designed to eliminate that uncertainty. We will walk you through the precise, safe method of propagating cactus species by offset division. This technique is one of the most rewarding and reliable ways to expand your collection, ensuring genetic clones of your most prized plants. By following these expert-backed steps, you’ll transform from a cautious observer to a confident propagator.

Understanding Cactus Offsets: What Are Pups and Why They Form
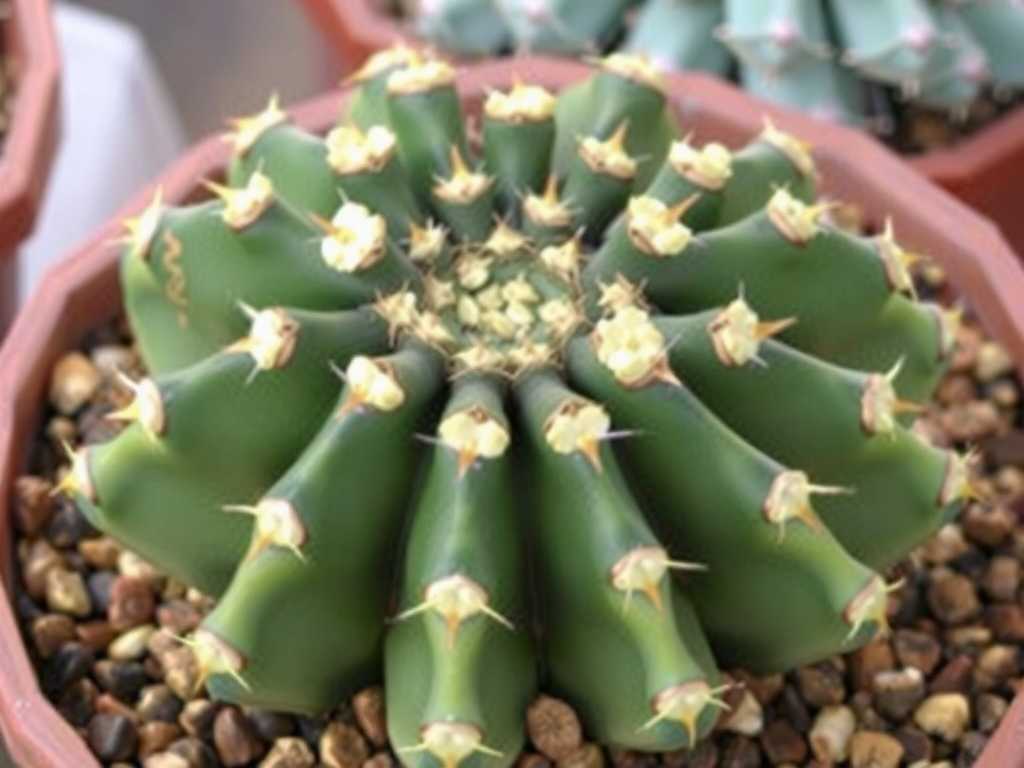
Before making the first cut, it's crucial to understand what you're working with. Offsets, commonly called "pups" or "babies," are natural clones that grow from the areoles (the specialized structures where spines emerge) of a parent cactus. This is a form of asexual reproduction, meaning the new plant is genetically identical to the mother.
Species like Mammillaria, Echinopsis, Gymnocalycium, and many Opuntia varieties are prolific offset producers. According to botanist Dr. Elena Flores, "Offset formation is a survival strategy. In nature, it allows a cactus colony to spread and persist even if the main stem is damaged. For cultivators, it presents a perfect, low-stress propagation opportunity with a very high success rate." This method is often faster and more straightforward than growing cacti from seeds.
Essential Tools and Materials for Safe Propagation
Gathering the right tools beforehand is half the battle for success. Using improper equipment can lead to crushing tissues or introducing pathogens.
- Sharp, Sterile Cutting Tool: A sharp knife, scalpel, or razor blade is non-negotiable. Dull tools crush cells. Sterilize the blade with isopropyl alcohol or a flame before each use to prevent bacterial or fungal transfer.
- Tongs or Gripping Tools: Use thick leather gloves, silicone tongs, or layers of newspaper to handle spiny cacti safely without injuring yourself or the plant.
- Rooting Hormone (Optional but Recommended): A powder or gel containing indole-3-butyric acid (IBA) stimulates root growth and can protect the wound from infection.
- Well-Draining Potting Mix: Use a specialized cactus and succulent mix, or create your own with equal parts potting soil, coarse sand, and perlite/pumice.
- Appropriate Containers: Small pots with drainage holes are essential.
- Drying Space: A warm, dry, shaded spot with good air circulation for the callusing process.
The Step-by-Step Guide to Dividing and Potting Cactus Offsets
Now, let's dive into the core process. This guide to propagating cactus pups prioritizes plant health at every stage.
Step 1: Identifying the Right Time and the Right Offset
Timing is critical. The ideal period is during the active growing season, typically from late spring to early summer, when plants have the most energy to heal and root. Choose offsets that are at least one-third the size of the mother plant. They should look plump, healthy, and well-formed. A very small pup may not have stored enough energy to root independently.
Step 2: The Separation Technique
This is the most delicate part. For offsets that are loosely attached, a gentle twist with protected hands may suffice. For most, a clean cut is necessary.
- Expose the connection point between the offset and the mother plant.
- Using your sterilized blade, make a swift, clean cut as close to the mother plant's stem as possible without damaging its main structure. The goal is to keep most of the offset's base intact.
- Carefully lift the offset away.
Step 3: The Critical Callusing Phase
Do not plant the offset immediately! This is the most common mistake.
- Place the offset in a dry, shaded location away from direct sunlight.
- Allow the cut surface to dry completely and form a hard, scab-like callus. This can take anywhere from a few days to over a week, depending on the size of the cut and humidity. The callus seals the wound, preventing moisture loss and rot when planted.
Step 4: Potting and Initial Rooting
Once fully callused, your offset is ready for its new home.
- (Optional) Dip the callused end into rooting hormone powder.
- Fill a small pot with your pre-moistened (lightly damp, not wet) cactus mix.
- Place the offset on top of the soil. You can bury it just deep enough for it to stand upright, or simply let it sit on the surface if it's stable.
- Do not water it yet. Place the pot in a location with bright, indirect light.
Step 5: Post-Propagation Care and Encouraging Root Growth
")
Patience is key during the cactus offset division and care phase.
- Watering: Wait at least 1-2 weeks before giving the first light watering. Then, employ the "soak and dry" method: water thoroughly only when the soil is completely dry. The primary trigger for root growth is the search for moisture, so slight underwatering is safer than overwatering at this stage.
- Light: Provide plenty of bright, indirect light. Avoid harsh, direct sun which can scorch the unrooted plant.
- Signs of Success: Rooting can take several weeks to a few months. Resistance to a very gentle tug or signs of new, plump growth indicate successful root establishment. Once you see clear growth, you can gradually introduce it to more direct sunlight and treat it as a mature cactus.
Troubleshooting Common Problems in Cactus Pup Propagation
Even with care, issues can arise. Here’s how to address them:
- The Offset is Shriveled or Wrinkled: This is usually due to underwatering after roots have formed. Give it a thorough soak if the soil is dry.
- The Base is Mushy or Discolored (Rot): This is from excess moisture before callusing or during rooting. You must act fast. Cut away all soft, rotten tissue back to firm, healthy flesh. Re-callus the new wound and restart the process.
- No Root Development After Months: Ensure it's getting warmth and indirect light. Try a slightly warmer location. You can also check if the rooting hormone has expired.
FAQs: Your Cactus Propagation Questions Answered
How long does it take for cactus offsets to root? The timeline varies by species and conditions, but typically ranges from 3 to 8 weeks. Some may root faster, while others, especially in cooler temperatures, can take several months. Look for new growth as the primary indicator.
Can I leave the pups on the mother plant? Absolutely. Offsets can remain attached indefinitely, often creating a large, impressive clump. Removing them is purely for aesthetic reasons or to create new, separate plants. If left on, they may eventually compete with the mother plant for resources in the pot.
What is the best soil mix for newly potted cactus pups? An airy, fast-draining mix is paramount. A commercial cactus/succulent mix is good, but for optimal results, amend it with extra perlite or pumice (up to 50/50) to ensure the delicate new roots are never waterlogged.
Mastering the art of propagating cactus species by offset division unlocks a sustainable and gratifying way to grow your collection. By respecting the plant's natural biology—emphasizing clean cuts, patient callusing, and cautious initial care—you set the stage for a lifetime of success. Each new pup you successfully nurture from your existing plants is a testament to your growing skill as a cactus enthusiast. Start with a healthy, mature offset, follow these steps, and you'll soon have a thriving new generation of resilient, beautiful cacti to enjoy or share.


发表评论